

Fix: Internet Explorer Has Stopped Working

Summary
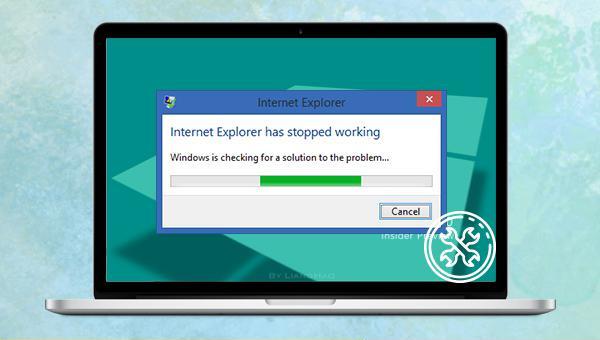
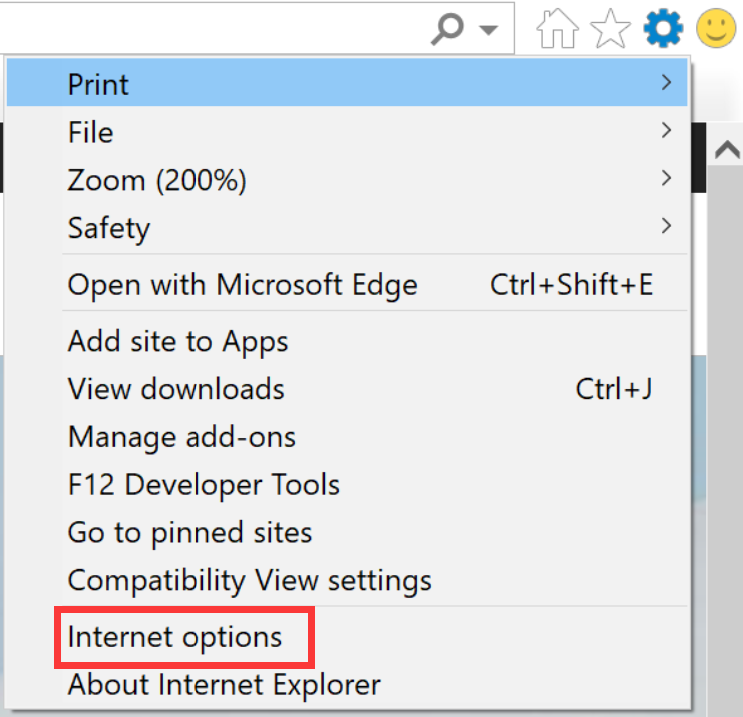
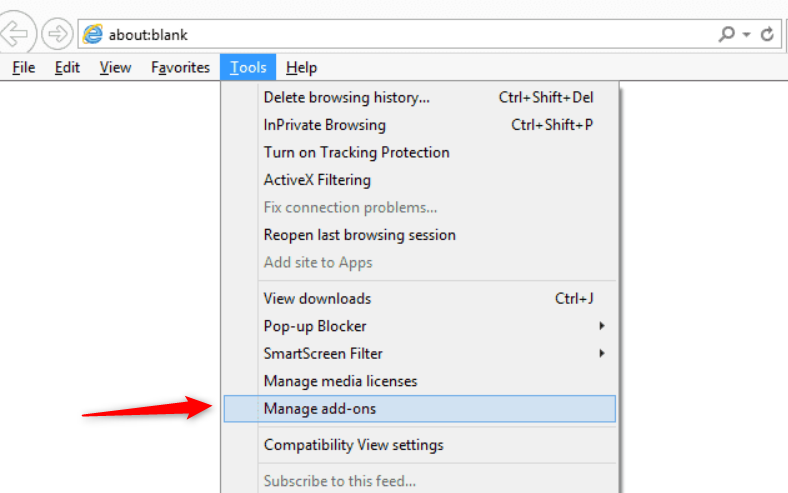
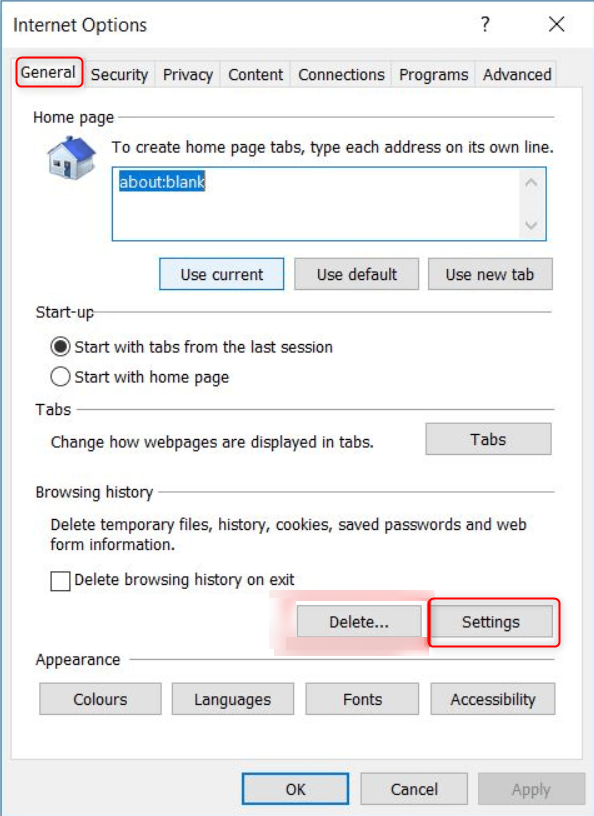
Resolve the "Internet Explorer has stopped working" error effortlessly with the methods in this article. Solutions are just a click away.
Table of contents

Quick Backup files at up to 3,000MB/min.
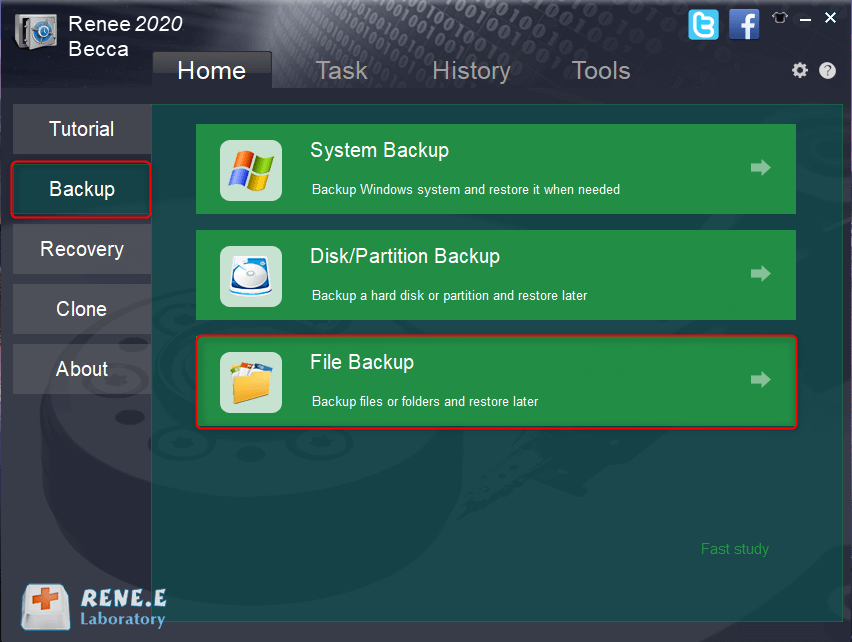
Fullfill different backup needs Supports system backup, disk / partition backup, file backup and disk clone.
Intelligent Automatically analyze the differences between source and backup data.
Convenient Support VSS, allowing to freely view webpages when backing up system.
Highly compatible Supports various files and storage devices.
Quick Backup files at up to 3,000MB/min.
Fullfill different backup needs Backup for disk, partition and system. Save disk space by backing up incremental /differential data.
Highly compatible Supports various files and storage devices.
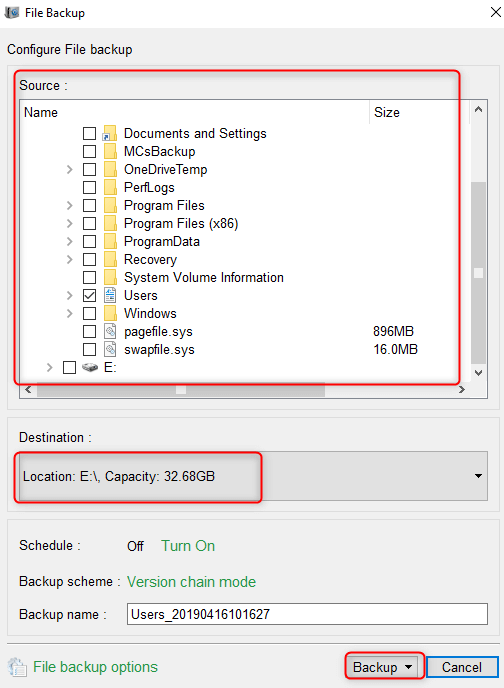
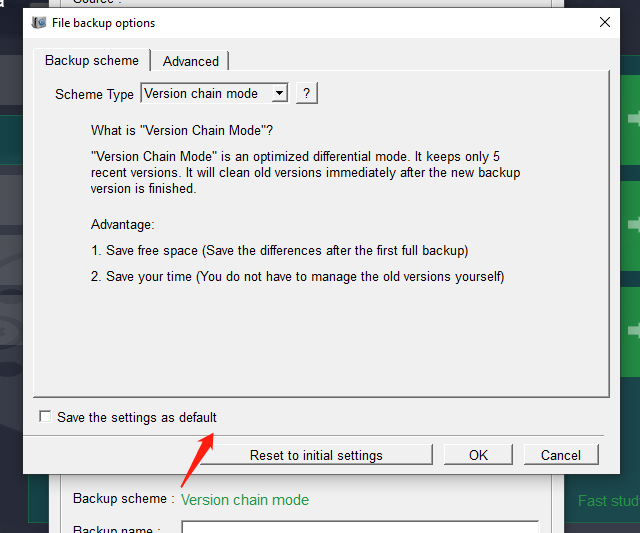
- Version Chain Mode: Keeps the latest 5 versions, automatically deleting older ones after each backup.
- Single Version Mode: Retains only the most recent version, deleting the previous one after each backup.
- Full Mode: Creates a full backup.
- Incremental Mode: After an initial full backup, only incremental backups are made.
- Differential Mode: Only differential backups are made after an initial full backup. You can compare incremental and differential backups.
Relate Links :
How to Restore System Backup by Renee Becca

27-05-2022
Amanda J. Brook : Detailed steps about how to restore the backup system to original system disk without Windows.
Fix System Restore Error 0x80042302 in a Snap!
15-01-2024
Amanda J. Brook : Solve the 0x80042302 error prompt on Windows with our article. Learn the causes and discover an alternative software...
System Restore: How to Restore Windows 7?

30-07-2021
John Weaver : When a series of unknown problems happen in the computer, we can restore the system. On Windows 7,...
Windows 8 Backup, Windows 8.1Backup and System Restore
20-06-2019
John Weaver : In the daily use of Windows 8 or Windows 8.1, malfunction, poor performance or fail to start of...

