

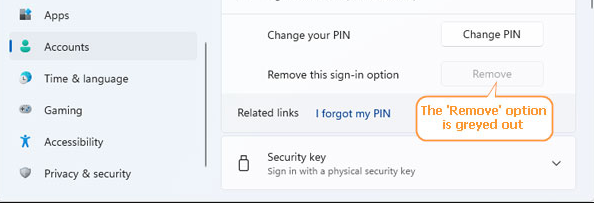
The Frustrating Issue: Windows 11 “Remove PIN” is Greyed Out

Summary
Having trouble removing a PIN on your Windows 11 device? Don't worry, we've got you covered. In this article, we offer 5 different methods to troubleshoot and resolve the greyed out Remove PIN option, whether you remember your password or not. From disabling settings to using password reset solutions, we've got you covered. Keep reading to find the best method for you.
Table of contents
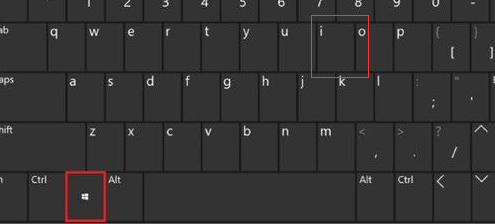

Win + R
gpedit.msc
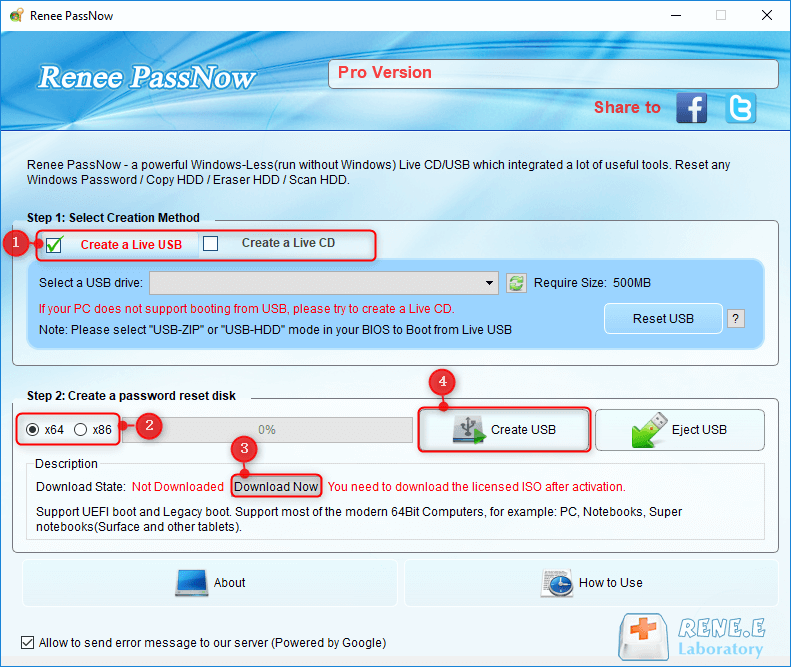
Start by downloading Renee PassNow from the official website and install it on a different computer that you can access. You can choose the appropriate version based on your computer’s operating system.

Remove Windows Login Password 3 steps for whole password remove process.
Recover the files Recover the deleted files without Windows system.
Transfer the data Transfer the important files of the computer with system.
Multifuctional Data transfer, data recovery, bootable problem recovery can be run without system.
Highly compatible Windows 11/10/8.1/8/7/XP/Vista. UEFI boot.
Remove Login Password Support Windows 11/10/8.1/8/7/XP/Vista. UEFI boot.
Recover the files Recover the deleted files without Windows system.
Transfer the data Transfer the important files of the computer with system.
Launch Renee PassNow and insert a USB flash drive or blank CD/DVD into the computer. Select the option to create a bootable media. Follow the on-screen instructions to complete the process.
Insert the bootable USB or CD/DVD into the locked Windows computer. Restart the computer and enter the BIOS settings by pressing the appropriate key (usually F2 or Delete). Configure the boot order to prioritize the bootable media.
| Server Type | Enter boot menu method |
|---|---|
| DELL | Press the F12 key repeatedly before the Dell logo appears on the screen. |
| HP | Press the F9 key multiple times when the HP logo is displayed. |
| BIOS Name | Enter boot menu method |
|---|---|
| ASRock | DEL or F2 |
| ASUS | DEL or F2 for PCs/ DEL or F2 for Motherboards |
| Acer | DEL or F2 |
| Dell | F12 or F2 |
| ECS | DEL |
| Gigabyte / Aorus | DEL or F2 |
| Lenovo (Consumer Laptops) | F2 or Fn + F2 |
| Lenovo (Desktops) | F1 |
| Lenovo (ThinkPads) | Enter then F1 |
| MSI | DEL |
| Microsoft Surface Tablets | Press and hold Power and Volume Up buttons |
| Origin PC | F2 |
| Samsung | F2 |
| Toshiba | F2 |
| Zotac | DEL |
| HP | Esc/ F9 for `Boot Menu`/ Esc/ F10/ Storage tab/ Boot Order/ Legacy Boot Sources |
| INTEL | F10 |

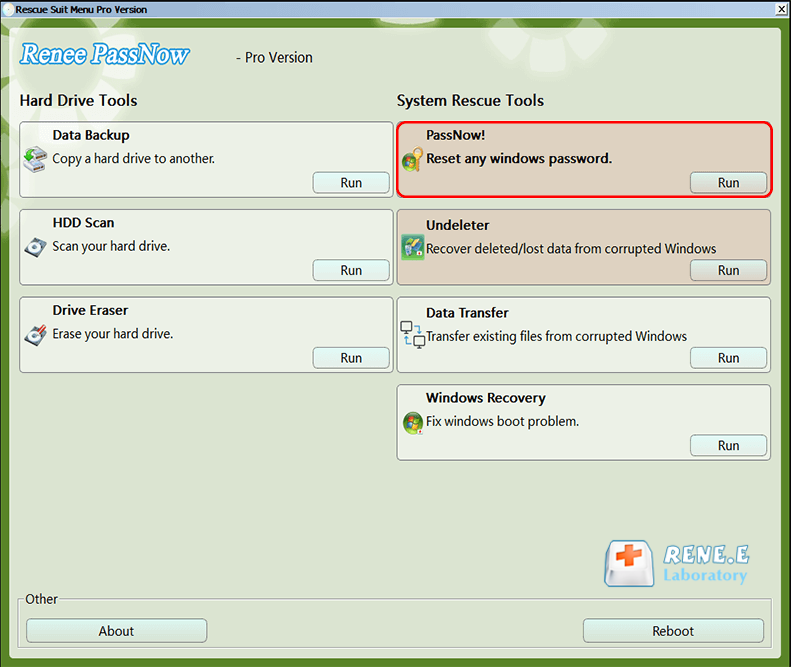
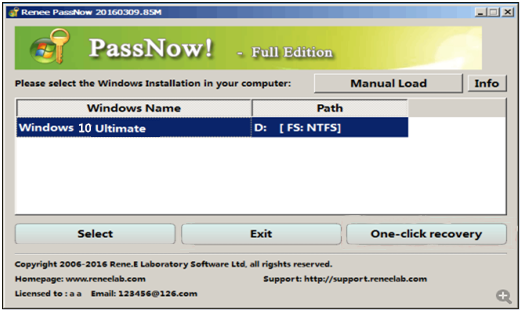
After successfully booting from the bootable media, Renee PassNow will load. Select “PassNow!” function after booting from the new created Windows password reset disk.
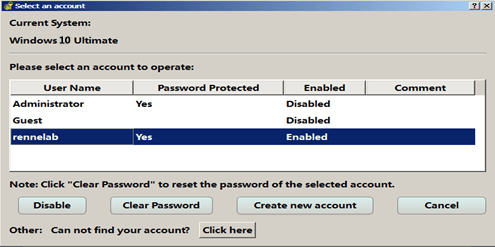
Choose the user account for which you want to reset the password. Then, click on the “Clear Password” button. Renee PassNow will remove or reset the password for the selected user account.
Once the password is reset, remove the bootable media from the PC and restart the computer. You will now be able to log in to Windows Account without a password.


%WinDir%\ServiceProfiles\LocalService\AppData\Local\Microsoft
Relate Links :
Hiren's BootCD vs. Renee PassNow: Comparing the Effectiveness of Password Reset Tools for Windows 10

31-08-2023
Ashley S. Miller : Hiren's BootCD is an authoritative solution for resetting Windows 10 passwords. It includes Offline NT Password & Registry...
Unlocking Your ASUS Laptop: Exploring Different Methods to Reset PIN
07-10-2023
Ashley S. Miller : Unlocked your ASUS laptop and forgot the PIN? Don't worry, we've got you covered. In this article, we'll...
Stuck with a forgotten Microsoft PIN? Learn How to Reset It

07-10-2023
Amanda J. Brook : Having trouble logging in to your computer due to a forgotten Microsoft PIN? Don't worry, we've got you...
Smooth login: Removing Password and PIN on Windows 10
28-09-2023
Amanda J. Brook : Learn how to disable password and PIN on Windows 10 with this easy-to-follow guide. You can finally say...

