

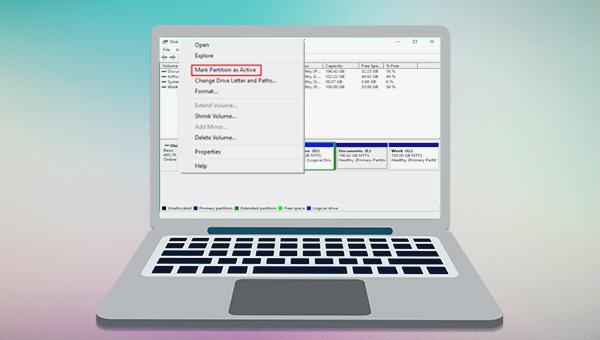
Simple Steps for Windows Computers to Activate Partition

Summary
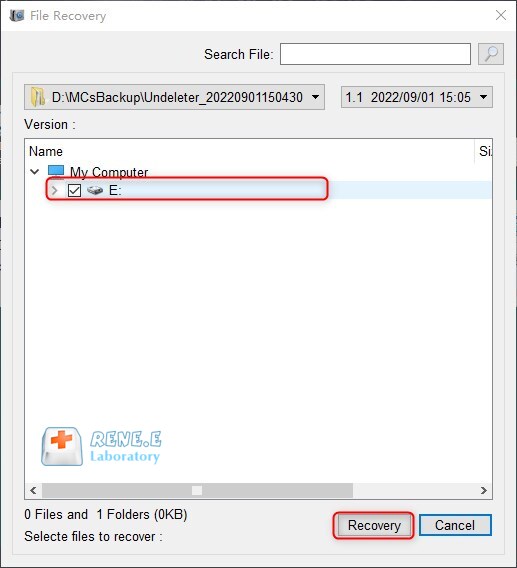
Learn how to activate a partition in Windows system with the solutions in this article. Remember to back up your data before making any changes to avoid losing important files.

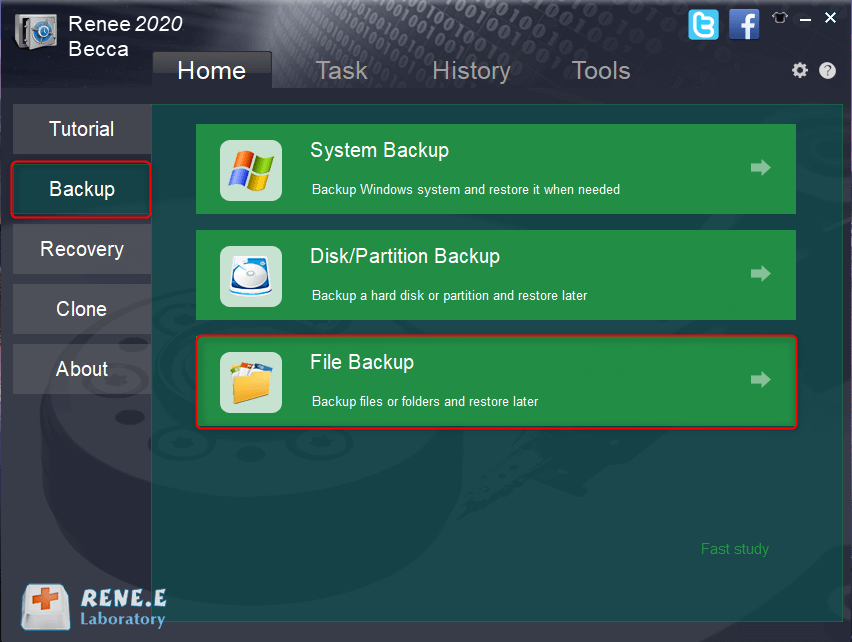
Quick Backup files at up to 3,000MB/min.
Fullfill different backup needs Supports system backup, disk / partition backup, file backup and disk clone.
Intelligent Automatically analyze the differences between source and backup data.
Convenient Support VSS, allowing to freely view webpages when backing up system.
Highly compatible Supports various files and storage devices.
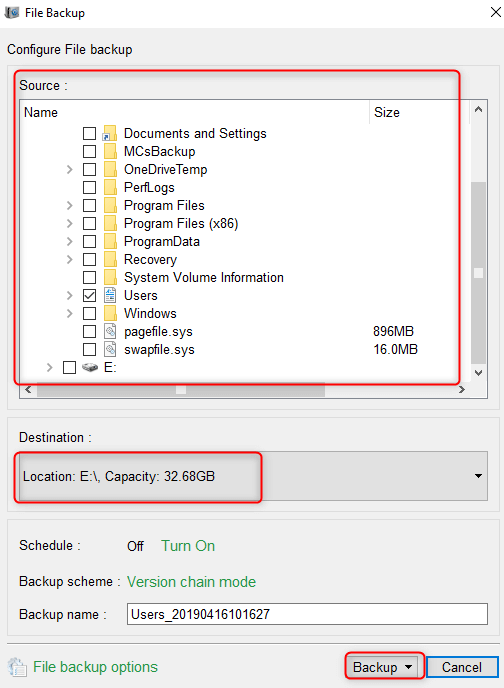
Quick Backup files at up to 3,000MB/min.
Fullfill different backup needs Backup for disk, partition and system. Save disk space by backing up incremental /differential data.
Highly compatible Supports various files and storage devices.
diskmgmt.msc to locate the disk number.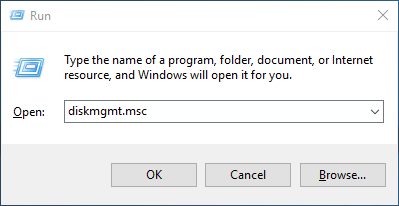
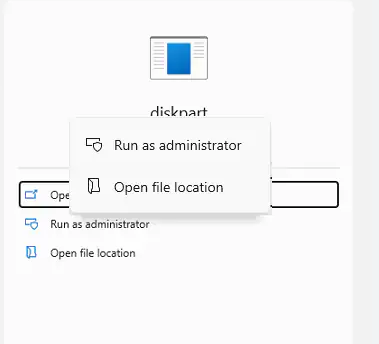
list disk (List the disks in the computer)select disk 3 (The disk number can be changed according to your disk)list partition (List the partitions in the disk and you can view the partition type and size)select partition 1 (The partition number can be modified according to your situation)active (Mark the partition as active)Exit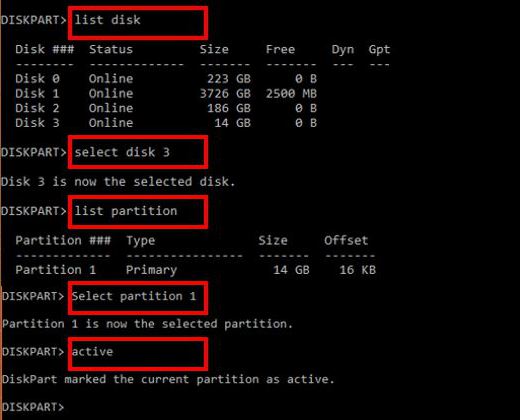
Relate Links :
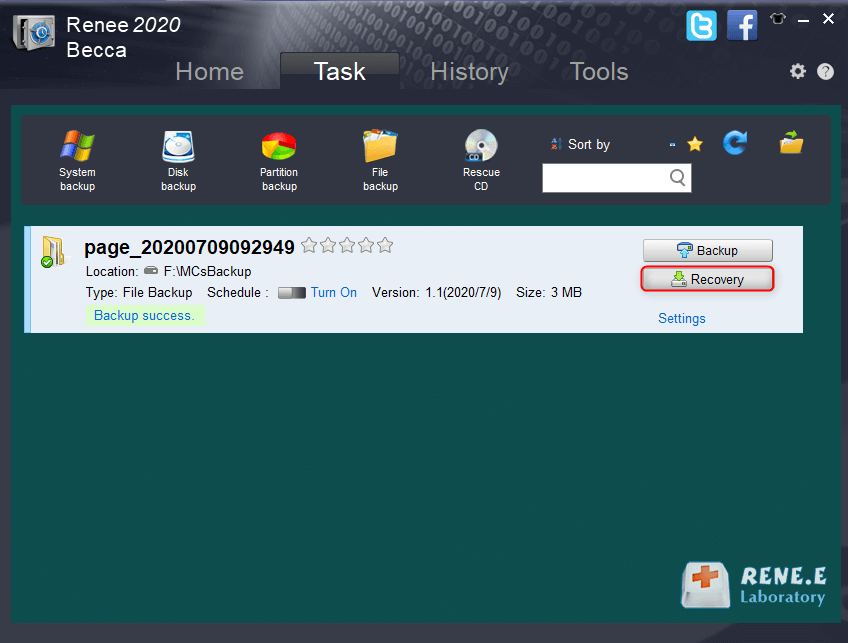
How to Restore System Backup by Renee Becca

27-05-2022
Amanda J. Brook : Detailed steps about how to restore the backup system to original system disk without Windows.
Best Free Backup Software – Renee Becca
14-06-2022
Jennifer Thatcher : Step by step process of how to backup partition/disk with the best free backup software - Renee Becca....
Your ultimate guide for fixing the error that File Explorer keeps crashing

13-03-2024
John Weaver : Learn why File Explorer keeps crashing on Windows 10 and how to fix it with our solutions. Don't...
Quick and Easy Solutions to Fix NET HELPMSG 2182 Error
22-09-2023
Amanda J. Brook : Understand and solve the NET HELPMSG 2182 error when updating Windows through this article. Get expert insights and...

