author avatar
    Senior Product Manager
 

Summary

In this article, you can discover the power of DISM and fix the error 87 DISM with our expert solutions. Explore our comprehensive guide now.
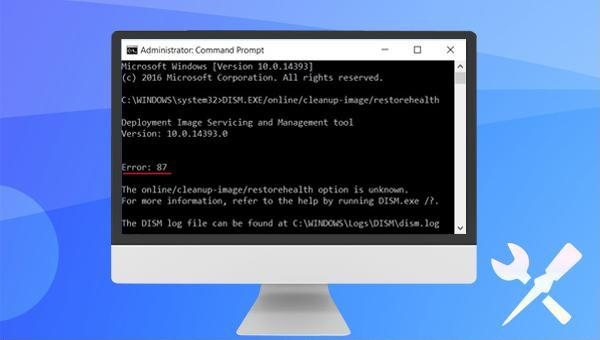


error 87 dism
I. What is DISM, and what is the cause of DISM error 87?
DISM, the full name of Deployment Image Service and Management (Deployment Image Service and Management), is a command-line tool built into the Windows system. It is commonly used to install, uninstall, configure, and update features and packages in offline Windows(R) images and offline Windows Preinstallation Environment (Windows PE) images. Of course, it can also be used to find corrupted files and fix known issues when the Windows image becomes unusable. DISM commands can be run in Command Prompt or Windows PowerShell.
However, when running the tool, various problems may occur, such as error 87, which is the focus of this article. Under normal circumstances, the reasons for error 87 are as follows:
Mistyped characters on the command line: You may receive Error 87 when you enter a command incorrectly. Things like spelling mistakes, missing spaces, etc.
Windows update errors: When Windows is not installed properly, some errors like DISM error 87 may be thrown.
Wrong version of DISM: Error 87 is caused when you are using the wrong version of DISM, which may conflict with the version of Windows you are running. You can solve this problem by downloading and installing the Windows ADK corresponding to the version. More information can be found from Microsoft’s official instructions.
After understanding the possible causes of DISM error 87, in order not to cause important data loss in the process of repairing the error, it is recommended that you first use a professional data backup tool——Renee Becca to back up important data. We continue to learn.
II. Before repairing the fault, use Renee Becca to backup data to ensure data security

1. What is Renee Becca?

As a backup and restore tool that adopts leading incremental/differential backup technology, Renee Becca can help you save more time and disk space. This software supports backup and restoration of important data in the computer, such as programs, system configuration, emails, photos, videos, documents, bookmarks, etc. In terms of functions, in addition to supporting system backup, partition backup, hard disk backup, and file backup, it also supports disk cloning and system migration, which can meet your different needs.
Renee Becca - Quickly and safely back up SD card data

Fast backup Backup speed up to 3 000MB/minute

Support multiple SD cards Backup data of SD card, SDHC card and SDXC card

Incremental/differential backup technology Automatically analyze data differences between source files and backup files to save disk space

Multiple backup schemes Support system backup/partition backup/hard disk backup/file backup/disk cloning

Easy to use Even newbie can handle it in seconds

Fast backup Backup speed up to 3 000MB/minute

Support multiple SD cards Backup data of SD card, SDHC card and SDXC card

Easy to use Even newbie can handle it in seconds
Free TrialFree TrialAlready 2000 users have downloaded and try Renee Becca

2. How to backup data with Renee Becca?

Backing up data with Renee Becca is very simple, the specific steps are as follows:
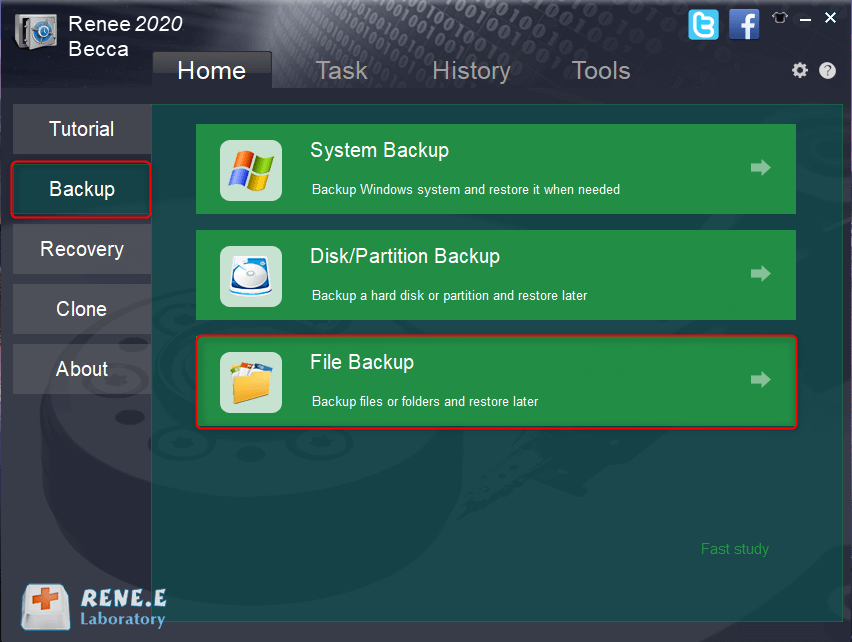
Step 1: Download, install and run Renee Becca on the computer, and select the (File Backup) option in the main interface (Backup) column.
Select file backup options
Step 2: Next, select all the files that need to be backed up in (source file (device)), and select the hard disk partition to store the backup data in (destination).
Select files to backup
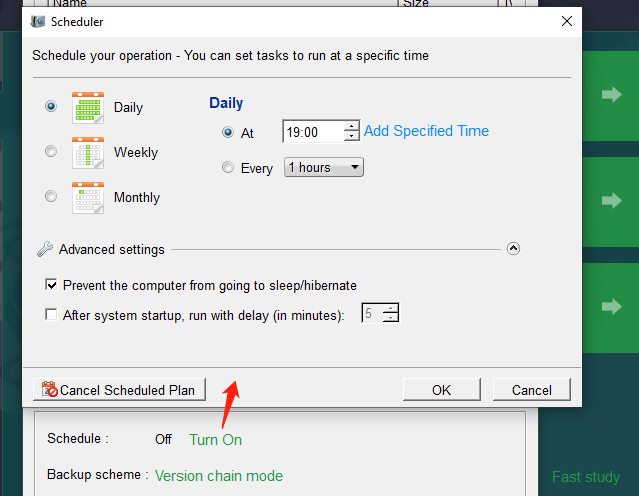
In addition, in (task plan), you can make a daily/weekly/monthly automatic backup plan and click (confirm) to enable the automatic backup function.
set backup time
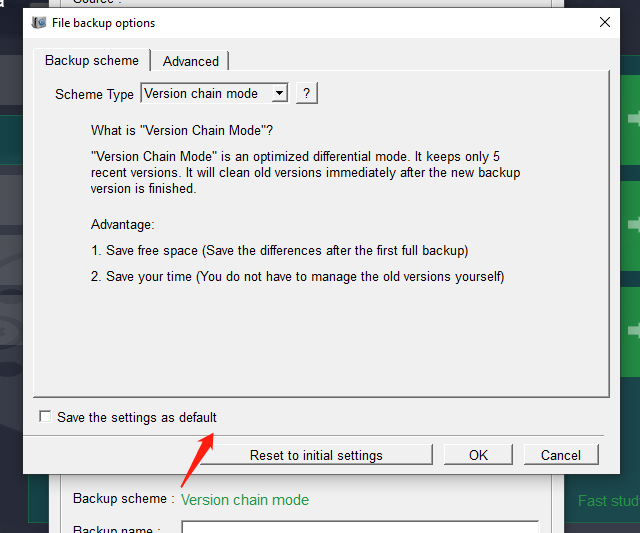
In (Backup Scheme)-(Scheme Type), you can choose a suitable backup scheme mode according to your personal needs. Renee Becca has 5 backup schemes to choose from, namely version chain mode, single version mode, overall mode, incremental mode and diff mode.
Select backup plan mode
Renee Becca has 5 backup plans to choose from:
Version chain mode: Only the latest 5 versions are kept, and useless old versions are automatically deleted after the backup is completed.
Single version mode: Only the latest version is kept, and the previous version is automatically deleted after the backup is completed.
Entire mode: Creates a full backup.
Incremental mode: After the initial full backup, only incremental backups are created.
Differential mode: After the initial full backup, only differential backups are created.
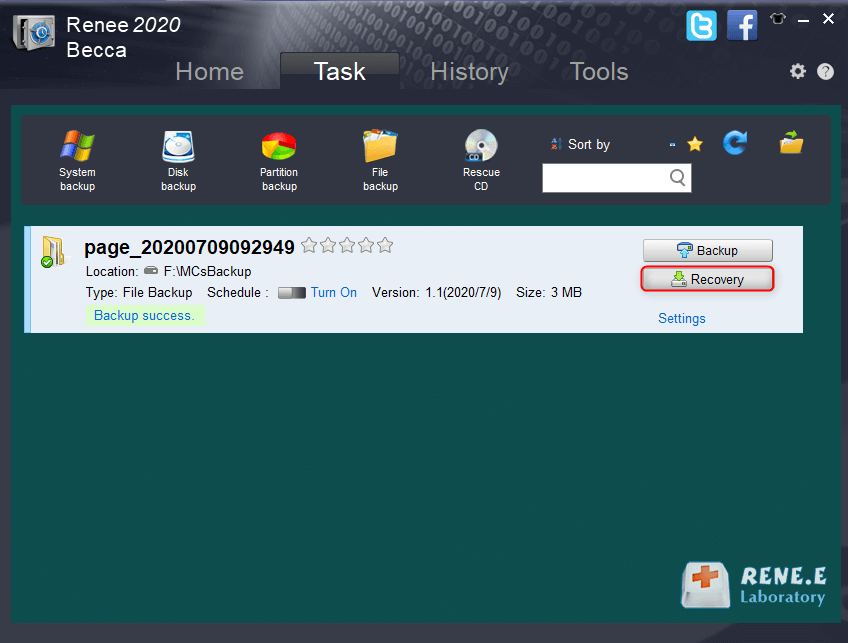
Step 3: Finally, click the (Backup Now) button to start executing the backup file command according to your settings, and you can see the progress of all backup tasks on the task bar. After the backup is complete, you can click the (Restore) button to restore the files to the specified hard disk when necessary.
Check the file backup progress on the taskbar
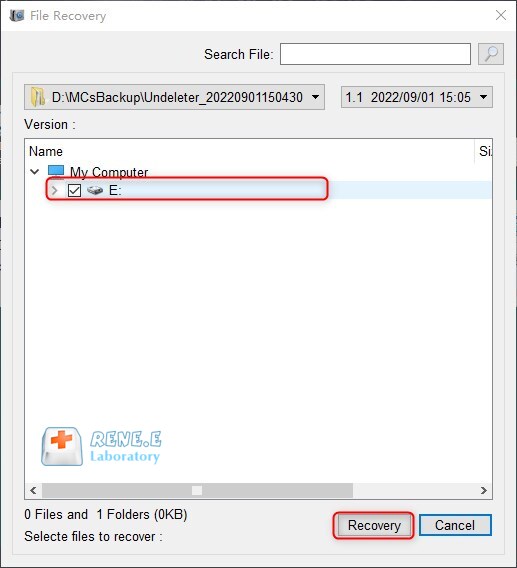
Step 4: After that, select the location where the files are to be restored, and click the (Restore) button.
Choose where to restore
After understanding the operation steps of backing up data, let’s learn how to fix DISM error 87.
III. How to fix DISM error 87 on Windows 10?

1. Enter the correct DISM command

DISM commands usually contain a lot of characters. In order to ensure the normal operation of the command line, it is recommended that you carefully check all the characters in the command line. The correct DISM command is as follows:
DISM /online /cleanup-image /CheckHealth
DISM /online /cleanup-Image /ScanHealth
DISM /online /cleanup-image /Restorehealth
Note: Spaces should be added before the slash (/), not after it.

2. Check for Windows updates

As mentioned above, DISM error 87 may appear when the Windows update is wrong. Therefore, you can check Windows updates to solve the current problem. The specific steps are as follows:
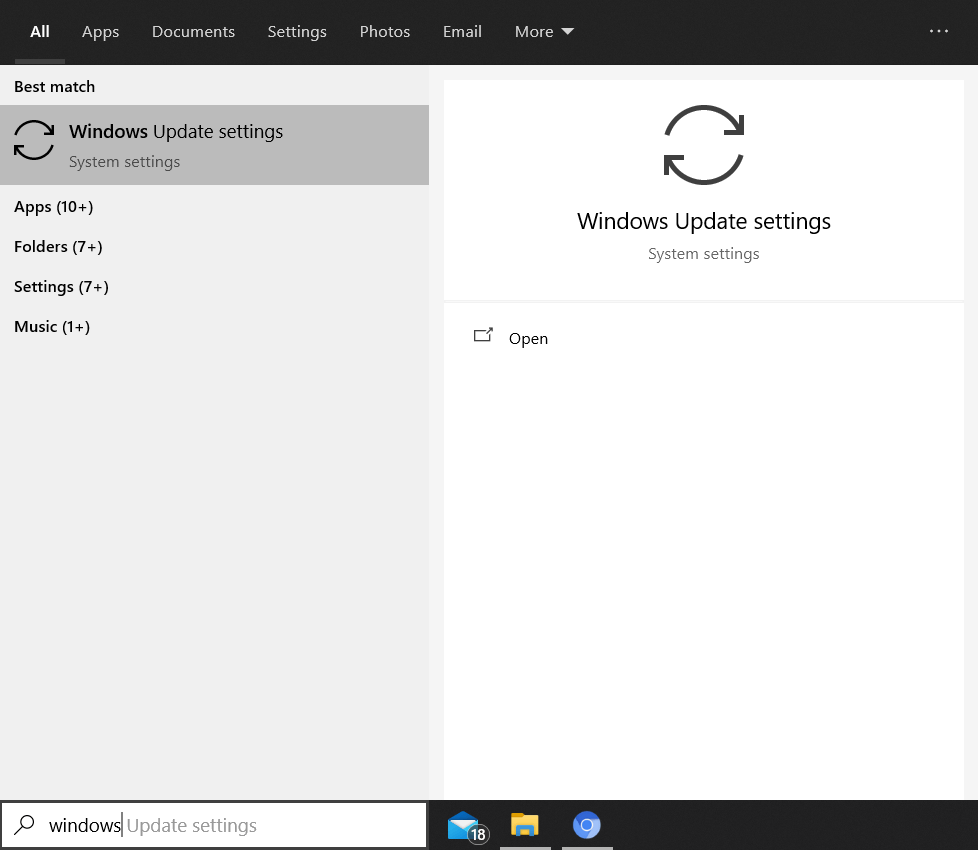
Step 1: Run the computer, find the (Windows Update Settings) option in the search box in the lower left corner and enter it.
Open Windows Update Settings
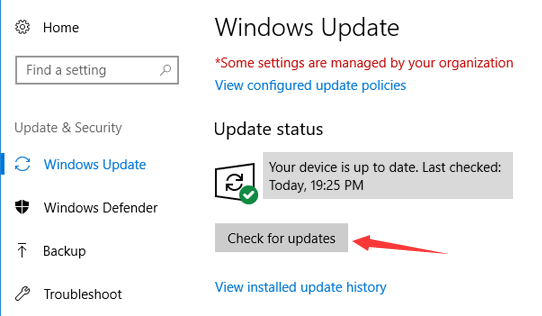
Step 2: Next, in the Windows Settings interface, select (Windows Update) on the left and click (Check for Updates) on the right.
Step 3: After that, the system will check for updates. After the check is completed, if it prompts “You are using the latest version”, it means that there is no need to update. Otherwise, follow the prompts to update.
Click the Check for Updates button

3. Run the command line as an administrator

Only by running the DISM command line as an administrator can the command run normally without error. The following is the detailed operation method:
Run the computer, search (cmd) directly in the search box in the lower left corner, right-click the search result and select (run as administrator) to open the command prompt tool. After that, enter the correct DISM command in the command prompt window that opens.
run command prompt

4. Run sfc and chkdsk

How to run sfc:
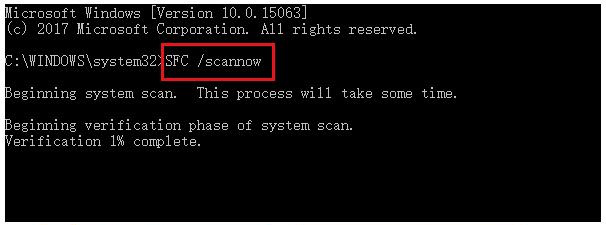
sfc /scannow is a commonly used command among all sfc commands. It can scan all protected system files and fix problems. The specific operation steps are as follows:
Step 1: Search (cmd) directly in the search box in the lower left corner, right-click the search result and select (run as administrator) to open the command prompt tool.
run command prompt
Step 2: In the opened command prompt window, enter the command (SFC /scannow) and press the (Enter) key. Next, System File Checker will perform a system scan and fix problematic system files. After the repair is complete, restart the computer and try using DISM again to see if the problem is resolved.
Enter the SFC command
Steps to run chkdsk:
The chkdsk tool is a command for the Windows system to check the current state of the disk. It can display the disk state, memory state, and the number of discrete files in the specified path, and can also repair the disk. The specific operation steps are as follows:
Step 1: Run the computer, search (cmd) directly in the search box in the lower left corner, right-click the search result and select (run as administrator) to open the command prompt tool.
run command prompt
Step 2: In the opened command prompt window, enter the command (chkdsk C: /r /f) (C refers to the hard disk drive letter; /r and /f are chkdsk parameters, /r can find bad sectors and restore readable sectors information; /f will try to fix errors found on the disk), and press (Enter) to fix the errors. After the fault repair is complete, restart the computer and check whether the problem is resolved.
Enter the disk repair command