author avatar
    Technology Manager of Test Dept.
 

Summary
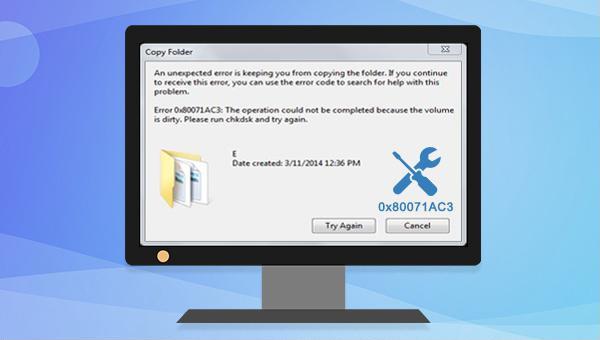
Discover how to fix the pesky error code 0x80071AC3 when transferring files to external storage devices on Windows. Our expert identifies the root cause of the issue and provides a comprehensive range of conventional solutions to help you quickly resolve this frustrating problem. Don't let technical difficulties disrupt your workflow - read on to optimize your external storage experience today.


error code 0x80071AC3

I. Why does the 0x80071AC3 error occur?

In Windows, you may receive an error code 0x80071AC3 when trying to access files or copy data to an SD card, USB flash drive, or external hard drive. Once this error occurs, it indicates that there is a serious problem with your external storage device. Usually, the reasons for this error are as follows:
●External storage device has bad sectors
●File system error
●A system shuts down abnormally or crashes
● Faulty or damaged drivers
● Unsafe removal of external storage devices
To safely and effectively resolve the 0x80071AC3 error, it’s crucial to first back up important data using professional tools. Below, we detail the process for doing so.

II. Use Renee Becca to back up data before repairing the fault

1. What is Renee Becca?

Renee Becca is designed for efficient system and hard disk data backup and restoration. Utilizing advanced incremental and differential backup technology, it offers time and space savings. The software facilitates easy backup and restoration of crucial computer data, such as programs, system settings, emails, photos, videos, documents, and bookmarks. It supports multiple backup options like system, partition, hard disk, and file backup, as well as disk cloning and system migration, all within a user-friendly interface.
Renee Becca - Quickly and safely back up SD card data

Fast backup Backup speed up to 3 000MB/minute

Support multiple SD cards Backup data of SD card, SDHC card and SDXC card

Incremental/differential backup technology Automatically analyze data differences between source files and backup files to save disk space

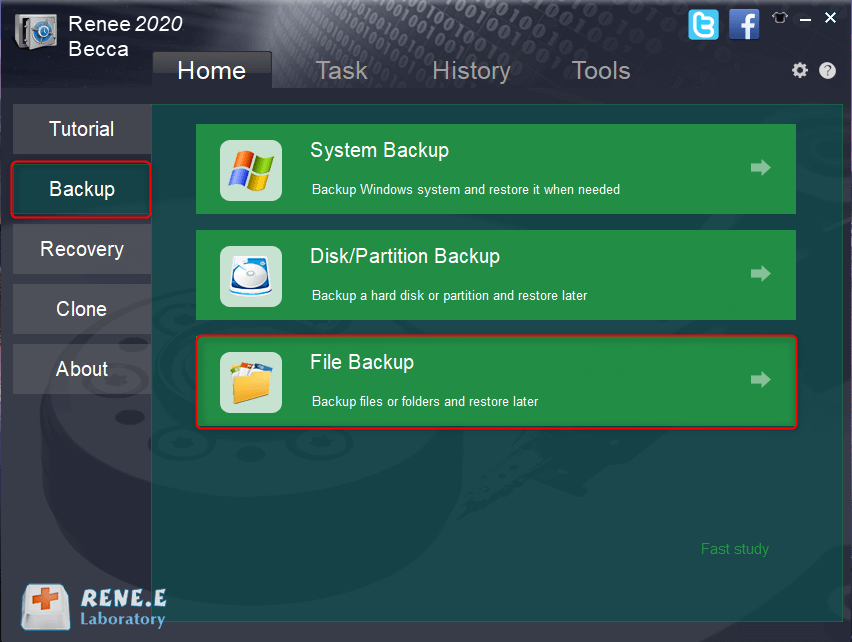
Multiple backup schemes Support system backup/partition backup/hard disk backup/file backup/disk cloning

Easy to use Even newbie can handle it in seconds

Fast backup Backup speed up to 3 000MB/minute

Support multiple SD cards Backup data of SD card, SDHC card and SDXC card

Easy to use Even newbie can handle it in seconds

Free TrialFree TrialAlready 2000 users have downloaded and try Renee Becca

2. How to backup data with Renee Becca?

Step 1: Connect the external storage device to the computer. Download, install, and run Renee Becca on the computer. Select the (File Backup) option in the main interface.
click to back up files in renee becca
Step 2: Select all the files that need to be backed up in (source), and select the hard disk to store the backup in (destination).
how to back up files in renee becca
In addition, using Scheduler, you can make a daily/weekly/monthly automatic backup plan. Click (OK) to enable the automatic backup.
file backup schedule on Renee Becca
In the (Backup scheme), you can choose a suitable backup mode from Scheme Type according to your individual needs. Renee Becca offers 5 backup schemes, including version chain mode, single version mode, full mode, incremental mode, and differential mode.
backup mode of file backup on Renee Becca
Renee Becca offers 5 backup plans:
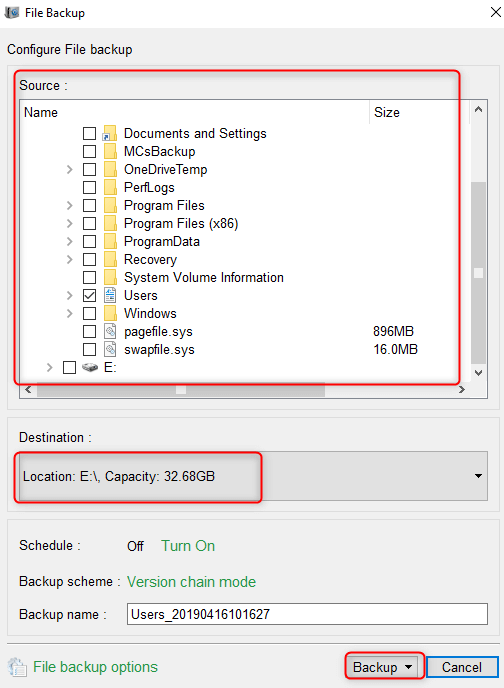
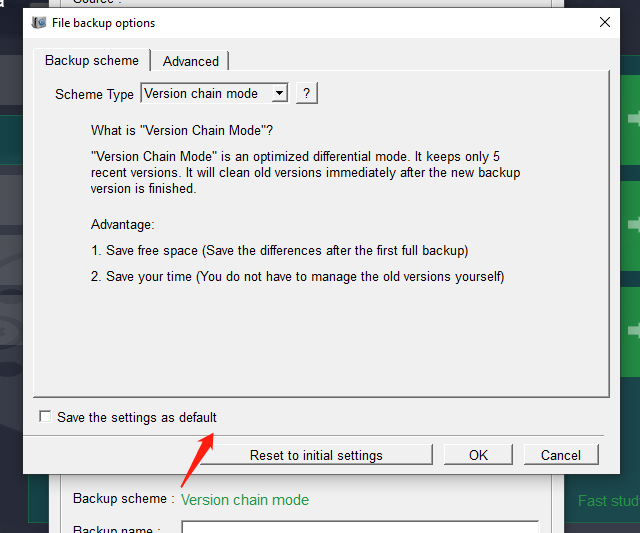
Version chain mode: Only the latest 5 versions are kept, and useless old versions are automatically deleted after the backup is completed.
Single version mode: Only the latest version is kept, and the previous version is automatically deleted after the backup is completed.
Full mode: Creates a full backup.
Incremental mode: After the initial full backup, only incremental backups are created.
Differential mode: After the initial full backup, only differential backups are created.
Step 3: Finally, click the (Backup) button to start the file backup.

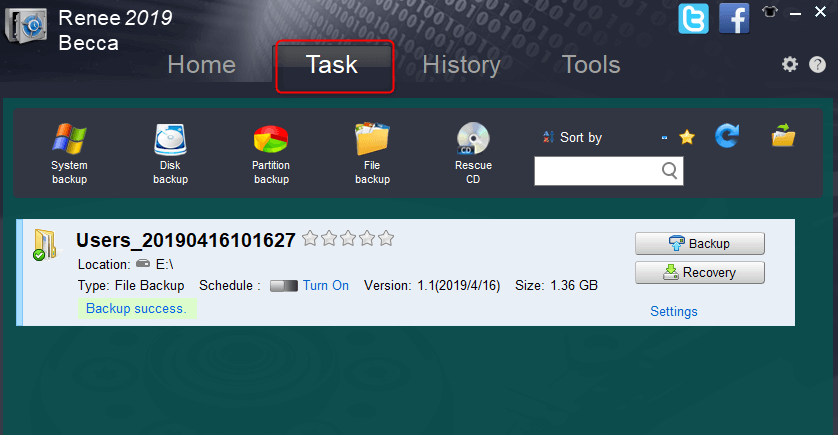
You can see the progress of all backups from Task. After the backup is complete, you can click the (Recovery) button to restore the file to the specified disk.

restore the backup
Step 4: After that, select the location where the files are to be restored, and click the (Recovery) button.
recover the data from the backup file
Next, let’s learn several methods to fix error code 0x80071AC3.

III. How to fix 0x80071AC3 error?

1. Unlock the SD card

If you encounter an error accessing an SD card on your computer, check the card’s sliding switch. If it’s in the locked position, slide it to unlock. This should enable the computer to read the card’s contents.

2. Disable ReadyBoost

Certain USB devices incorporate ReadyBoost disk caching to improve performance. Nonetheless, this feature can occasionally cause the error code 0x80071AC3 during read/write processes. To resolve this issue, it’s recommended to disable ReadyBoost with the following steps:
Step 1: Ensure that the USB flash drive is connected to the computer normally. Press the (Windows+E) key at the same time to open the File Explorer. After that, right-click on the USB disk.
right click at properties
Step 2: Switch to the (ReadyBoost) tap, and check (Do not use this device). Finally, click the (Apply) and (OK) buttons.

After that, safely remove the USB drive and restart the computer, then reconnect the USB drive and see if the problem is resolved.

ReadyBoost

3. Use the chkdsk tool to scan and repair hard disk errors

chkdsk can help you repair bad sectors and corrupted file systems. To execute the chkdsk utility on a failed disk drive, follow these steps:
Step 1: Connect the external storage device to the computer. Search (cmd) in the search box in the lower left corner, right-click on the search result, and select (run as administrator) to open the command prompt tool.
run as administrator
Step 2: To initiate a thorough check and repair of your external drive, begin by accessing the command prompt.

Input the following command: chkdsk X: /r /f, ensuring to substitute X with the actual letter assigned to your external disk. The parameter /r is used to locate bad sectors and recover any readable information, whereas /f is designed to fix errors present on the disk. Press Enter to commence the repair process.

Upon completion, it’s important to eject the external device safely, and then restart your computer. Finally, reconnect the device to confirm whether the issue has been successfully resolved.

run chkdsk

4. Update the driver of the external storage device

Step 1: Run the Windows computer, and ensure that the external disk is connected to the computer normally. Press (Windows key + R) on the keyboard at the same time to open the Run window. After entering the command (devmgmt.msc), click the (OK) button.
open device manager
Step 2: Under the “Disk drives”, right-click on the external storage device (usually with a yellow exclamation mark), and select the (Update driver) option.
update driver-disk
Step 3: Select the (Search automatically for updated driver software) option, and then follow the instructions to complete the update.

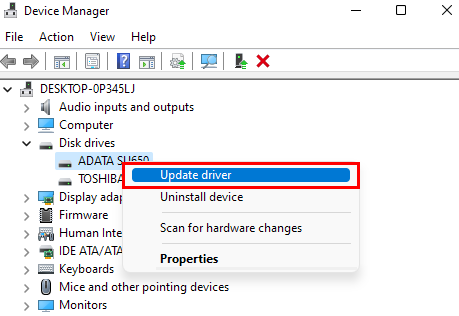
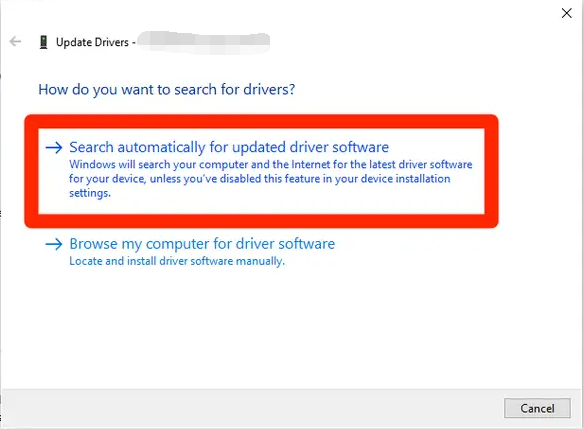
After the driver update is complete, safely eject the external device, restart the computer, reconnect the external storage device, and check if the problem is resolved.

update Driver Confirm