

Get Rid of OneDrive: Disable or Uninstall Onedrive in Just a Few Steps

Summary
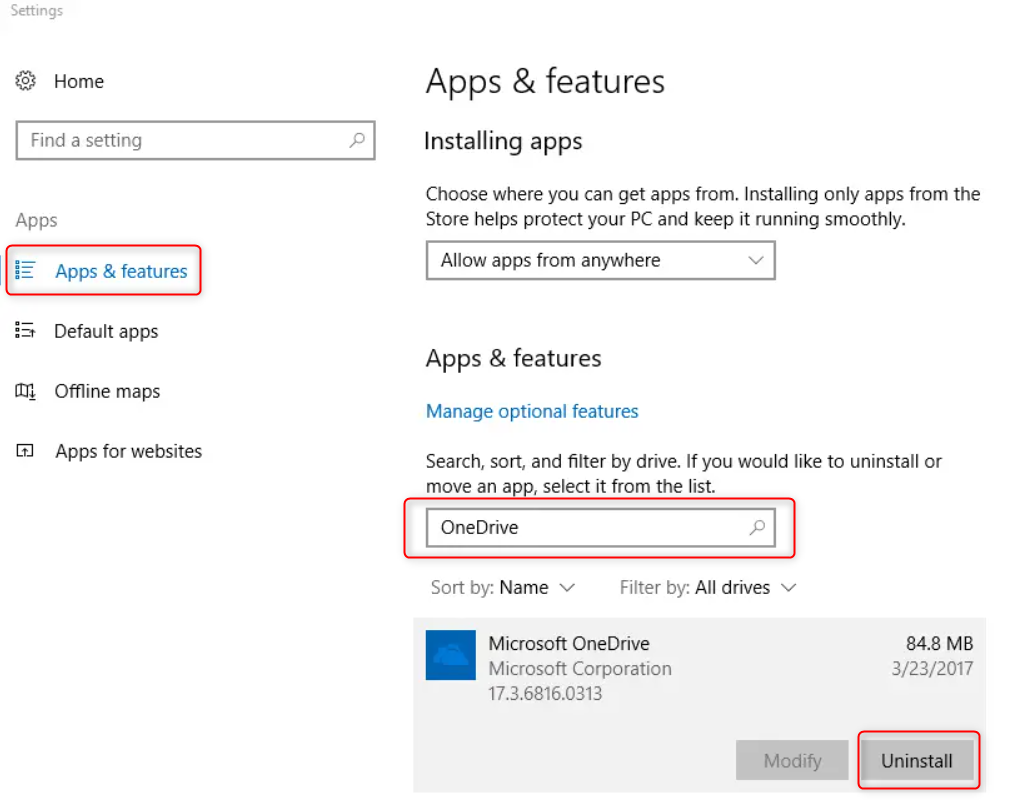
Learn how to disable or uninstall OneDrive on your Windows system to free up storage space and customize your device. Our step-by-step guide will help you easily manage your files without the need for this pre-installed application.
Table of contents
gpedit.msc and select OK to access the Local Group Policy Editor.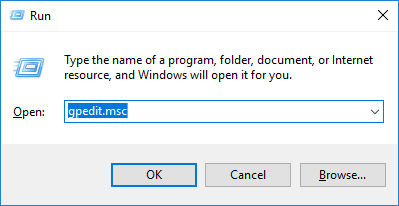
Regedit and click OK to open the Registry Editor.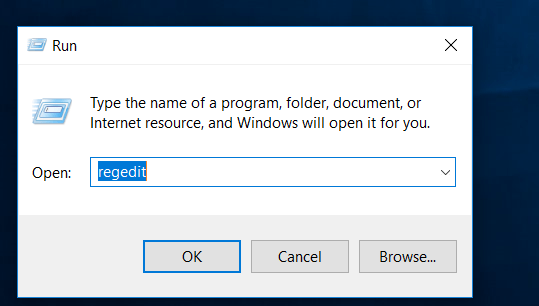

Fast backup Backup speed up to 3 000MB/minute
Support multiple SD cards Backup data of SD card, SDHC card and SDXC card
Incremental/differential backup technology Automatically analyze data differences between source files and backup files to save disk space
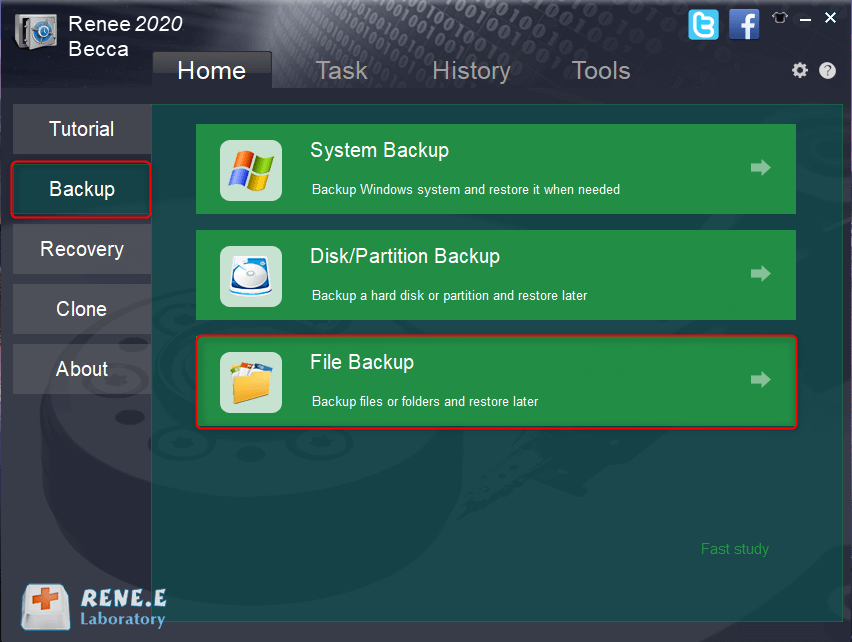
Multiple backup schemes Support system backup/partition backup/hard disk backup/file backup/disk cloning
Easy to use Even newbie can handle it in seconds
Fast backup Backup speed up to 3 000MB/minute
Support multiple SD cards Backup data of SD card, SDHC card and SDXC card
Easy to use Even newbie can handle it in seconds
Version chain mode: Only the latest 5 versions are kept, and useless old versions are automatically deleted after the backup is completed.
Single version mode: Only the latest version is kept, and the previous version is automatically deleted after the backup is completed.
Full mode: Creates a full backup.
Incremental mode: After the initial full backup, only incremental backups are created.
Differential mode: After the initial full backup, only differential backups are created.
- The software features a user-friendly interface for effortless navigation and operation. Users can choose from various backup and restore options at no cost.
- It offers three distinct cloning functions to cater to different needs. The system allows for seamless migration to a new hard drive without losing any original system data. Users can predefine the partition size on the new hard drive before initiating the cloning process.
- The software supports cloning only the used space on the hard drive and facilitates HDD to SSD cloning.
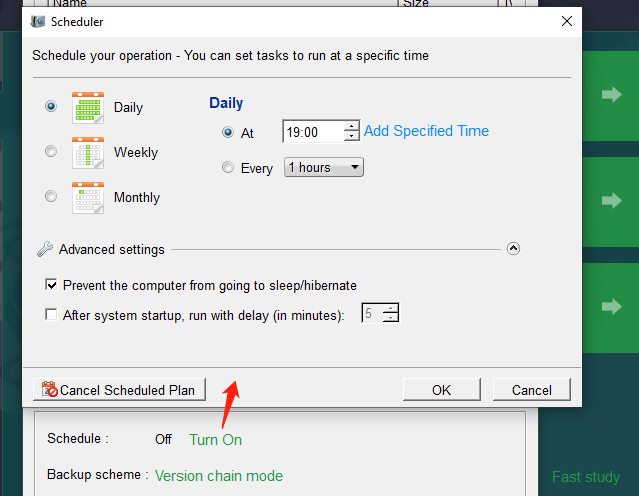
- It enables the creation of automatic backup schedules—daily, weekly, or monthly. Incremental and differential backups are possible, backing up only new or changed files since the last backup, thus conserving hard drive space.
Relate Links :
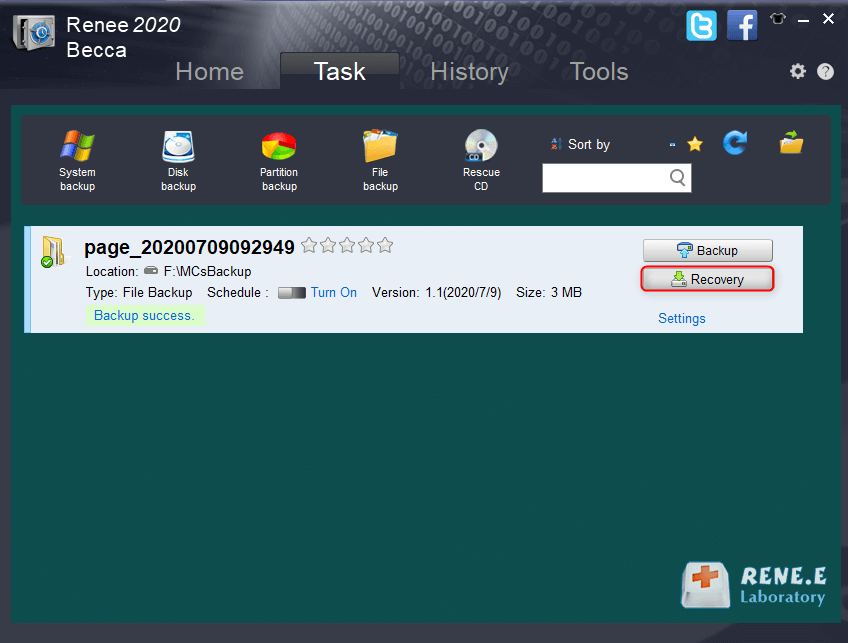
How to Restore System Backup by Renee Becca

27-05-2022
Amanda J. Brook : Detailed steps about how to restore the backup system to original system disk without Windows.
Best Free Backup Software – Renee Becca

14-06-2022
Jennifer Thatcher : Step by step process of how to backup partition/disk with the best free backup software - Renee Becca....
Expert Tips for Fixing 0xC004F074 Error Without Losing Your Data
28-02-2024
Amanda J. Brook : Learn about the error code 0xC004F074 when activating Windows and discover conventional solutions. Safeguard your important data with...
How to fix the problem that Windows 10 settings won't open?

19-05-2024
Ashley S. Miller : Discover practical solutions to tackle the widespread challenge of Windows 10 settings not opening. Dive into our guide...

