

How to Use SSD and HDD Together?

Summary
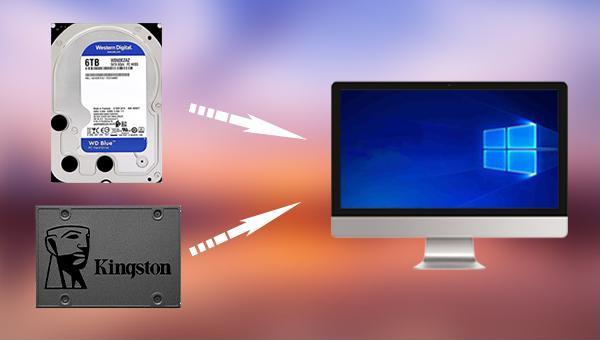
Learn how to effectively combine solid-state hard disks and mechanical hard disks to optimize computer storage capabilities. Find more information in this article.
Table of contents
- Turn on the computer.
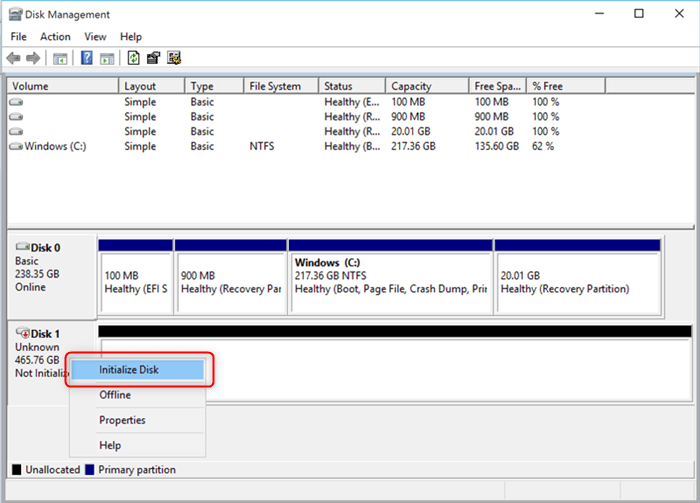
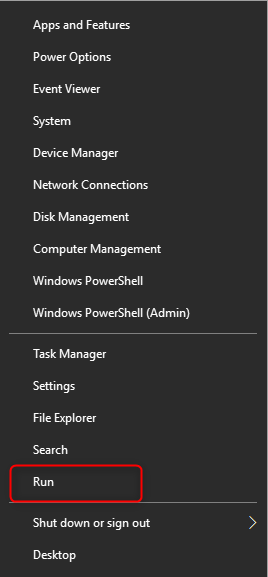
- Right-click the start menu and select “Disk Management“.
- In Disk Management, locate the disk labeled as “not initialized”.
- Right-click the disk and select “Initialize“.
- Choose the partition style (MBR or GPT) by referring to this link: MBR or GPT.
- Once the disk status changes to “Online”, right-click on the unallocated space.
- Select “New Simple Volume” and configure the partition settings as prompted, including partition size, drive letter, and file system.
- For a visual guide on the initialization steps, click here.
- If the newly installed HDD and SSD are not displayed in the disk management interface, refer to this link: Click here for a workaround.


Quick Backup files at up to 3,000MB/min.
Fullfill different backup needs Supports system backup, disk / partition backup, file backup and disk clone.
Intelligent Automatically analyze the differences between source and backup data.
Convenient Support VSS, allowing to freely view webpages when backing up system.
Highly compatible Supports various files and storage devices.
Quick Backup files at up to 3,000MB/min.
Fullfill different backup needs Backup for disk, partition and system. Save disk space by backing up incremental /differential data.
Highly compatible Supports various files and storage devices.
Relate Links :
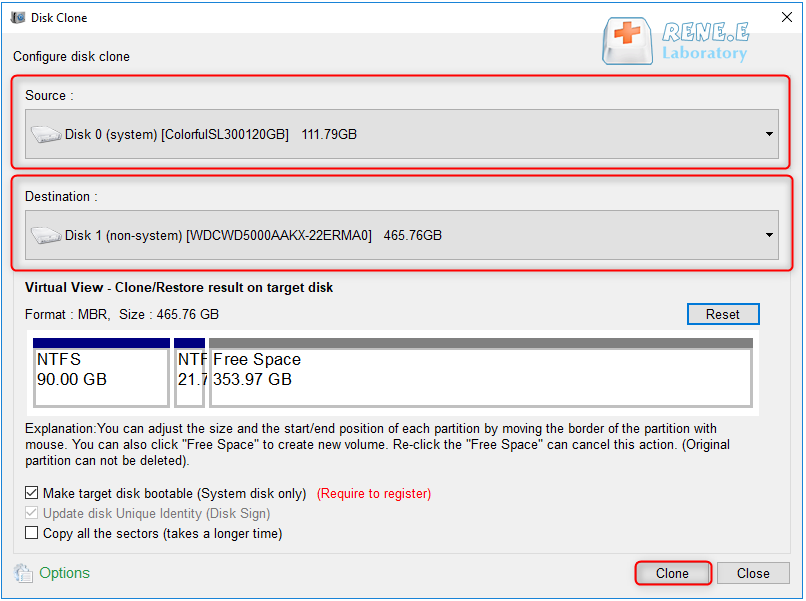
Easily Clone HDD to SSD: No Windows 10 Reinstallation Required

14-03-2024
Amanda J. Brook : Upgrading your computer’s performance has never been easier. Discover the seamless process of cloning your existing HDD onto...
How to Clone HDD in Windows 8 and 8.1 Computer

12-07-2022
Jennifer Thatcher : With professional disk clone software - Renee Becca, 3 steps you can clone original HDD to a new...
Free Clone HDD to SSD in Windows 10

12-07-2019
John Weaver : How to clone whole HDD to smaller SSD with bootable system? Freeware - Renee Becca helps you make...
06-01-2022
Ashley S. Miller : Renee Becca automatically clones entire Windows system to new, better and faster SSD with 3 simple clicks. No...

