

How Can You Recover Temporary Deleted Files on a Computer Effectively

Summary
Learn how you can recover temporary deleted files on a computer using built-in OS tools, professional recovery software, and backups. This article offers step-by-step instructions and practical tips to effectively restore your lost files, ensuring you can retrieve them quickly and easily.
Table of contents


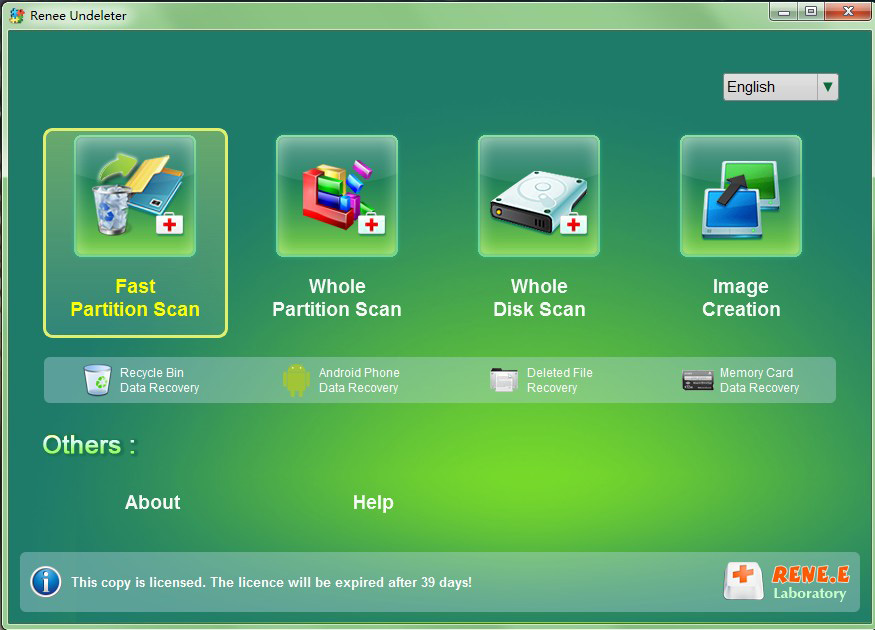
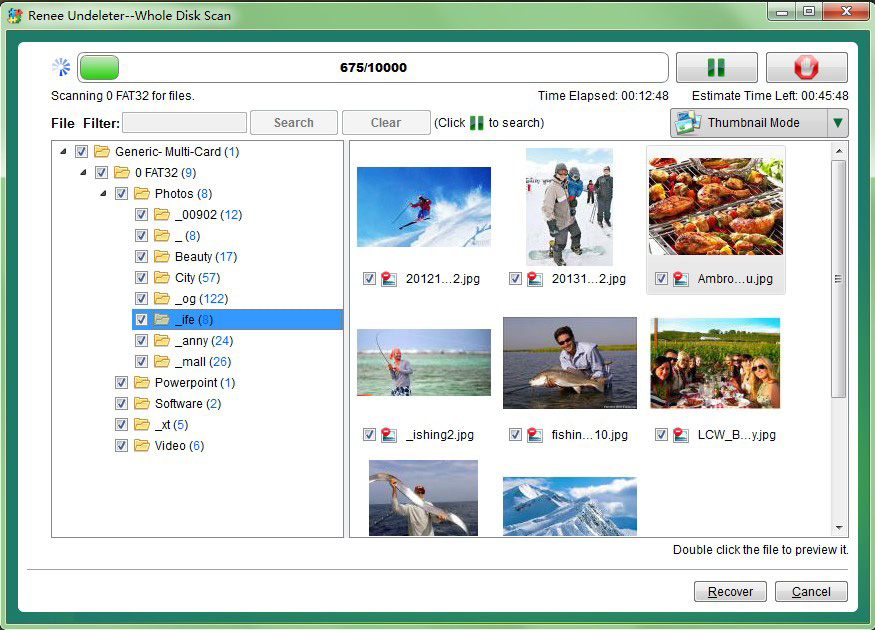
Easy to use Only simple steps to recover data from storage devices.
Multiple scan modes Fast partition scan, whole partition scan and whole disk scan for different recovery needs.
File types Support to recover pictures, videos, audios, documents, mails, etc.
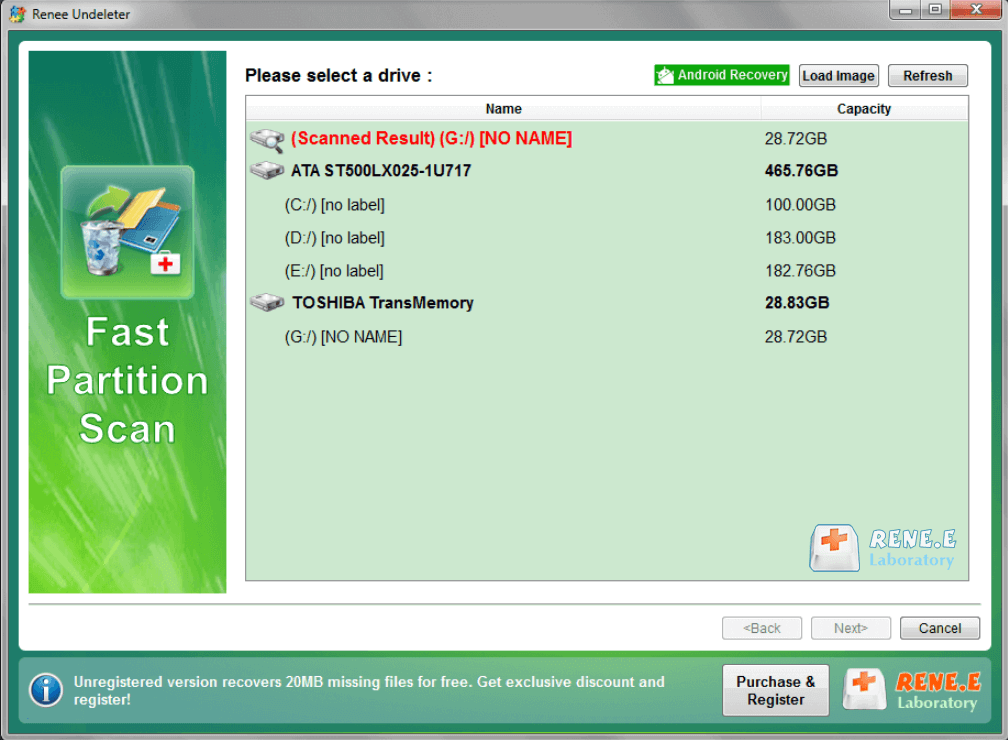
Supported storage devices Recover data from recycle bin, SD card, external disk, etc.
Supported systems Windows 11,10, 8.1, 8, 7, Vista, XP, 2000 and Mac OS X10.6, 10.7, 10.8+.
Easy to use Only simple steps to recover data from storage devices.
Multiple scan modes - 3 scan modes for different recovery needs.
Supported storage devices Recover data from recycle bin, SD card, external disk, etc.
Quick Backup files at up to 3,000MB/min.
Fullfill different backup needs Supports system backup, disk / partition backup, file backup and disk clone.
Intelligent Automatically analyze the differences between source and backup data.
Convenient Support VSS, allowing to freely view webpages when backing up system.
Highly compatible Supports various files and storage devices.
Quick Backup files at up to 3,000MB/min.
Fullfill different backup needs Backup for disk, partition and system. Save disk space by backing up incremental /differential data.
Highly compatible Supports various files and storage devices.
Relate Links :
Understanding the LOST.DIR Folder in SD Cards: Basic Info and Solutions

03-06-2024
Amanda J. Brook : Discover the mysteries behind the LOST.DIR folder on your SD card, why it appears, and how to manage...
Retrieving Memories: A Guide to see your Deleted Photos again
16-05-2024
Amanda J. Brook : Learn how to see your deleted photos on any device with this comprehensive guide. From Windows PCs to...
The Essential Guide to Samsung Data Migration SSD to SSD

13-05-2024
Ashley S. Miller : Learn how to seamlessly migrate your data from one Samsung SSD to another with this comprehensive guide. We...
Unlocking the Secrets : A Guide to Recovering Data from an Old Hard Drive
24-11-2023
Ashley S. Miller : Learn how to successfully recover data from an old hard drive using proven techniques and specialized software. From...

