I. How to install Windows 10 on a mobile hard disk?
If you need to install the Windows 10 system on a mobile hard disk, you need to prepare the following items.
Windows To Go (WTG), previously a feature that allowed for booting Windows from a USB drive, was included in the Windows 10 Enterprise and Education editions. However, it has been discontinued starting with version 2004. Users who need to create a portable Windows environment will now have to seek alternative solutions, such as third-party tools like WTG auxiliary tools, WinToUSB, or Rufus.
② A USB storage device (U disk/mobile hard disk) that meets the official certification of Microsoft
Microsoft’s certified USB storage for Windows To Go requires USB 2.0 or higher, at least 32GB capacity, high random read/write speeds, and the ability to handle numerous random accesses per second for typical Windows operations. For prolonged use and system installation, opt for larger capacities like 256GB+. WTG-certified USB devices, such as U disks, typically cost more. If on a tight budget, or if you own a mobile SSD or high-performance HDD, you can install Windows To Go on these drives. Despite lacking official certification, they should still provide a satisfactory user experience.
For Windows To Go, it is recommended to first prepare a Windows 10 Enterprise Edition image. Utilizing a third-party creation tool can provide greater flexibility, permitting you to select from multiple versions of Windows. Ensure to acquire Windows 10 system images exclusively from the official website or certified third-party sources.
Windows 10 official download address: https://www.microsoft.com/software-download/windows10
2. Create a Windows To Go workspace on the mobile hard disk
Creating a Windows To Go workspace involves embedding a Windows 10 image onto a portable hard drive and enabling it to boot. For illustration, here are the specific steps using the built-in Windows To Go feature:
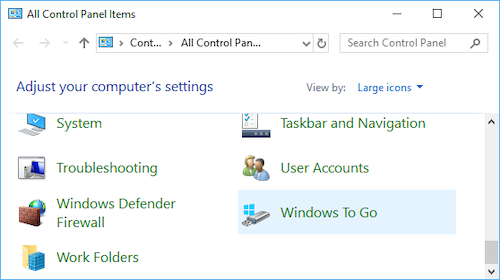
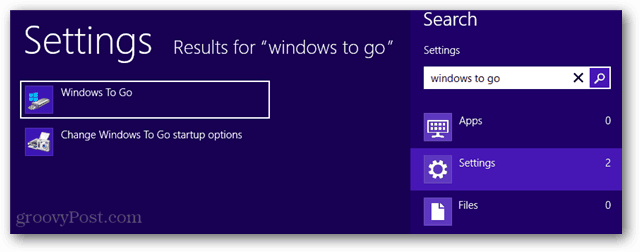
Step 1: Connect the mobile hard disk to the computer, search for (Windows To Go) in the search box in the lower left corner of the computer and open it.
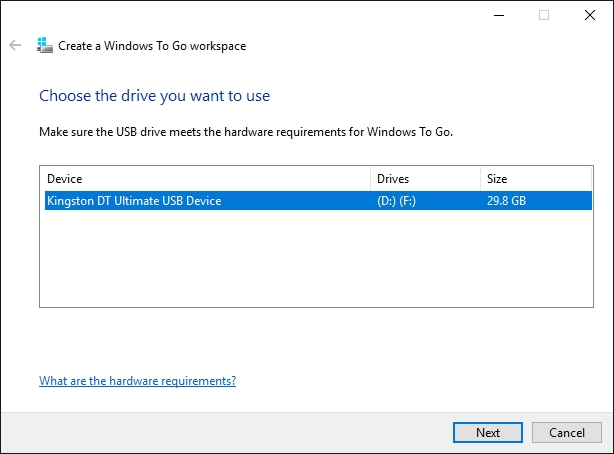
Step 2: In the “Create Windows To Go Workspace” window, select the mobile hard disk on which the Windows 10 system needs to be installed.
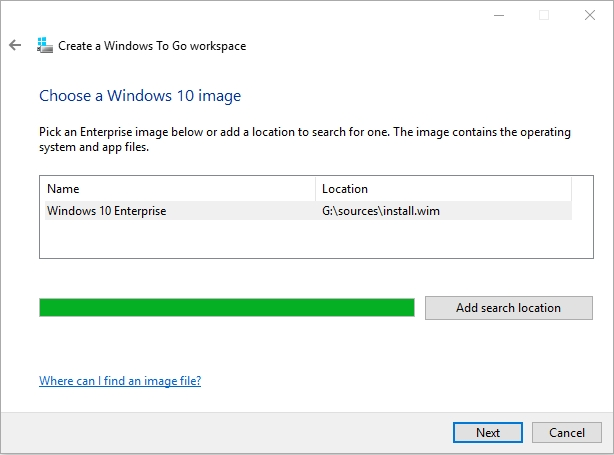
Step 3: Select the Windows 10 Enterprise version image file. Should the required image be unavailable, click “Add search location” to navigate and locate it.
Step 4: Choose the option “Use BitLocker in my Windows To Go workspace” to secure your data with encryption and set a strong password. Alternatively, if you’re not acquainted with BitLocker, you may select “Skip“. It’s advisable to opt for skipping if you’re unsure about using BitLocker. Subsequently, you’ll be prompted to back up your data and format the portable hard drive. Make sure to save any important files before proceeding with the format.
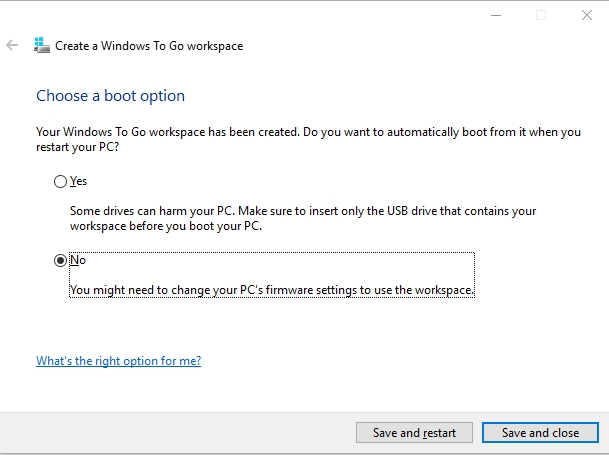
Step 5: When selecting a startup option, you’ll be asked if you want to automatically boot from the Windows To Go workspace (the portable hard drive) upon restarting. Choose Yes to auto-start or No if you plan to use the workspace on different computers.
3. How to start the computer from the mobile hard disk with Windows 10 installed?
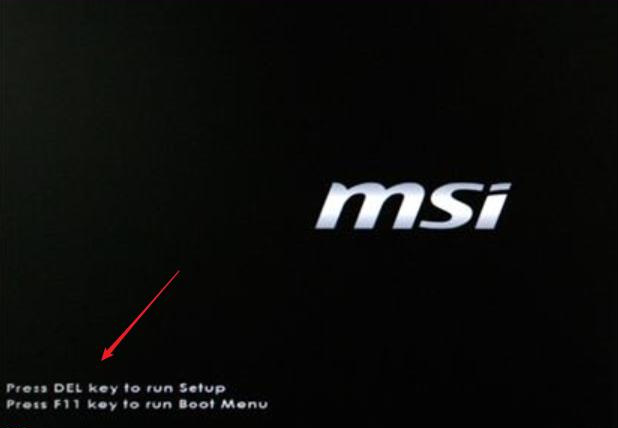
Step 1: Connect the Windows 10 mobile hard disk (Windows To Go workspace) to the target computer. During startup, repeatedly press the F2, F8, F10, F12, ESC, or Del key to enter the BIOS interface, depending on your computer or motherboard brand.
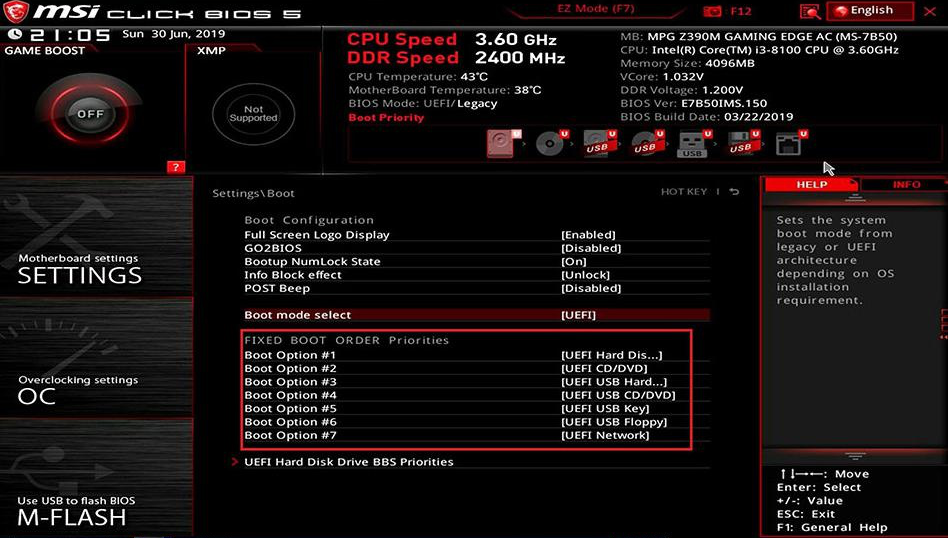
Step 2: Navigate to the Boot Priority setting within your BIOS. It’s important to recognize that BIOS interfaces can differ significantly. Confirm that the mobile hard drive containing the operating system is prioritized at the top of the boot order. Save your changes and then reboot your system.
Because some drivers or other supporting software necessary for the Windows 10 system to run are not included in the Mac computer, the following steps are required.
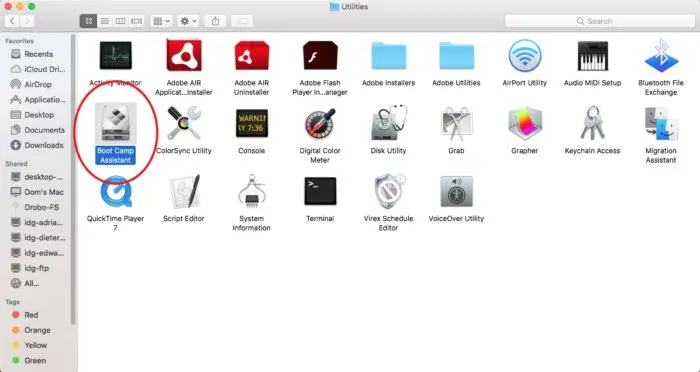
Step 1: Prepare an 8GB or larger U disk and connect it to your Mac. Boot the Mac, launch Boot Camp Assistant, click Action on the menu bar, and choose ‘Download Windows Support Software’.
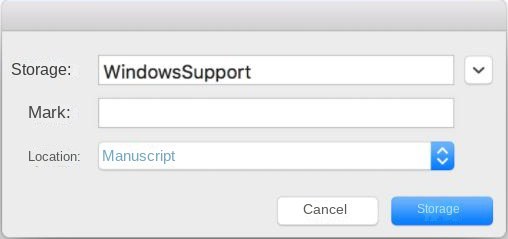
Step 2: Store the downloaded WindowsSupport folder in the prepared USB flash drive. Then shut down the Mac computer and remove the USB drive.
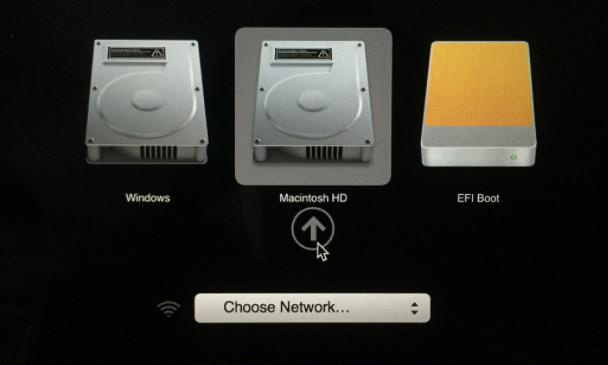
Step 3: Connect the Windows To Go drive to the Mac’s USB port. Restart the Mac, holding the Option key to open the boot menu. Choose EFI Boot to start Windows 10. If the Mac’s touchpad and keyboard are unresponsive, attach an external mouse to complete setup tasks like region selection and username creation.
Step 4: After booting into the Windows environment, connect the USB drive that contains the WindowsSupport folder. Should your Mac have limited USB ports, employ a USB hub. To install the required drivers for full functionality of the keyboard, touchpad, Bluetooth, Wi-Fi, and other features, run BootCamp.exe from the folder.
The steps outlined below detail how to
install Windows 10 on a portable hard drive and
boot your computer from it. This guide should prove useful to those in need. For
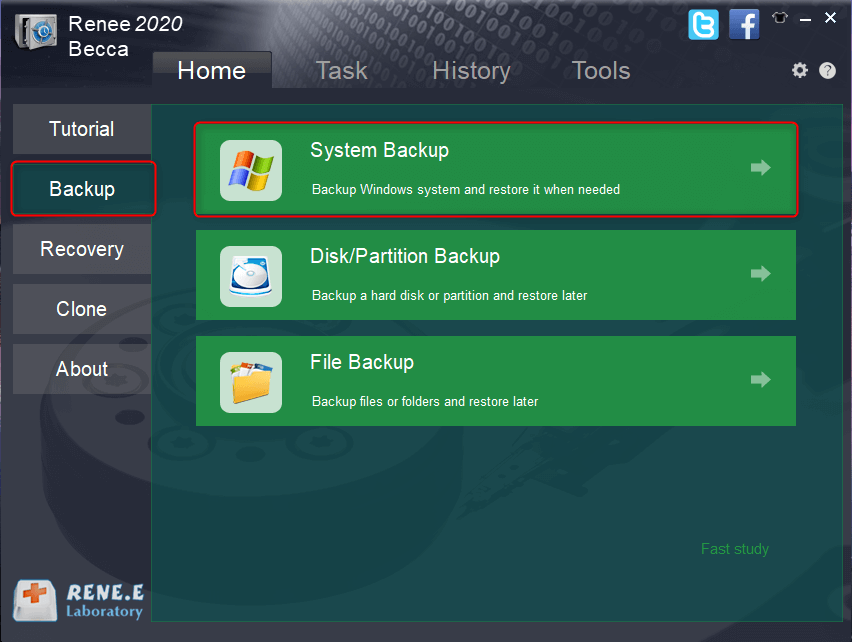
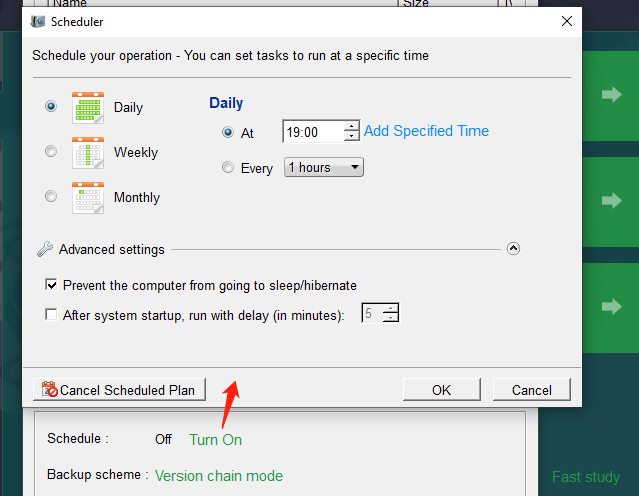
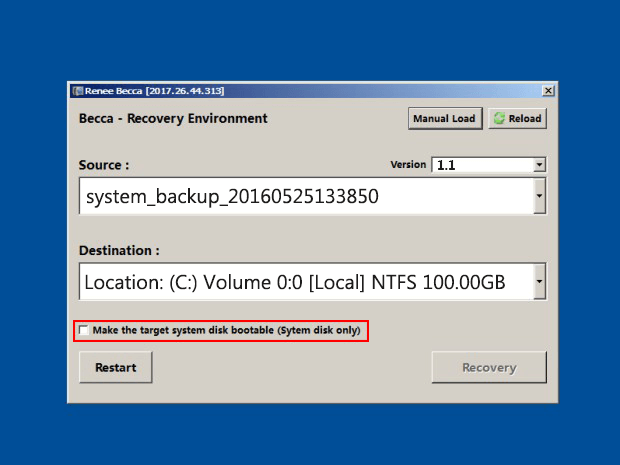
regular Windows 10 system backups, consider the methods below. Note that unlike the Windows To Go workspace, a backup system is not bootable but serves to
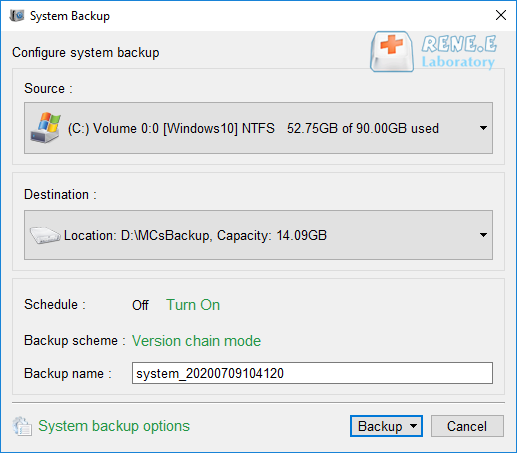
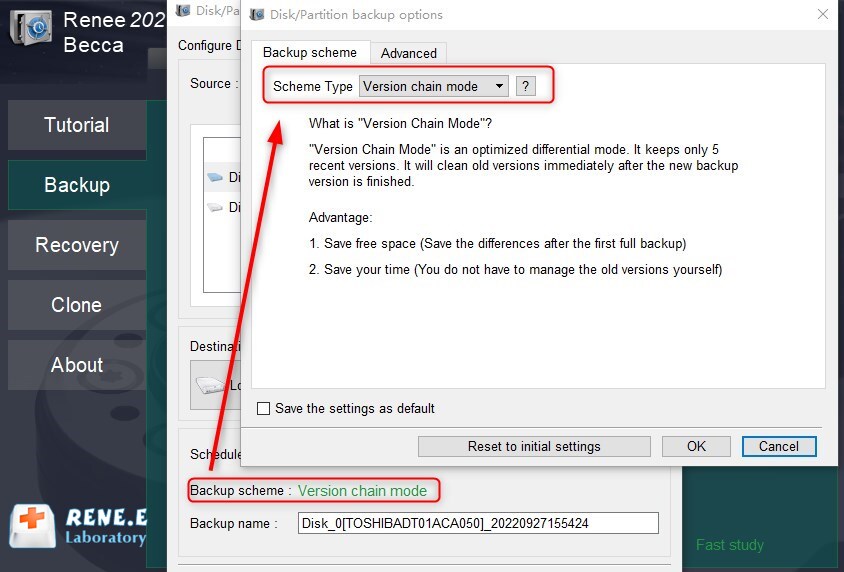
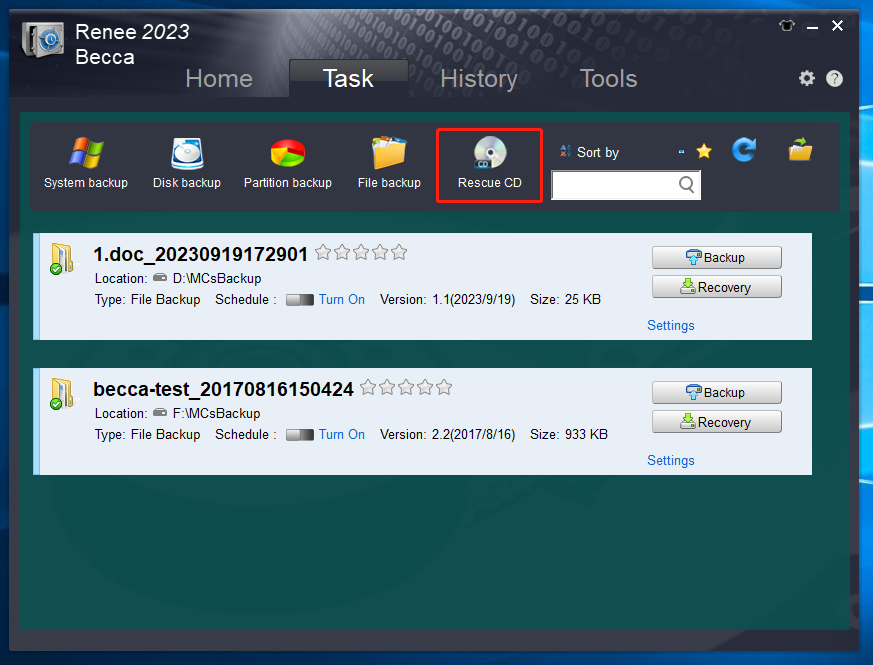
restore your system to its backed-up state in the event of system failure. The system backup process will be demonstrated using
Renee Becca as an illustrative tool.