

SD Card Photos Disappeared? Learn Quick Recovery Tips Now!

Summary
Lost photos from your SD card? Don't worry. This article will guide you on how to recover lost photos from an SD card. Learn the importance of SD card data recovery, select the right tools, back up your data, and prevent future data loss. Let's get started!


So, why do photos on an SD card suddenly disappear? In this chapter, we will discuss the importance of SD card data recovery . We will explore the feasibility of SD card recovery and explain why it is possible to recover lost photos and files from an SD card.
As technology continues to advance, SD cards have become a popular choice for data storage, making it essential to understand the importance of SD card data recovery . Let’s explore the feasibility of SD card recovery together!

When you notice photos or videos missing from your SD card , you might be tempted to continue using it or save new data on it. However, this can lead to more severe data loss .
To prevent the loss of photos due to unexpected events, we strongly recommend backing up data on the SD card before making any changes.

Easy to use Only simple steps to recover data from storage devices.
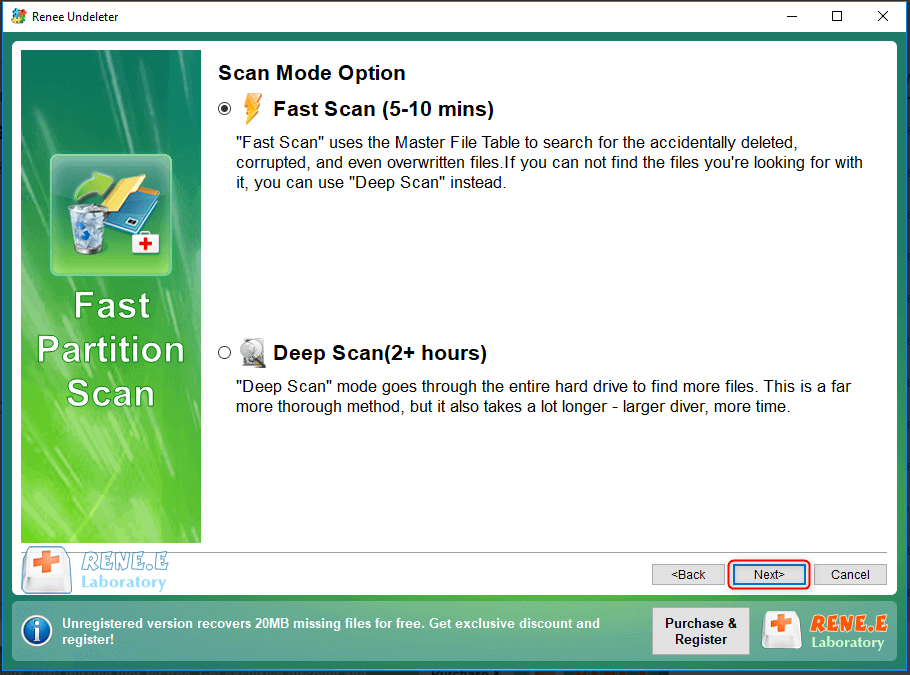
Multiple scan modes Fast partition scan, whole partition scan and whole disk scan for different recovery needs.
File types Support to recover pictures, videos, audios, documents, mails, etc.
Supported storage devices Recover data from recycle bin, SD card, external disk, etc.
Supported systems Windows 11,10, 8.1, 8, 7, Vista, XP, 2000 and Mac OS X10.6, 10.7, 10.8+.
Easy to use Only simple steps to recover data from storage devices.
Multiple scan modes - 3 scan modes for different recovery needs.
Supported storage devices Recover data from recycle bin, SD card, external disk, etc.
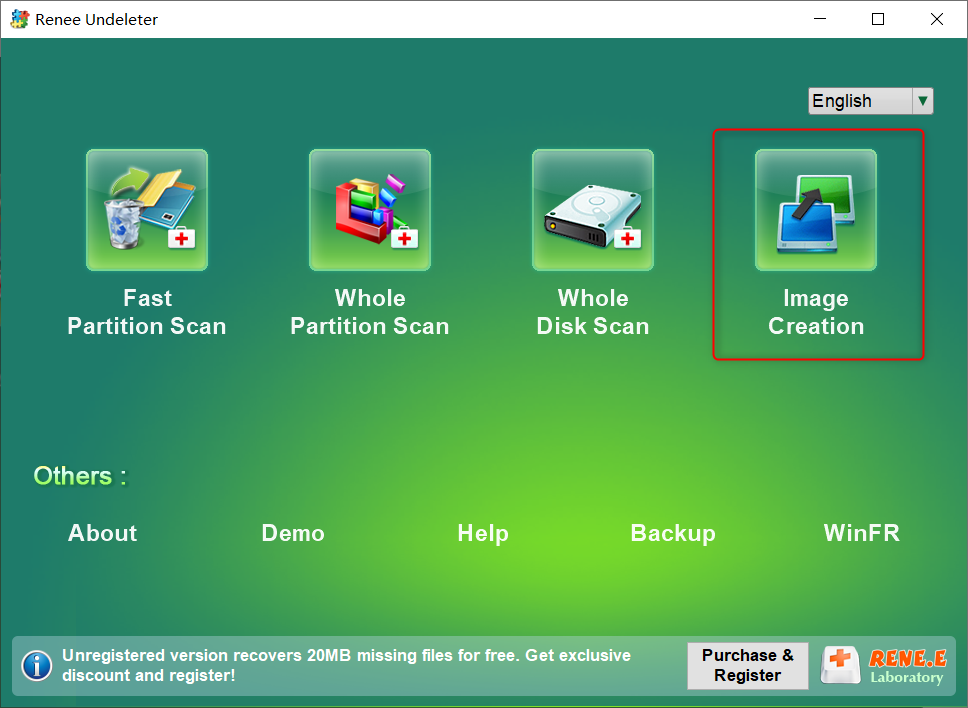
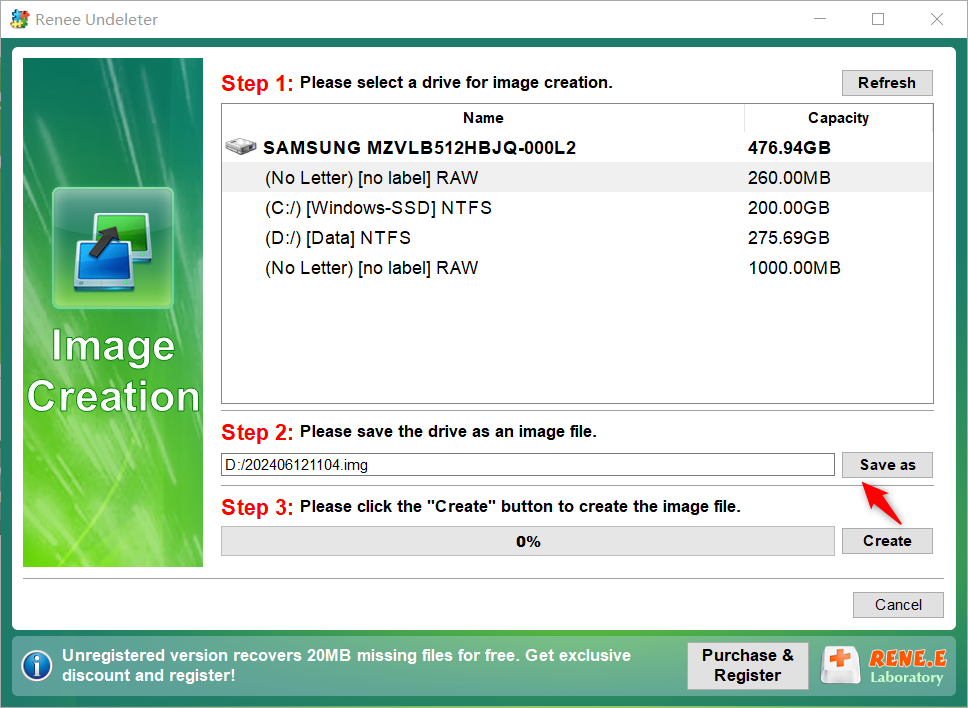
Previously, we discussed how to create image backups using Renee Undeleter . In this chapter, we will explain how to recover lost photos with this software.
Easy to use Only simple steps to recover data from storage devices.
Multiple scan modes Fast partition scan, whole partition scan and whole disk scan for different recovery needs.
File types Support to recover pictures, videos, audios, documents, mails, etc.
Supported storage devices Recover data from recycle bin, SD card, external disk, etc.
Supported systems Windows 11,10, 8.1, 8, 7, Vista, XP, 2000 and Mac OS X10.6, 10.7, 10.8+.
Easy to use Only simple steps to recover data from storage devices.
Multiple scan modes - 3 scan modes for different recovery needs.
Supported storage devices Recover data from recycle bin, SD card, external disk, etc.


- Can help recover lost photos
- You can choose the file type to recover according to your personal needs
- Provide preview function to confirm the photos that need to be recovered
- Provides the option to save the restored file path
Cons:
- Need to purchase a registration code
Previously, we discussed using Renee Undeleter to recover lost photos. If that method doesn’t work, you can try using PhotoRec to recover lost photos from your SD card.


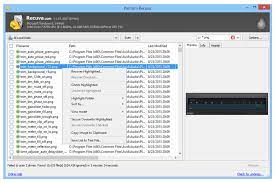
Here, we introduce a commonly used data recovery tool— Recuva . With this software, you may be able to recover lost photos from your SD card .
To recover data from a damaged SD card, a common method is to use the CHKDSK command. CHKDSK is a command tool provided by Windows for checking and repairing disk errors.
chkdsk G: /f
diskpart
chkdsk H: /f
To ensure data safety when using an SD card , consider the following methods:

Frequent SD card removal increases the risk of damage, especially during data read or write operations , leading to data loss or corruption . To protect data integrity , avoid frequent SD card removal .
To prevent data loss on an SD card, always safely eject it from the device rather than removing it directly. Additionally, store the SD card in a dry, cool place to extend its lifespan.

Relate Links :
Recover Lost Photos from SD Card: Ultimate Guide

03-06-2024
Amanda J. Brook : Find the reasons why pictures disappeared from SD card and recovery techniques. Enhance storage and data transfer for...
Lost Partition on External Hard Drive: How to Recover Your Precious Data

16-11-2023
Ashley S. Miller : Learn how to recover your lost partition on an external hard drive using various methods and software such...

