How to Reset PC on Windows 10?
- Home
- Support
- Tips System Rescue
- How to Reset PC on Windows 10?
Summary
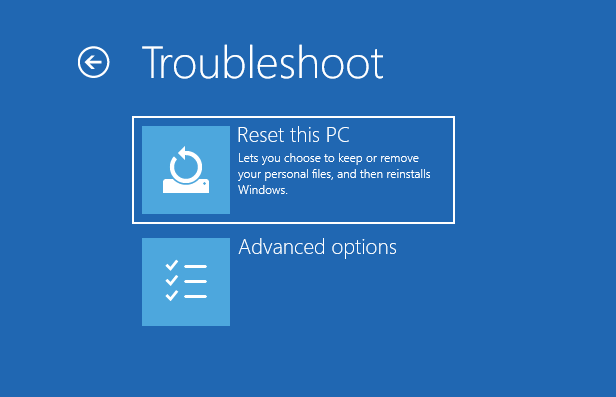
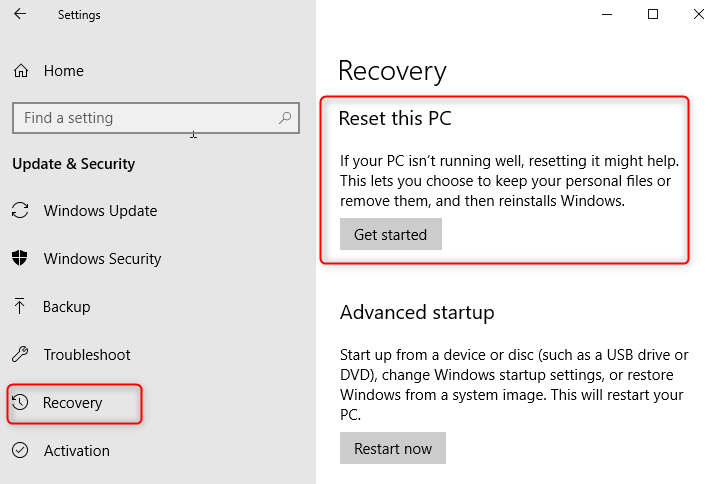
Although Windows 10 is a stable system, we inevitably meet with some problems, such as slow startup, slow running and over power consumption. At this situation, we can reset PC. In this essay, we will talk about how to reset PC on Windows 10.


Remove Windows Login Password 3 steps for whole password remove process.
Enable/Create Administrator One click for creating new administrator and enable the disabled account.
Widely Use New version supports UEFI boot model, which can be used on more computers, laptops and even surfaces.
Multifuctional Data transfer, data recovery, bootable problem recovery can be run without system.
Highly compatible Windows 11/10/8.1/8/7/XP/Vista.
Remove Login Password Support Windows 11/10/8.1/8/7/XP/Vista.
Enable/Create Administrator One click for creating new administrator and enable the disabled account.
Easy to use No need of any professional knowledge or password reset disk.
How to use Renee PassNow?

Relate Links :
How to Create Windows 10 Recovery USB?
16-07-2024
Amanda J. Brook : Although Windows 10 is a stable system, we sometimes meet with the applications conflicting with the system, and...
How to Set/Remove Screen Lock Password on Windows 10?
18-05-2022
Amanda J. Brook : Computer is the important tool in our daily life and work. For Windows 10 users, how can we...


