

What should we do if Windows key doesn’t work?

Summary
Is your Windows key not responding? Unlock its full potential with our expert guidance. Get back to effortless navigation and quick access to vital functions by following our simple troubleshooting techniques. Say goodbye to interrupted workflow and hello to streamlined efficiency.
Table of contents
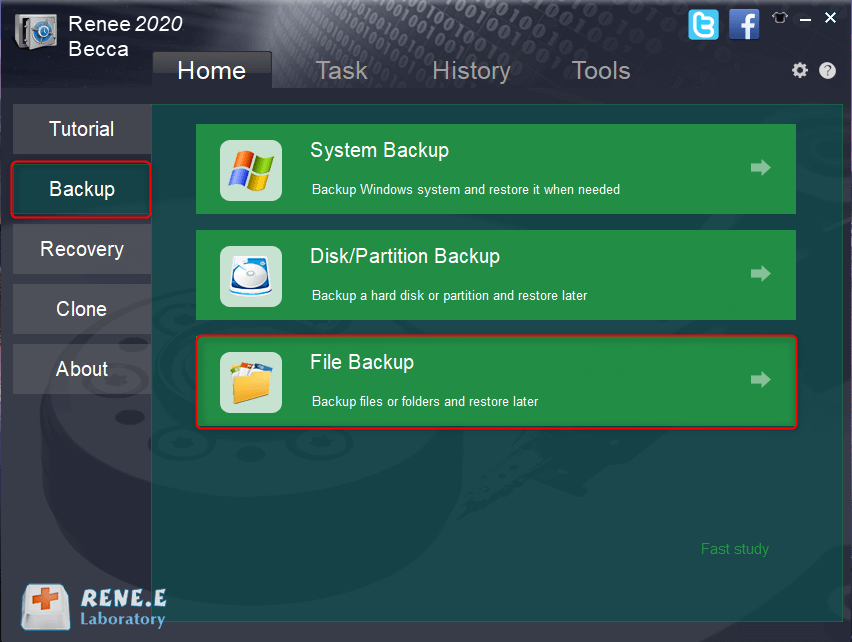
Fast backup Backup speed up to 3 000MB/minute
Support multiple SD cards Backup data of SD card, SDHC card and SDXC card
Incremental/differential backup technology Automatically analyze data differences between source files and backup files to save disk space
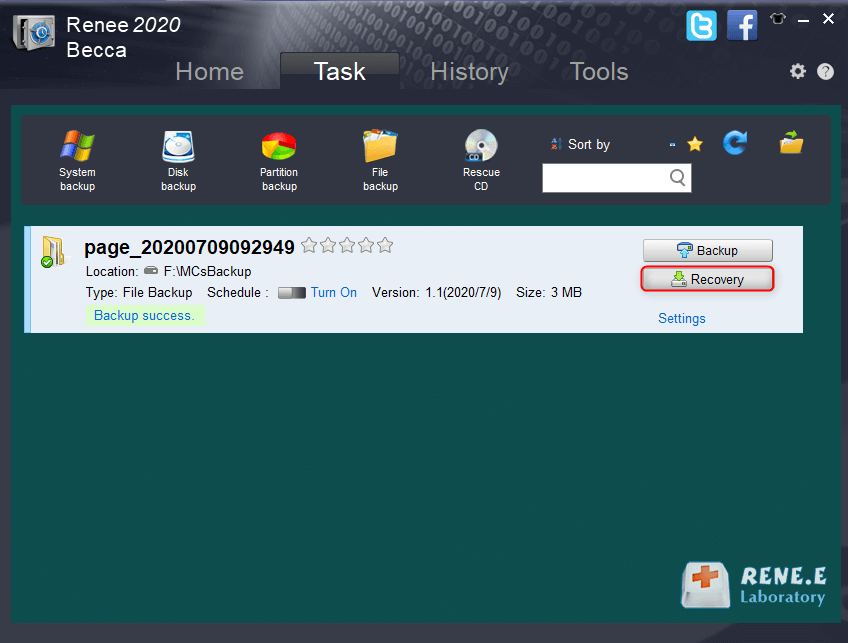
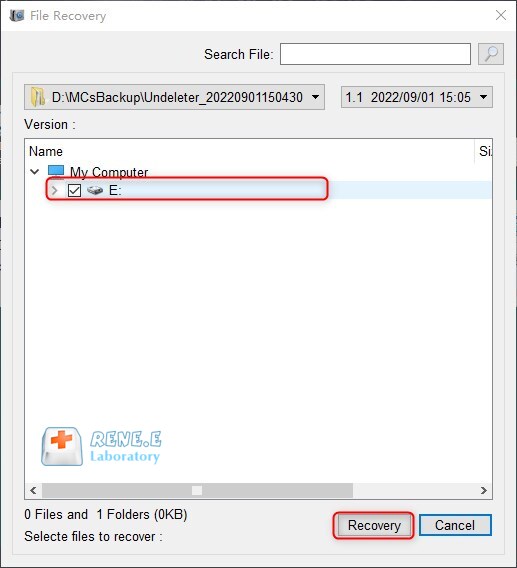
Multiple backup schemes Support system backup/partition backup/hard disk backup/file backup/disk cloning
Easy to use Even newbie can handle it in seconds
Fast backup Backup speed up to 3 000MB/minute
Support multiple SD cards Backup data of SD card, SDHC card and SDXC card
Easy to use Even newbie can handle it in seconds
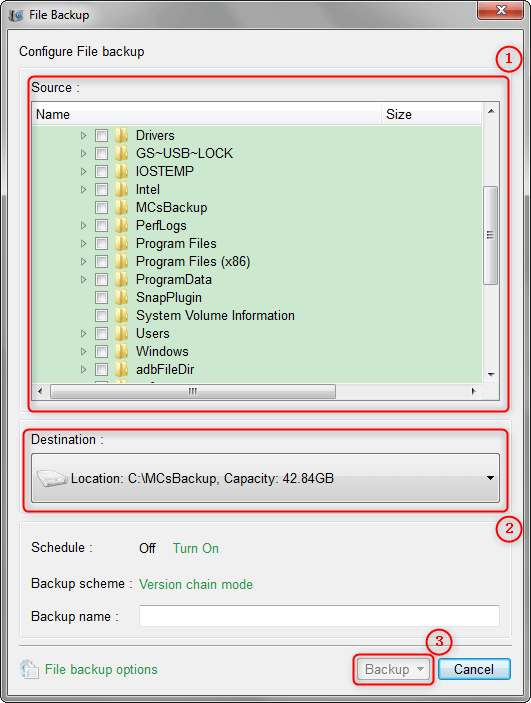
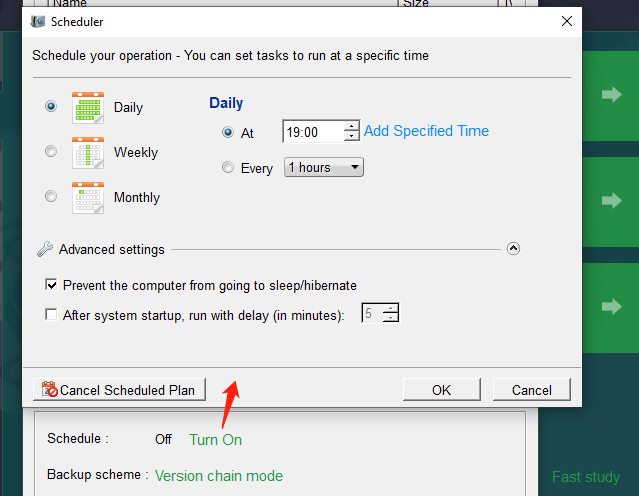
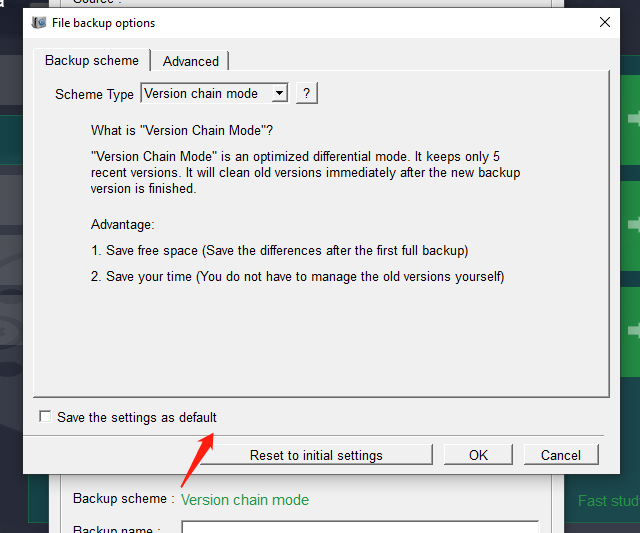
Version chain mode: Only the latest 5 versions are kept, and useless old versions are automatically deleted after the backup is completed.
Single version mode: Only the latest version is kept, and the previous version is automatically deleted after the backup is completed.
Entire mode: Creates a full backup.
Incremental mode: After the initial full backup, only incremental backups are created.
Differential mode: After the initial full backup, only differential backups are created.
Relate Links :
How to Restore System Backup by Renee Becca

27-05-2022
Amanda J. Brook : Detailed steps about how to restore the backup system to original system disk without Windows.
Best Free Backup Software – Renee Becca

14-06-2022
Jennifer Thatcher : Step by step process of how to backup partition/disk with the best free backup software - Renee Becca....
Easy Solutions for the Windows Update Error 0x80080008

17-05-2024
Ashley S. Miller : Discover proven solutions for resolving the 0x80080008 Windows update error, and ensure data safety by backing up files...
How to Keep Your Data Safe and Remove Windows Update?
11-03-2024
Jennifer Thatcher : Learn how to remove Windows update and restore system stability. Updating Windows can improve performance, fix bugs, and...

