

Resolve Windows 10 error code 0xc000012f with ease

Summary
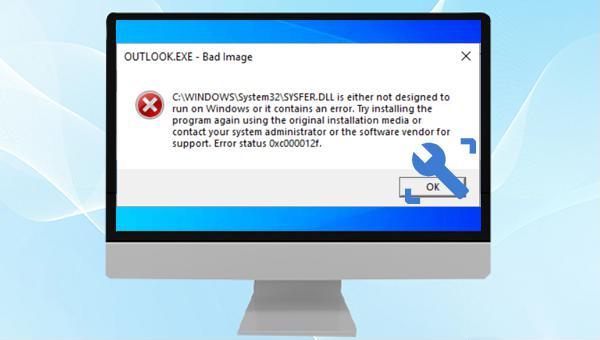
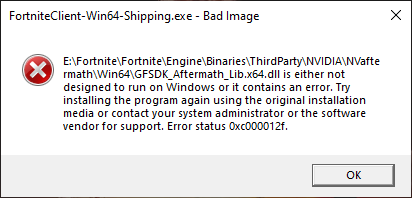
Learn how to solve the 0xc000012f error on Windows 10 caused by a bad image. Follow our expert tips to fix the issue and safeguard your precious data. Don't wait until it's too late!!
Table of contents

Quick Back up files at up to 3,000MB/min.
Overall Support system backup, disk/partition backup, file backup and disk clone.
Intelligent Automatically analyze the data differences between the source files and the backup files and save disk space by backing up incremental/differential data.
Convenient Support VSS, allowing to freely view web pages during the backup of the operating system.
Highly compatible Support various files and storage devices.
Quick Back up at up to 3,000MB/min
Overall System/partition/disk backup
Incremental/differential technology Save disk space
Free TrialFree TrialNow 2000 people have downloaded!

sfc /scannow in the command prompt window and press Enter. System File Checker will then scan and repair corrupt system files.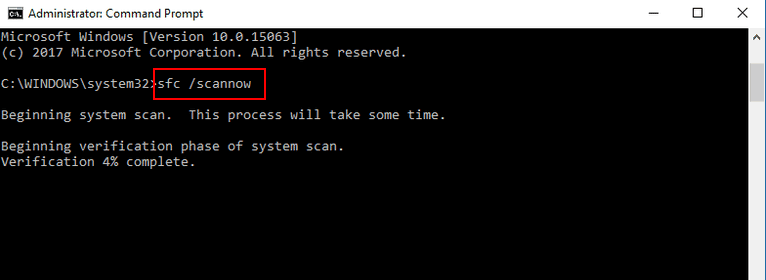
DISM.exe /Online /Cleanup-image /Restorehealth and press Enter to initiate the repair process. After the command execution, reboot your computer to verify if the issue has been addressed.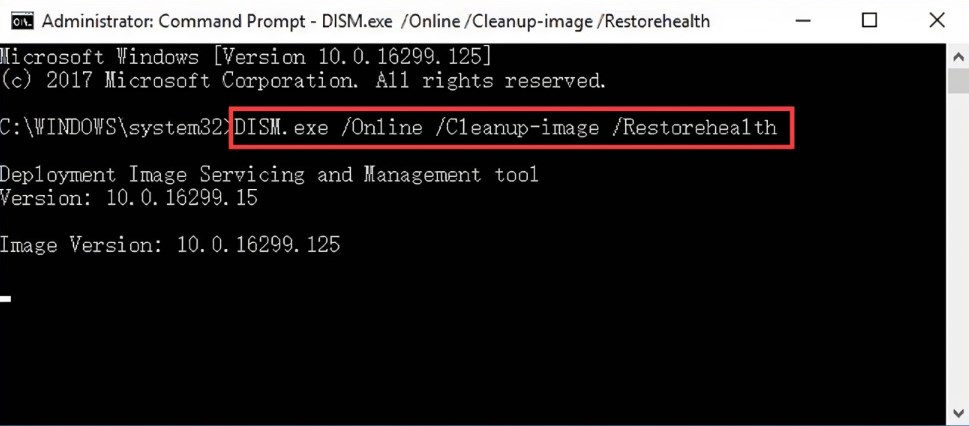
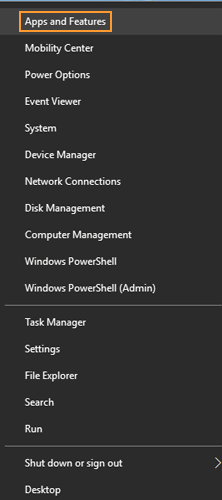
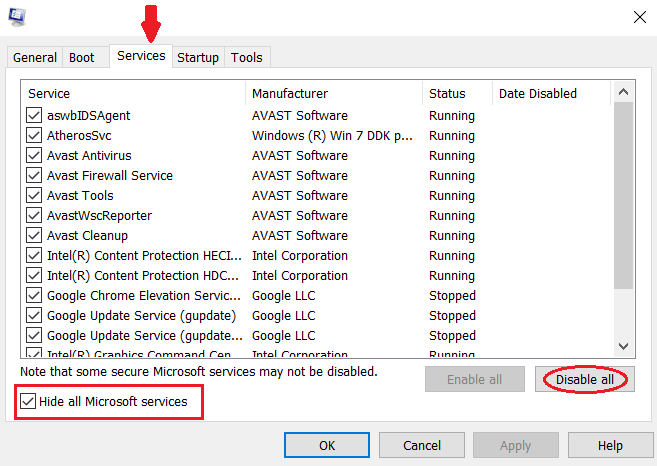
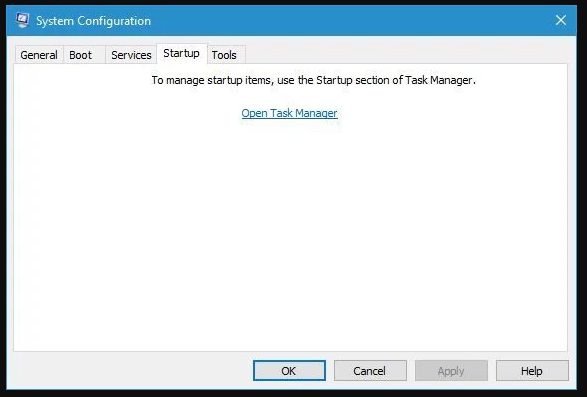
msconfig.exe into the field and hit the OK button to open the System Configuration utility.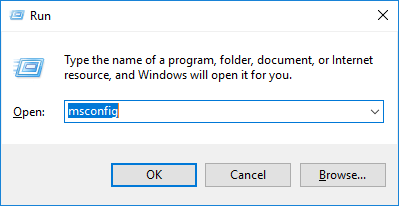
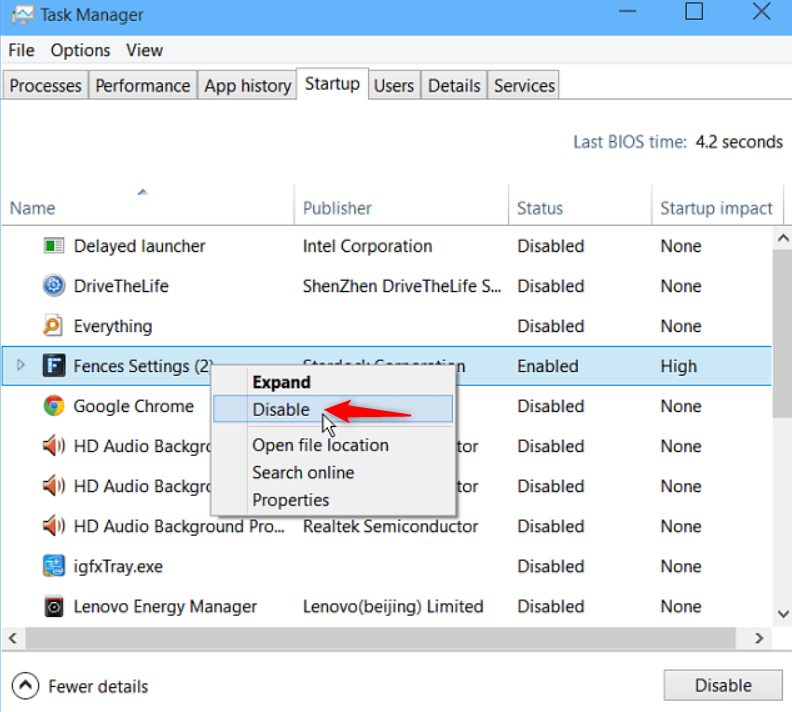
Once done, close the Task Manager and click OK on the System Configuration page. A pop-up will appear; click Restart to reboot. Check if the issue persists post-restart. If resolved, gradually re-enable necessary programs in Task Manager to determine if the issue returns.
Relate Links :
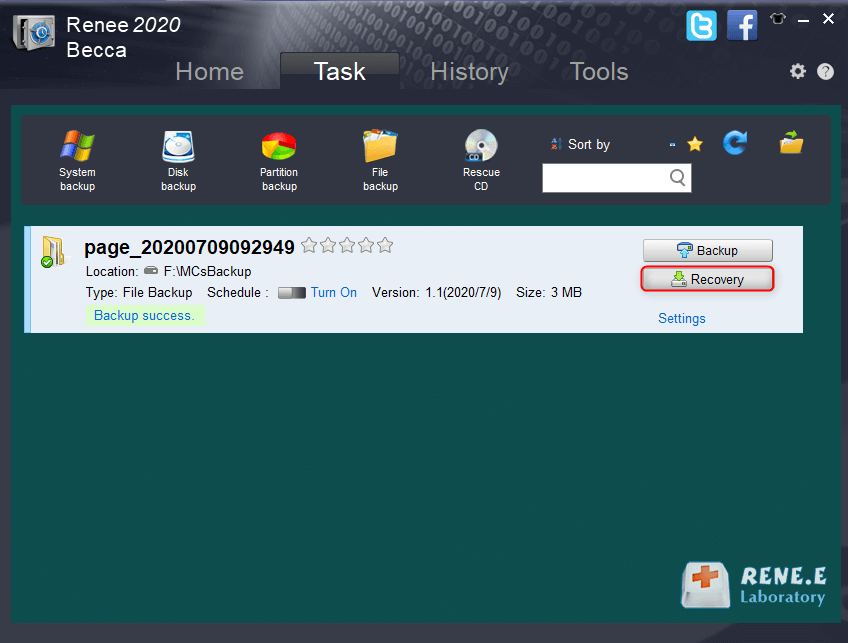
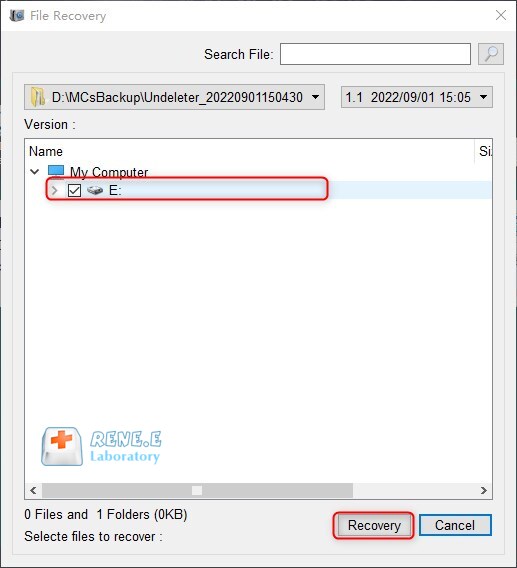
How to Restore System Backup by Renee Becca

27-05-2022
Amanda J. Brook : Detailed steps about how to restore the backup system to original system disk without Windows.
Best Free Backup Software – Renee Becca

14-06-2022
Jennifer Thatcher : Step by step process of how to backup partition/disk with the best free backup software - Renee Becca....
Expert Tips for Fixing 0xC004F074 Error Without Losing Your Data
28-02-2024
Amanda J. Brook : Learn about the error code 0xC004F074 when activating Windows and discover conventional solutions. Safeguard your important data with...
How to fix the problem that Windows 10 settings won't open?
19-05-2024
Ashley S. Miller : Discover practical solutions to tackle the widespread challenge of Windows 10 settings not opening. Dive into our guide...

