I. How to solve the critical error in the Windows start menu?
A key error in the Windows start menu may be caused by damage to some system files or settings, which often occurs after installing or uninstalling certain software, or after upgrading or updating the Windows system. Please read on to find out how to resolve this issue.
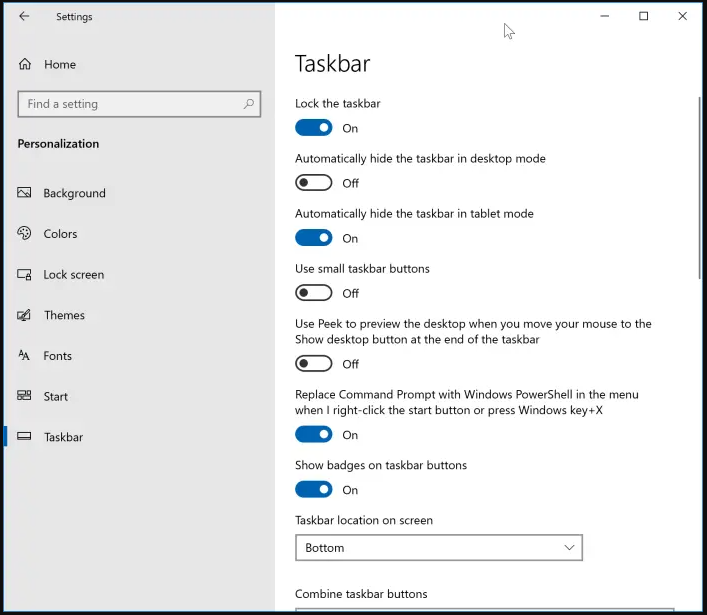
Step 1: Press (Windows logo key + I) to access Settings and select (Personalization).
Step 2: Select (Taskbar) on the left, then turn on (Lock the taskbar), turn off (Automatically hide the taskbar in desktop mode), and (Automatically hide the taskbar in tablet mode).
If the start menu error occurs after upgrading or updating to a specific version of Windows, it could be due to issues with that particular version. Microsoft regularly releases updates to improve Windows versions, so updating to the next version or installing patches may resolve the issue. Follow these steps to troubleshoot:
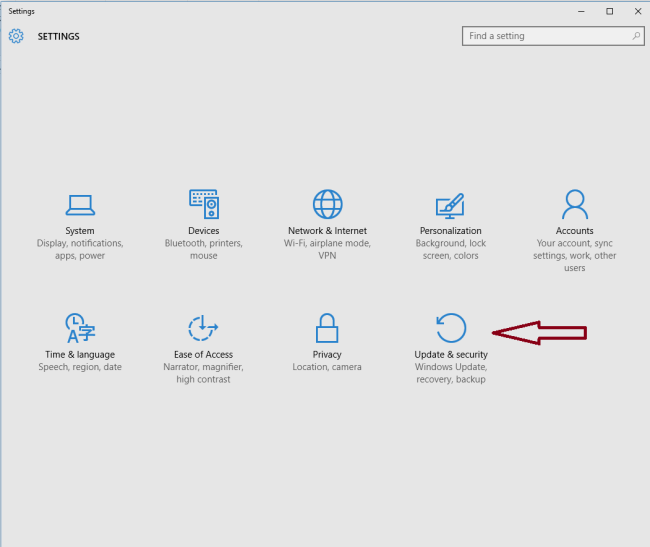
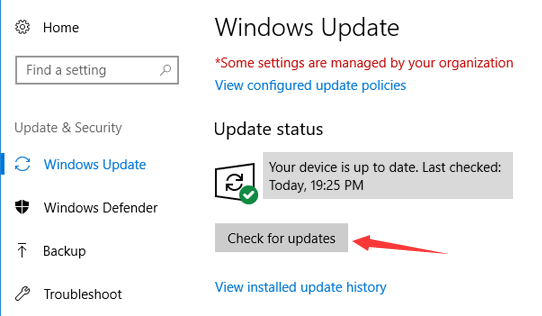
Step 1: Press (Windows logo key + I) to open Settings, select (Update & security).
Step 2: Select (Windows Update), and click the (Check for updates) button on the right. Your computer will now automatically check for any available latest updates and install them on your computer.
NOTE: The update process requires an active internet connection. Also, the process may take some time, depending on the size of the update.
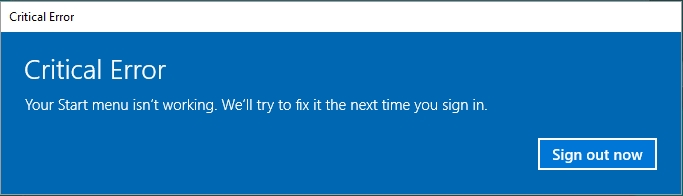
After receiving the “Critical error – there is a problem with your start menu”, it is advisable to restart your computer. This will trigger an automatic repair of any detected issues and may require multiple restarts to fully resolve the problem.
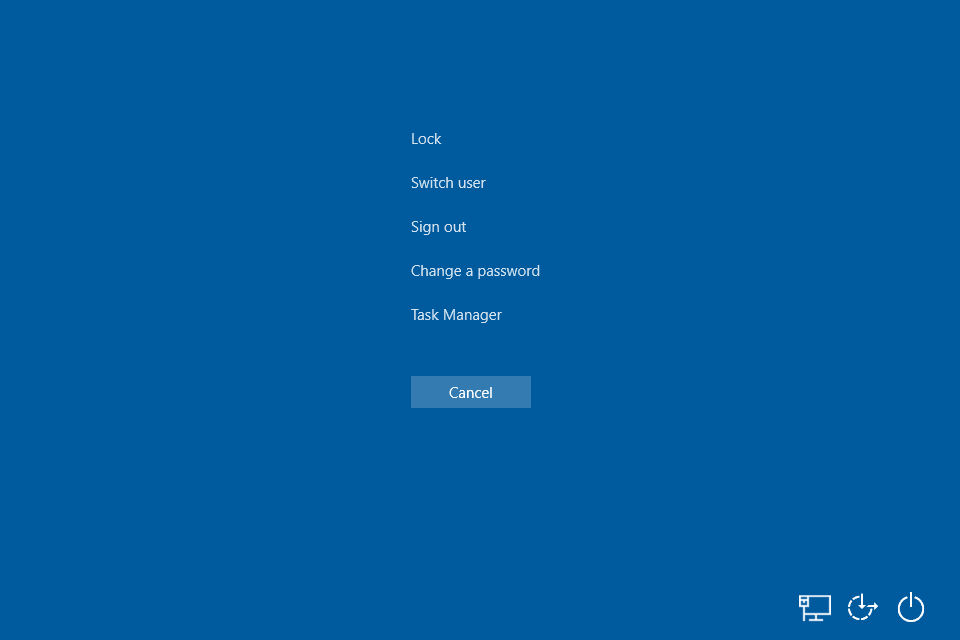
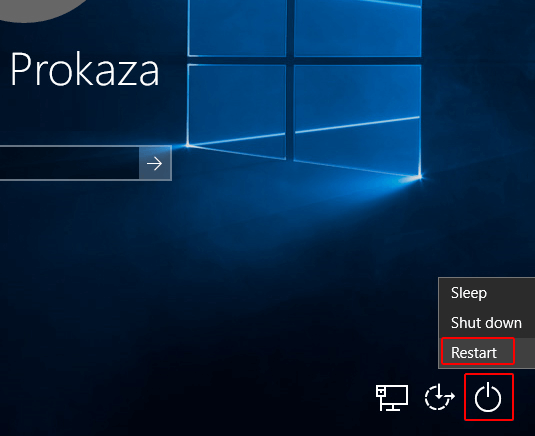
Since you cannot shut down through the (Start) menu, please press (Ctrl + Alt + Delete) at the same time, select (Power) in the lower right corner, and then select (Restart).
Note: You can also manually shut down the computer by holding down the power button, and then press the power button again to restart the device. Please make sure everything is saved before you restart the PC in this way.
4. Restart Windows Explorer
When the Windows Explorer process, known as explorer.exe, manages the File Explorer application, taskbar, and (Start) menu, restarting it can potentially resolve any issues with the (Start) menu.
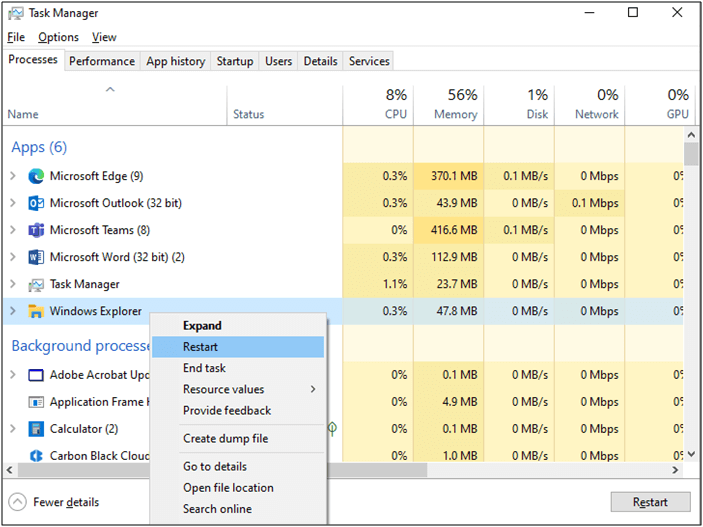
Step 1: Press (Ctrl + Shift + Esc), select (Task Manager) in the new interface.
Step 2: Select the (Processes) tab. Right-click (Windows Explorer) and select (Restart). This process may take a few seconds, and the taskbar and (Start) menu may not be visible when Windows Explorer restarts. You can shut down the Task Manager after the process is complete and see if the problem is resolved.
5. Create a new administrator account
If the methods mentioned above do not solve the issue you are facing with the (Start) menu, consider creating a new local administrator account. By logging into Windows with the new account and being able to use the (Start) menu, it is advisable to transfer personal data from the old account to the new one and continue using the computer.
Kind tipsThe following methods require administrator privileges. If you do not have this privilege, it is recommended to use third-party software to create an administrator account.
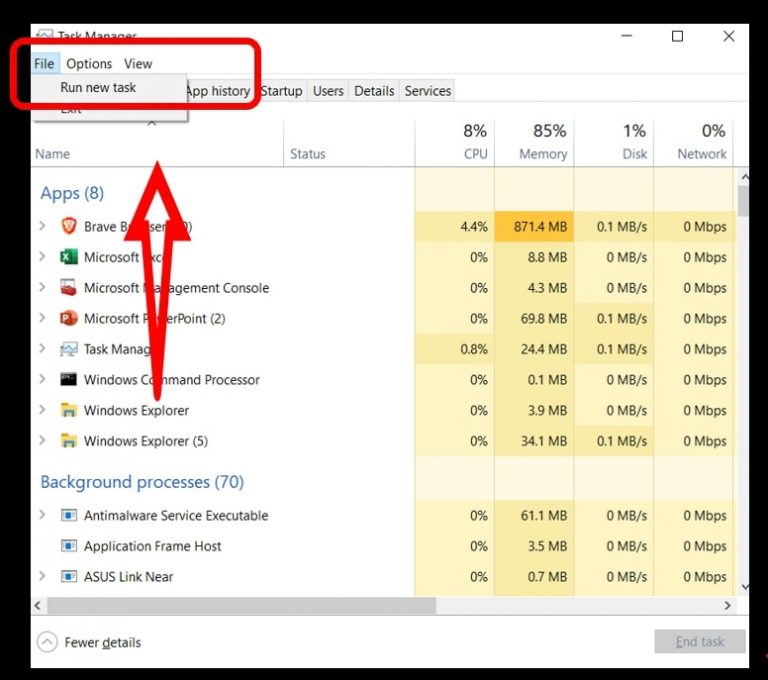
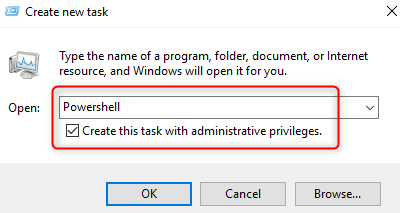
Step 1: Press the (Ctrl + Alt + Delete) keys simultaneously to open (Task Manager). Then, click (File) and select (Run new task).
Step 2: In the (New Task) box, enter (Powershell), then check the (Create this task with administrative privileges), and click the (OK) button.
Step 3: In the Windows Powershell window, please enter the following command. After entering a command each time, press the (Enter) key.
● Create an account: (net user Renee1 123 /add), Renee1 is the user name, 123 is the password, you can set the user name and password according to your needs.
● Give the account administrator rights: (net localgroup administrators Renee1 /add), where Renee1 represents the user name, and it can be substituted.
After that, please press (Ctrl + Alt + Delete), select (Power) – (Restart), and then log in with the newly created administrator account to see if the (Start) menu is available.
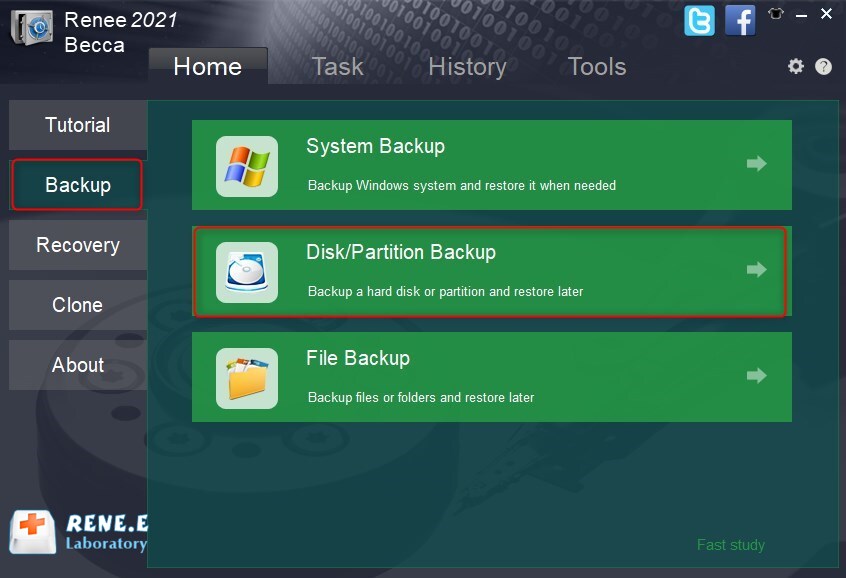
If all of the above methods are unsuccessful in fixing the error with the (Start) menu, you may need to reset your computer or do a fresh installation using the Windows installation disk. However, it is important to remember to back up any important files to prevent data loss before proceeding with this operation. Refer to the
second part for detailed instructions on how to back up your files. Below are the specific steps to reset your computer:
Step 1: Press (Ctrl + Alt + Delete), select the (Power) button in the lower right corner, and select (Restart). After the computer restarts, click the (Power) icon, then hold down the (Shift) key and click (Restart) to enter the Windows recovery environment.
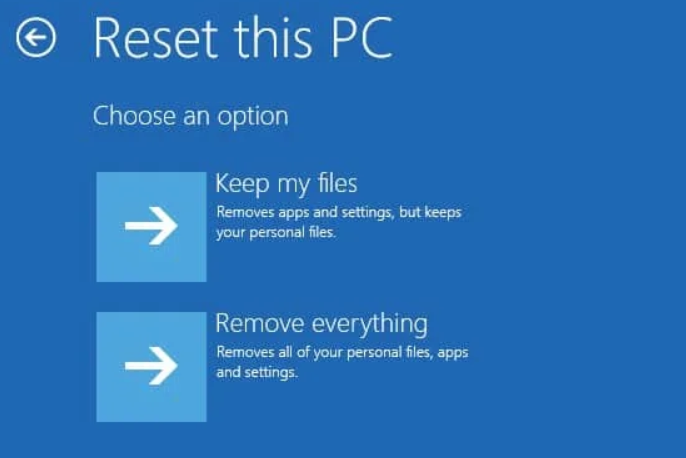
Step 2: Navigate to (Troubleshoot)>(Reset this PC)>(Keep my files), and then follow the on-screen instructions. Finally, click (Reset).