

Expert Tips to Fix DISK BOOT FAILURE Error on Windows

Summary
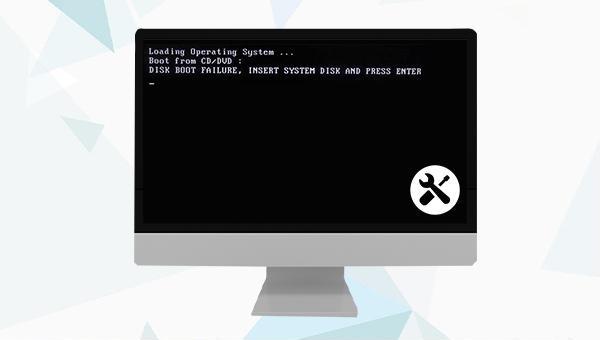
Discover the effective strategies for resolving the 'DISK BOOT FAILURE' error on your computer with our detailed guide. Ensure the safety of your important files by creating a backup prior to implementing any fixes to avert potential data loss.
Table of contents
Windows 11/10/8.1/8/7/XP/Vista, Renee PassNow caters to a broad range of system rescue needs.
Easy to use 3 steps to transfer the files.
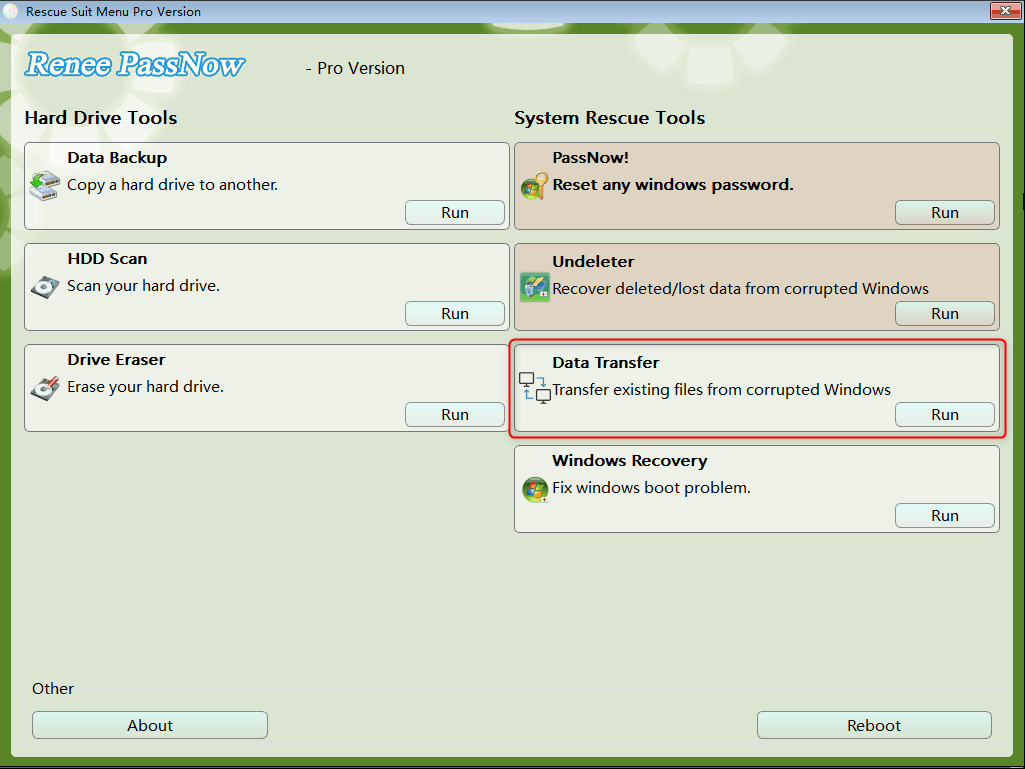
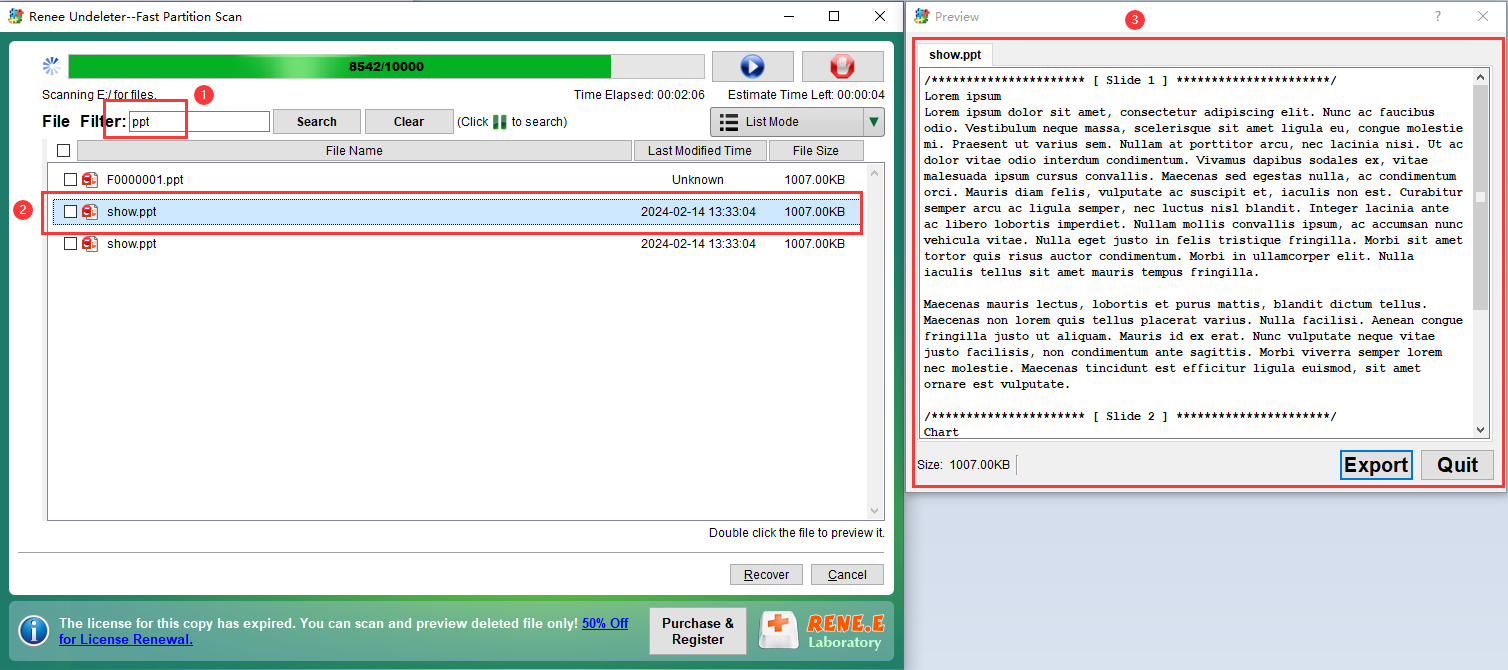
Transfer the files Transfer the important files of the computer without system.
Preview the files Preview the files while transferring the data.
Multifuctional Data recovery, Windows password reset, bootable problem recovery can be run without system.
Highly compatible Windows 10/8.1/8/7/XP/Vista. Also supports UEFI boot mode.
Easy to use 3 steps to transfer the files.
Transfer the files Transfer the important files of the computer without system.
Preview the files Preview the files while transferring the data.
Free TrialFree TrialNow 2000 people have downloaded!

C:) on the upper left and the destination drive (e.g., G:) on the upper right. Choose the files from the source drive and click the ‘Copy’ button in the center to begin the transfer. To delete a file, select it and hit the ‘Delete’ button in the center; remember, deletion is irreversible, so proceed with caution.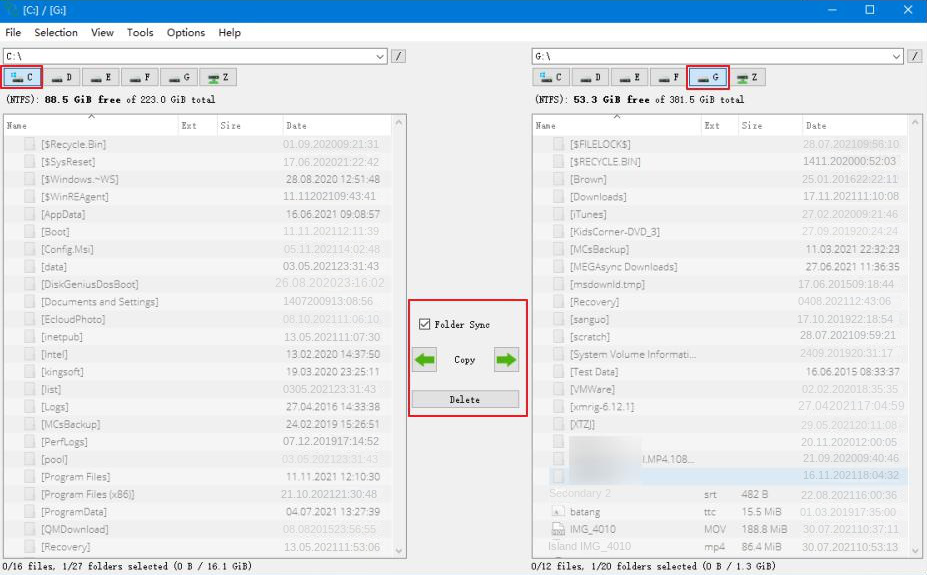


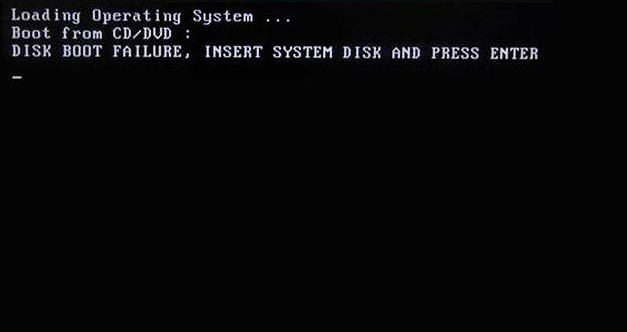
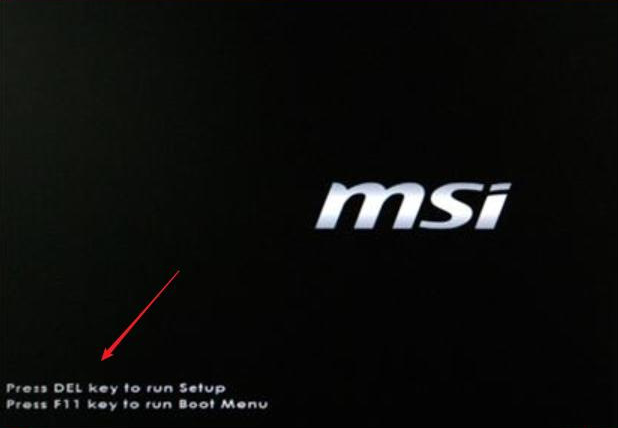
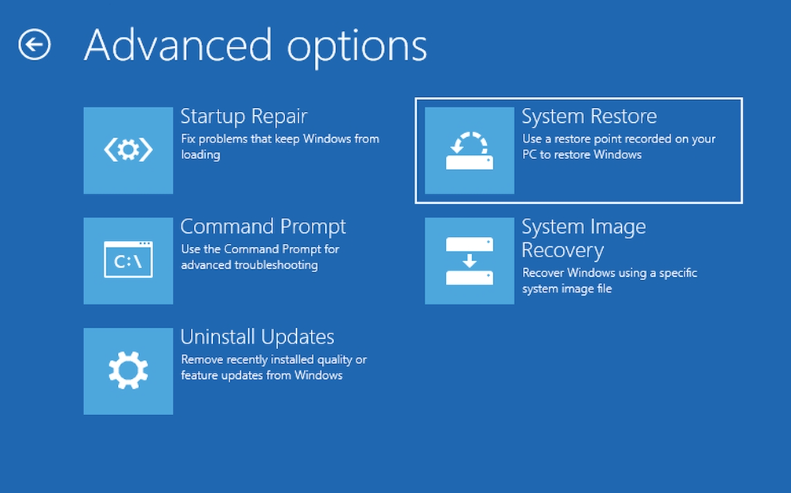
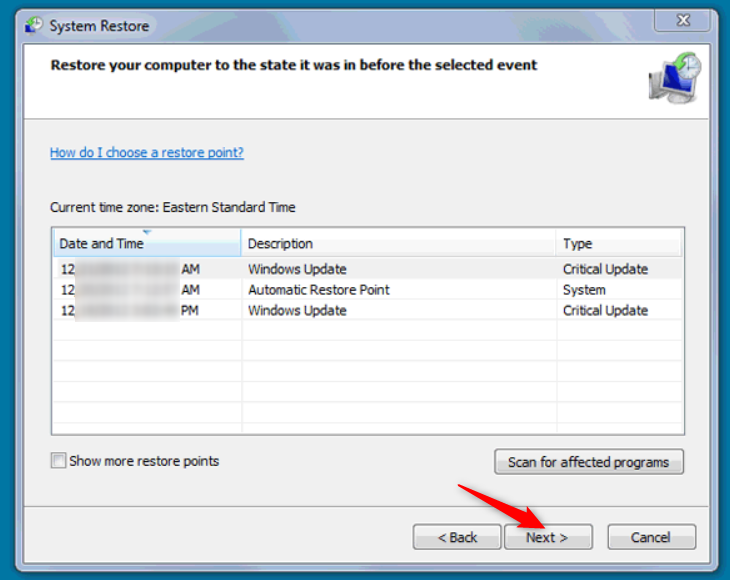
To resolve the “DISK BOOT FAILURE, INSERT SYSTEM DISK AND PRESS ENTER” error, verify the BIOS boot sequence is correctly set with the system disk as the primary boot device. Follow these steps:

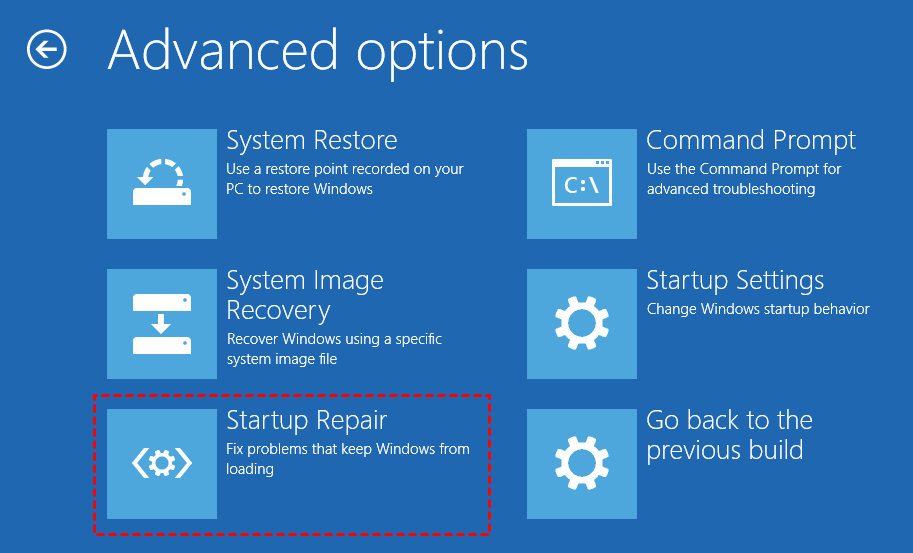
CHKDSK command can help resolve “DISK BOOT FAILURE” issues.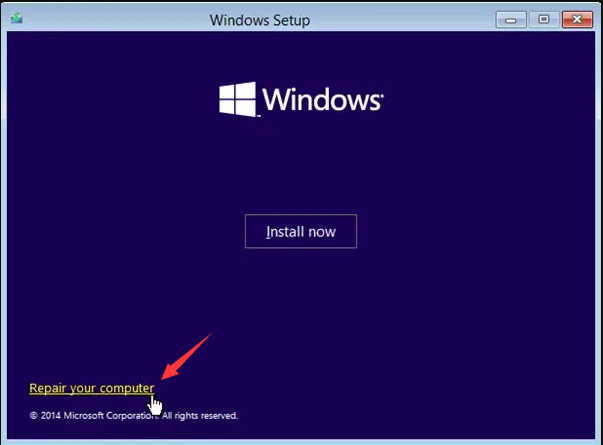

chkdsk C: /f /r /x. Replace “C” with your system disk number if necessary. /f repairs disk errors, /r locates bad sectors and recovers readable information, and /x forces the drive to unmount before scanning. Press Enter to begin the error-fixing process.
Relate Links :
Easy Solutions to Solve 0x0000007A Error on Windows

06-04-2024
Amanda J. Brook : Resolve the 0x0000007A KERNEL_DATA_INPAGE_ERROR on Windows with our comprehensive guide. Dive into the common triggers for this Blue...
Windows 10 UEFI Boot Repair: A Step-by-Step Guide to Fix

13-07-2023
Jennifer Thatcher : Learn how to fix normal boot failure on Windows 10 with our comprehensive guide. Keep your machine running...
Easy Solutions to Fix The Error Winload.exe missing on Windows 10

13-07-2023
John Weaver : Learn how to fix the error of winload.exe missing or damaged in Windows 10. Besides, it is important...
Easy Steps to Fix Corrupted User Profile in Windows
06-04-2024
Amanda J. Brook : Discover the steps to effectively fix a corrupted Windows user profile and avert login difficulties. User profiles hold...

