

Easy Solutions to Solve 0x0000007A Error on Windows

Summary
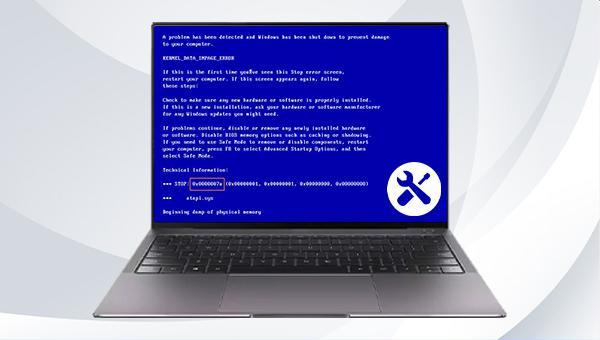
Resolve the 0x0000007A KERNEL_DATA_INPAGE_ERROR on Windows with our comprehensive guide. Dive into the common triggers for this Blue Screen of Death (BSOD) and follow our step-by-step instructions for safe file transfer and effective data recovery, even if you can't boot into your system. Our solutions help you troubleshoot and fix this critical error to get your PC running smoothly again.
Table of contents

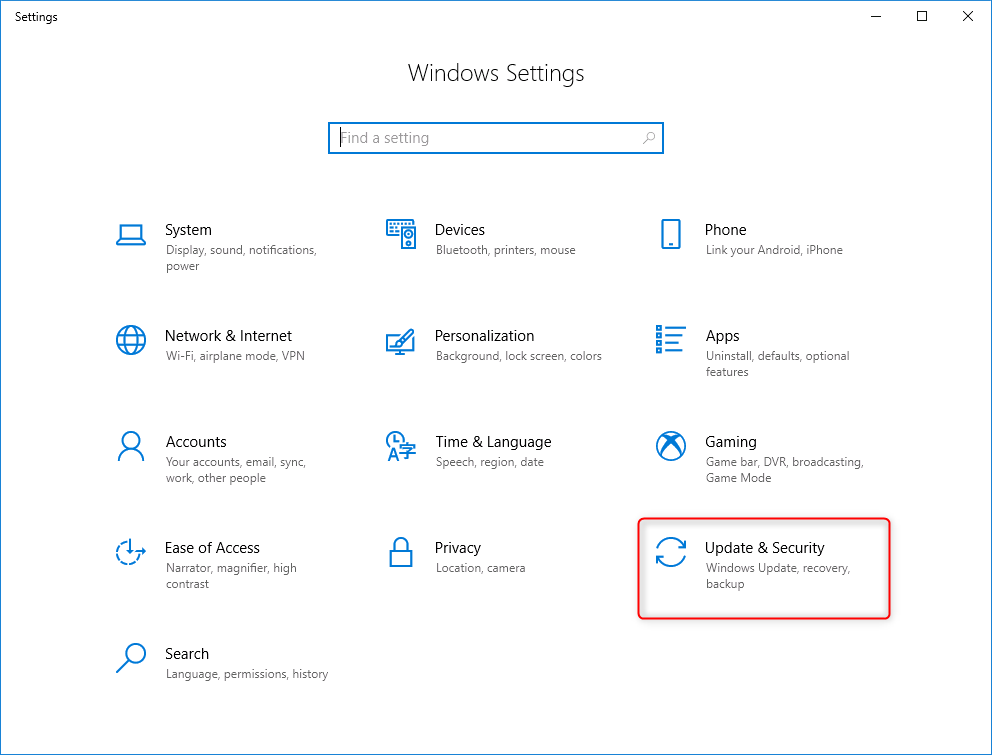
0x0000007A blue screen error, initiate repair operations after confirming there’s no data loss without Windows access, as outlined in the second part of the method. Transfer or restore crucial files based on your computer’s status. If file transfer isn’t necessary, proceed to the third part for repair instructions.Windows 10/8.1/8/7/XP/Vista, Renee PassNow caters to a broad spectrum of system rescue requirements.
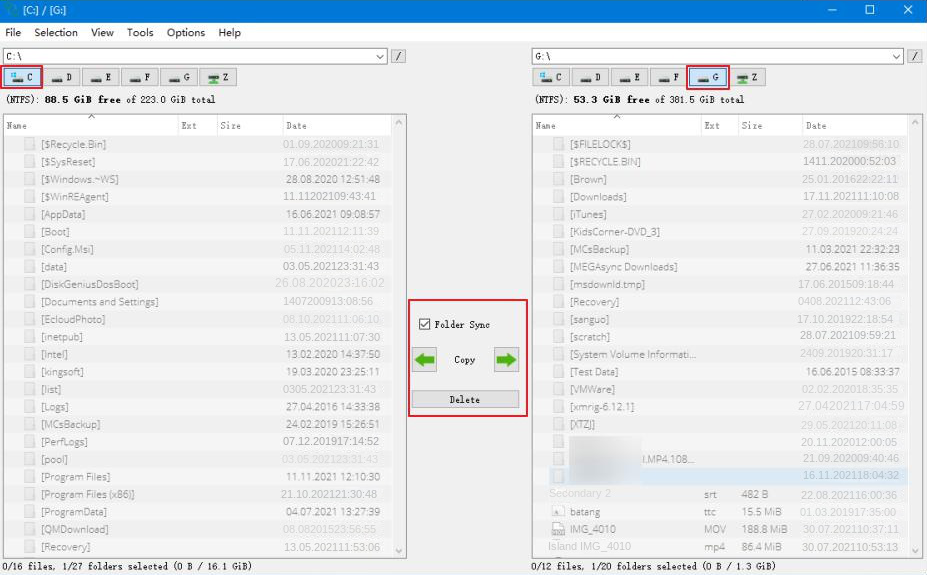
Easy to use 3 steps to transfer the files.
Transfer the files Transfer the important files of the computer without system.
Preview the files Preview the files while transferring the data.
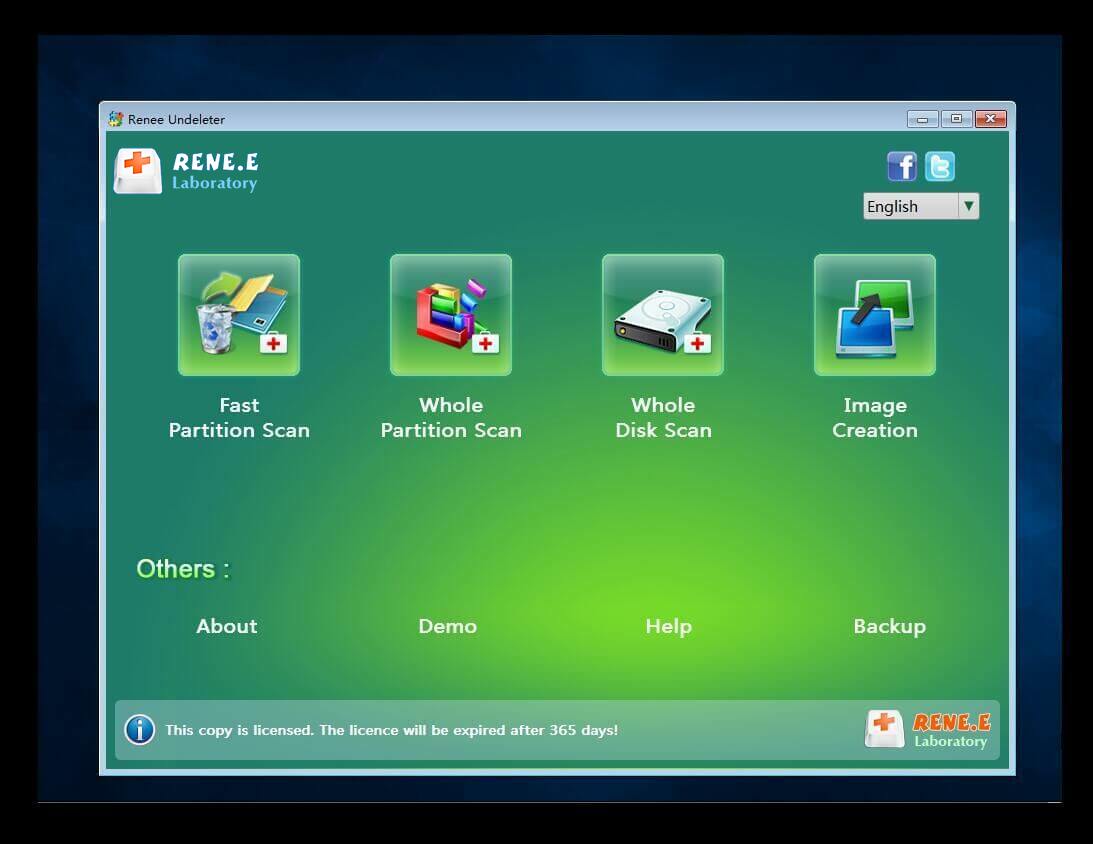
Multifuctional Data recovery, Windows password reset, bootable problem recovery can be run without system.
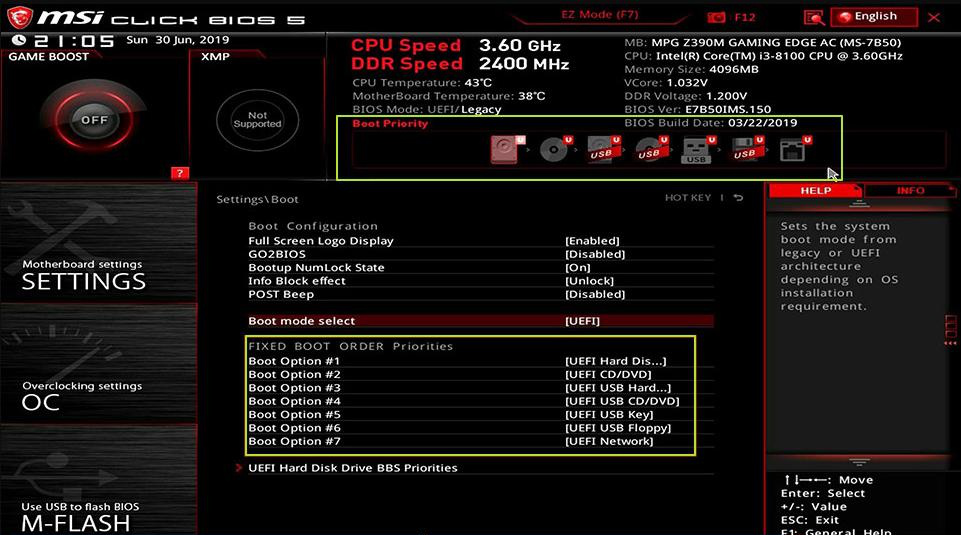
Highly compatible Windows 10/8.1/8/7/XP/Vista. Also supports UEFI boot mode.
Easy to use 3 steps to transfer the files.
Transfer the files Transfer the important files of the computer without system.
Preview the files Preview the files while transferring the data.
Free TrialFree TrialNow 2000 people have downloaded!"Create a rescue USB disk" in “Step 1: Choose the creation method”. Ensure all important USB drive files are backed up elsewhere, as this process will erase its contents.


0x0000007A blue screen error, it is recommended to restart your computer as an initial troubleshooting step. If the issue continues to occur after a restart, it is advisable to explore additional troubleshooting methods.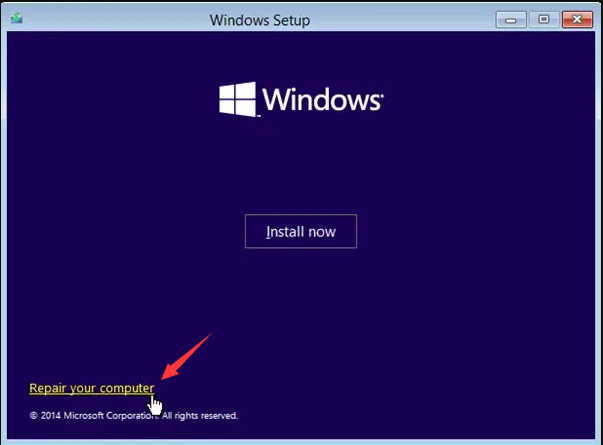
CHKDSK command to meticulously scan and restore the health of the system disk.
chkdsk C: /f /r /x. Replace “C” with the actual system disk number if necessary. /f repairs disk errors, /x forces the drive to unmount before scanning, and /r locates and repairs bad sectors. Press Enter to begin the error-fixing process.
chkdsk finalizes its examination, restart your computer to ascertain if the problem has been rectified.0x0000007A error, employ the aforementioned strategies. It is essential to regularly backup your files to safeguard critical data in the event of computer malfunctions or blue screen errors. This practice ensures peace of mind throughout the repair process.Relate Links :
How to fix when the PC stuck on preparing automatic repair?

01-08-2023
Jennifer Thatcher : Learn how to fix the problem that the computer stuck on preparing automatic repair. This article provides insight...
How to Reset BIOS and Unlock Your Device?

27-12-2023
John Weaver : Reset the BIOS to regain access or restore previous settings. Learn how to reset BIOS in this article....
Master Bootrec.exe Tool: Your Guide to Easy Windows Recovery
01-08-2023
Amanda J. Brook : Learn what Bootrec.exe tool is and how to use it to solve common computer problems like sector damage...
Fix GPT Partition Style Error When We Install Windows on Selected Disk

15-01-2024
Ashley S. Miller : Learn how to fix the error "Windows cannot be installed to this disk. The selected disk is of...

