I. What are the possible abnormalities and causes of solid-state drives?
1. The solid state drive prompts to format or the file is damaged
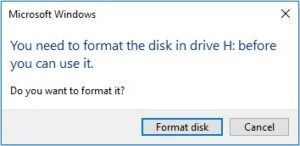
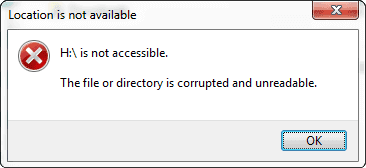
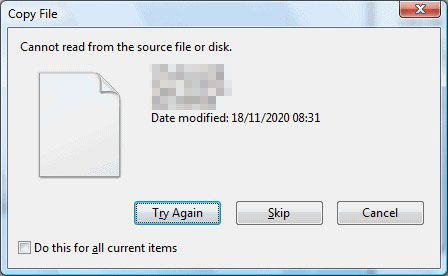
When using a solid-state drive, you may encounter pop-up prompts like “disc in drive needs formatting” or “file/directory is damaged and cannot be read.” These issues are often caused by misoperation with system software or damage to information on hard disk partitions from virus attacks.
2. The service life of solid-state hard disk is damaged
Every computer component has a lifespan, and solid-state drives are no exception. If you encounter the following problems, it may indicate that the service life of your solid-state drive has been compromised or is nearing its end.
• The file cannot be read (data cannot be written);
• Prompt that the file system needs to be repaired;
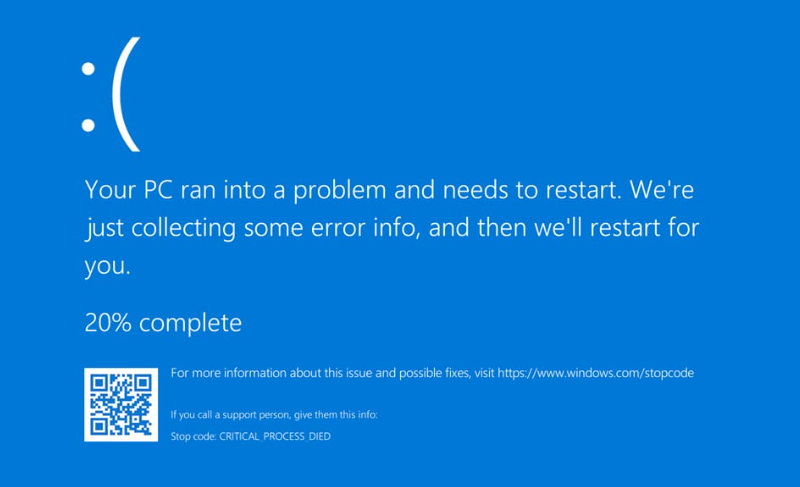
• Frequent freezes or crashes when starting the system;
• The disk becomes read-only, etc.
Abnormal situations in solid-state hard drives can be checked through various methods to predict and repair errors. Minor issues can often be resolved independently, but professional maintenance agencies may be needed for more complex problems.
II. How to self-check or repair the SSD?
1. Use the Chkdsk tool to self-check and repair the SSD
Chkdsk is a command that comes with Windows to check disk status, memory status, and number of files in a specified path.
Running the Chkdsk command is very simple, the specific steps are as follows:
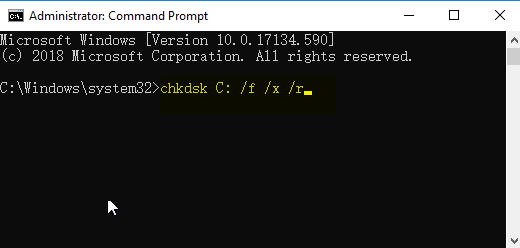
Step 1: Run the computer and enter (cmd) in the search box to search for the Command Prompt application, then right-click it and select the Run as Administrator option.
Step 2: In the command prompt window, enter chkdsk F: /f command, replacing F: with the appropriate drive letter for the solid state drive. Press Enter, then enter y twice to initiate the disk self-test command. If chkdsk cannot lock the drive, a message will prompt to check the drive upon the next computer restart.
Step 3: After restarting the computer, if issues arise during self-test, access the command prompt and type chkdsk drive letter: /f /x to check the drive (replace “drive letter” with the appropriate letter, /x forces unmounting if needed). Confirm with “y” to initiate disk repair.
2. Use tools to check the service life of SSD
When you still cannot solve the existing problems through the above methods, you can also check the service life of the SSD with the help of CrystalDiskInfo software, and then deduce part of the cause of the error.
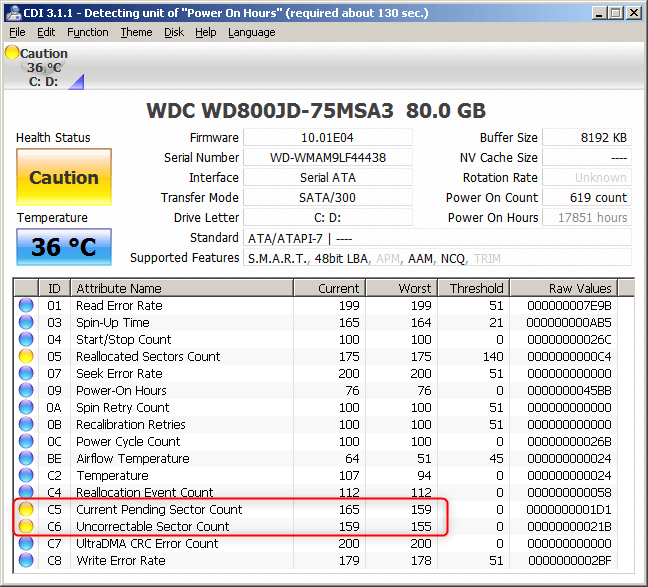
CrystalDiskInfo is a powerful hard disk detection tool, which can detect the hard disk usage including parameters such as hard disk, interface, rotation speed, usage time and real-time temperature. The following are the specific steps to use the software.
Download, install and open the CrystalDiskInfo software. As shown in the figure, a certain type of Samsung solid-state drive is being detected. In the column of health status, it is detected that the remaining life of the solid-state drive is 93%. The lifespan of a solid-state drive is actually determined by the amount of NAND writes, and the amount of NAND writes is affected by both host writes and write amplification.
If you find that the service life of the SSD is nearing the end, what you need to do is to transfer the data from the SSD as soon as possible to prevent data loss due to SSD damage. It is recommended that you use Renee Becca to operate, the specific method is as follows.
3. Use Renee Becca to clone the hard drive
Renee Becca is a tool for system/hard disk data backup and restoration. It can help you back up and restore important data such as programs, system configuration, emails, photos, videos, documents, bookmarks, etc. It uses incremental/differential backup technology to save time and disk space. It also supports partition backup, hard disk backup, file backup, system migration, and disk cloning to meet your different needs.
Hot Topic - ADsProfessional Data Backup & Restore Software - Renee Becca
Provides multiple functions like backup, restore, clone, system migration.
Clone all data (including system) in HDD to smaller SSD or larger HDD. Disk could boot PC after clone finished.
5000 people have downloaded and made the disk clone successfully!
How to clone a hard drive with Renee Becca?
It is very simple to clone a hard drive with the help of Renee Becca, the specific steps are as follows:
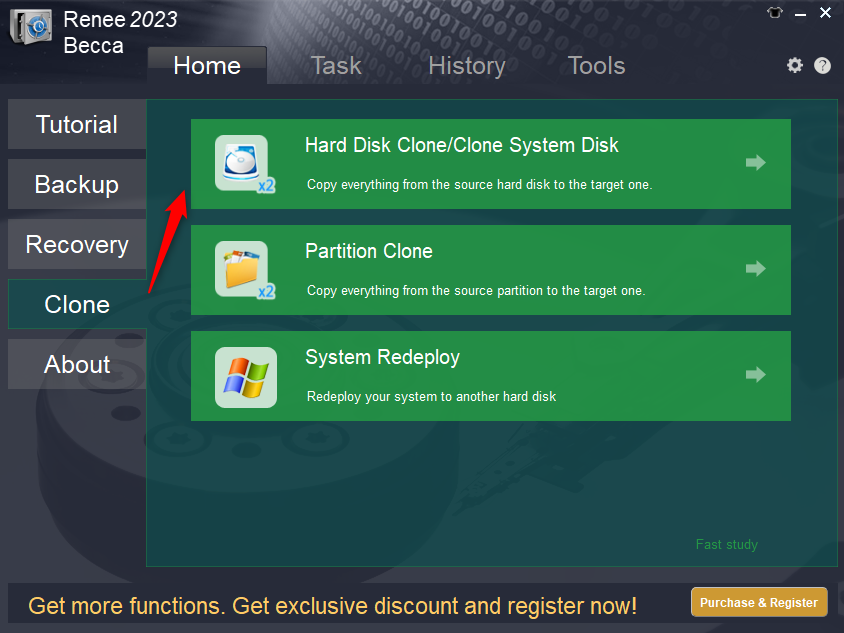
Step 1: Download, install and run Renee Becca, select the option (Hard Disk Clone/Clone System Disk) in the main interface (Clone) column.
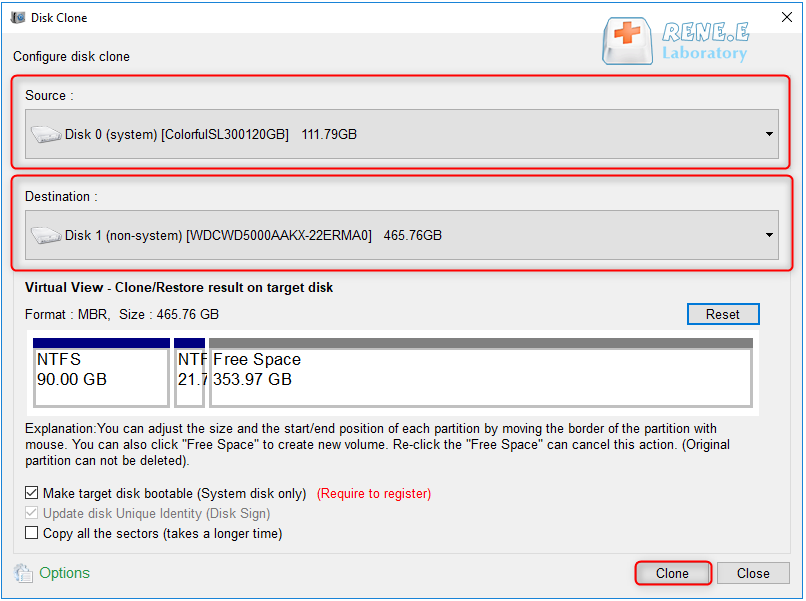
Step 2: Select the original disk and the solid-state disk in the “hard disk clone” window, then click the “clone” button to execute the command.
The above methods are for the situation that the data has not been lost for the time being. If you find that the data is lost, you can also use professional data recovery software to restore the data to other hard disks. The specific method is as follows.
4. Use Renee Undeleter to recover lost data
Renee Undeleter is a software designed to restore computer data. It can recover lost data from accidental deletion, emptying the recycle bin, or disk/storage formatting. The software includes file recovery, format recovery, partition recovery, and image creation modules to comprehensively solve data loss issues during system use.
Hot Topic Renee Undeleter – Simple & Powerful Software for Data Recovery
Easy to use Recover data by 3 steps;
Multiple scan modes Fast partition scan, whole partition scan and whole disk scan;
Supported file types Image, video, audio, text, email and so on;
Image creation Create a partition image to read and back up data;
Supported devices SD card, SDHC, SDXC, USB flash drive, hard disk and computer.
Easy to use Recover data by 3 steps;
Multiple scan modes Fast partition/whole partition/whole disk scan;
How to recover lost data with the help of Renee Undeleter?
Restoring data with Renee Undeleter is very simple, the specific steps are as follows:
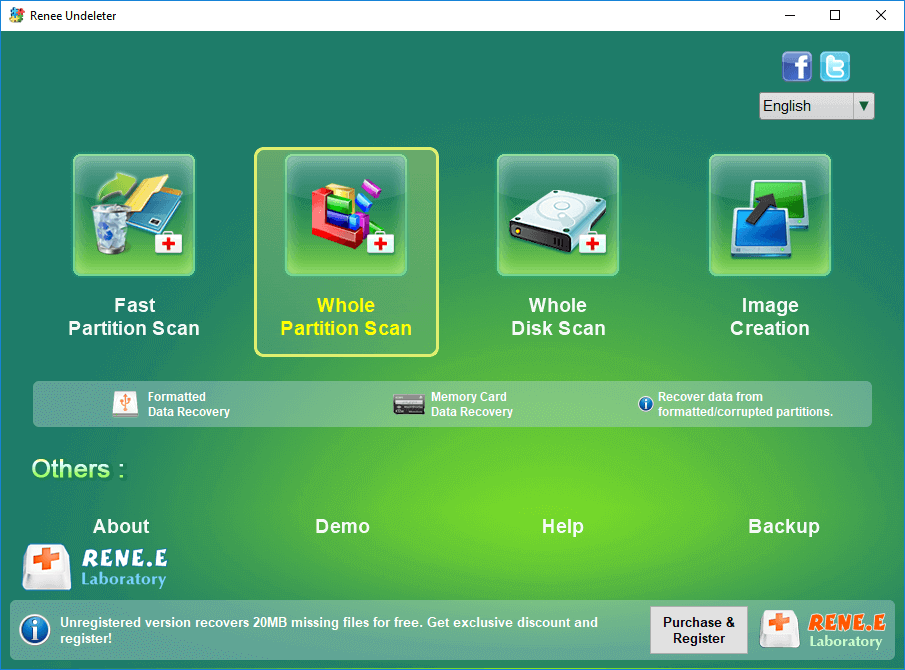
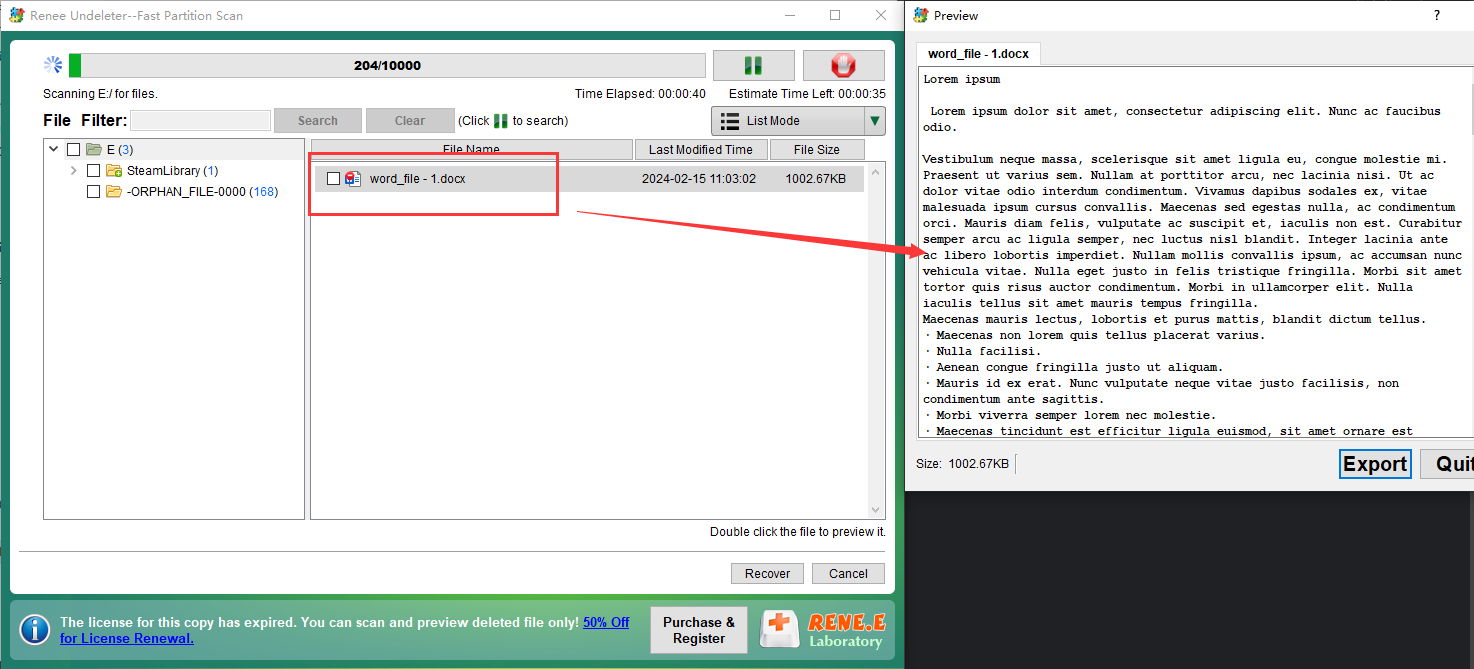
Step 1: Download, install and run Renee Undeleter, select the (Whole Partition Scan) option in the main interface.
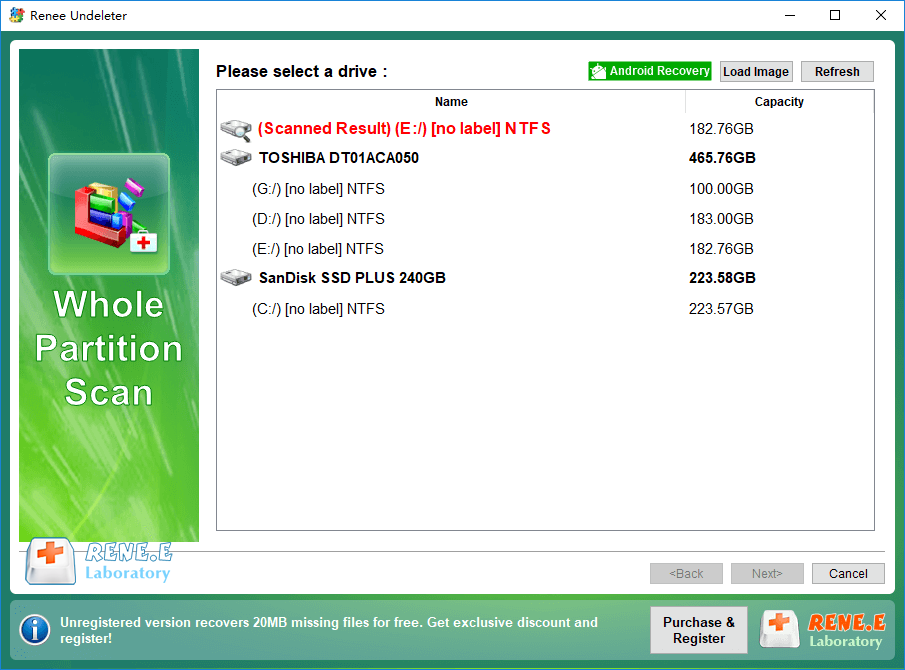
Step 2: Next, select the hard disk where the data needs to be recovered in the format recovery interface, and then click (Next).
Step 3: Wait for the scan to end. The scanning time will depend on the size of the hard disk capacity, the larger the capacity, the longer the scanning time.
Step 4: After scanning, you can select the file you want to recover in the preview window on the right, click the (Recover) button and wait for the file to be exported to complete the recovery of lost data.
Note: Do not select the original disk as the location to store the recovered files to avoid data overwriting. For example, the original disk of the lost data is the E disk, it is recommended to select the D/F disk as the location for storing the recovered files.