

Your Ultimate Guide for How to Remove OEM Partition

Summary
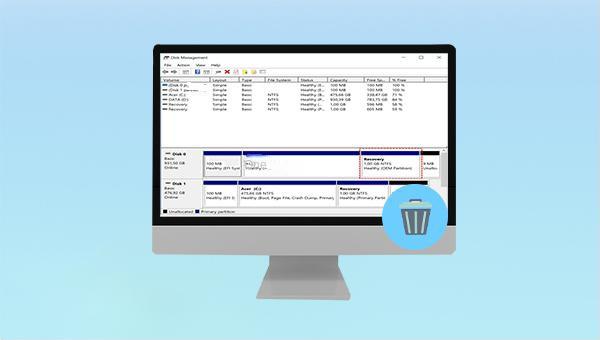
Learn about OEM partitions found on Dell, Lenovo, and HP computers. This article provides insight on its definition, function and how to remove OEM partition.
Table of contents
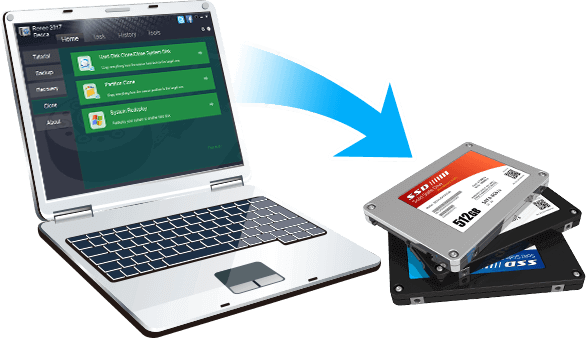
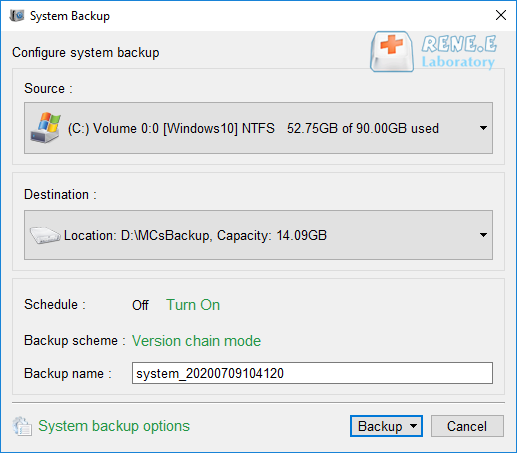
Quick Backup files at up to 3,000MB/min.
Fullfill different backup needs Supports system backup, disk / partition backup, file backup and disk clone.
Intelligent Automatically analyze the differences between source and backup data.
Convenient Support VSS, allowing to freely view webpages when backing up system.
Highly compatible Supports various files and storage devices.
Quick Backup files at up to 3,000MB/min.
Fullfill different backup needs Backup for disk, partition and system. Save disk space by backing up incremental /differential data.
Highly compatible Supports various files and storage devices.
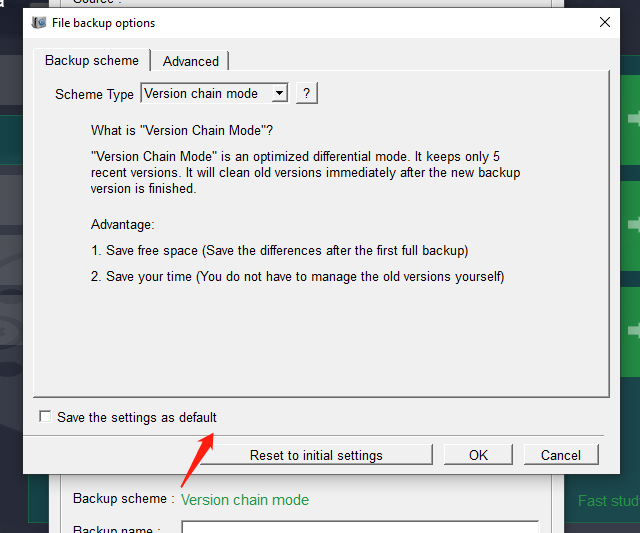
Version chain mode: Only the latest 5 versions are kept, and useless old versions are automatically deleted after the backup is completed.
Single version mode: Only the latest version is kept, and the previous version is automatically deleted after the backup is completed.
Entire mode: Creates a full backup.
Incremental mode: After the initial full backup, only incremental backups are created.
Differential mode: After the initial full backup, only differential backups are created.
Relate Links :
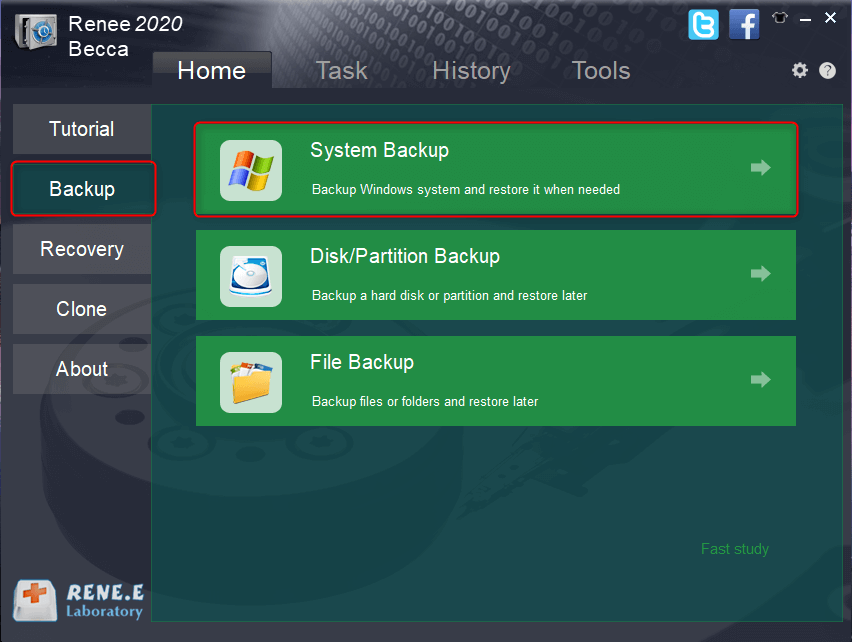
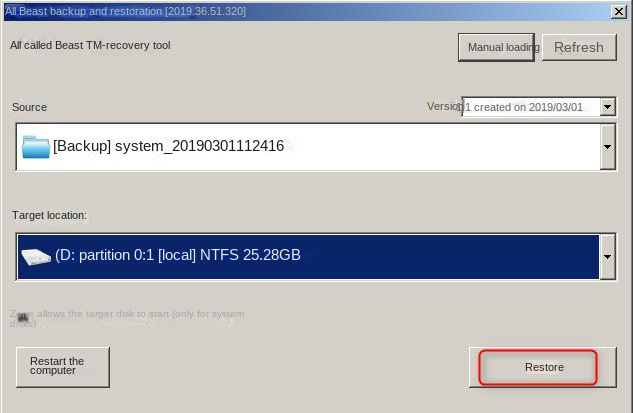
How to Restore System Backup by Renee Becca

27-05-2022
Amanda J. Brook : Detailed steps about how to restore the backup system to original system disk without Windows.
Best Free Backup Software – Renee Becca
14-06-2022
Jennifer Thatcher : Step by step process of how to backup partition/disk with the best free backup software - Renee Becca....
Easy Steps for How to Recover The Files From The Trash on Mac

09-04-2024
John Weaver : Discover the straightforward method to retrieve deleted files from your Mac's Trash, or even regain those lost after...
Expert Tips for NTFS File Recovery in A Simple Way
09-04-2024
Jennifer Thatcher : Discover the simplicity of retrieving files from NTFS-formatted hard drives. This guide demystifies the NTFS file system and...

