

Install Windows 7 Effortlessly Using a USB Drive

Summary
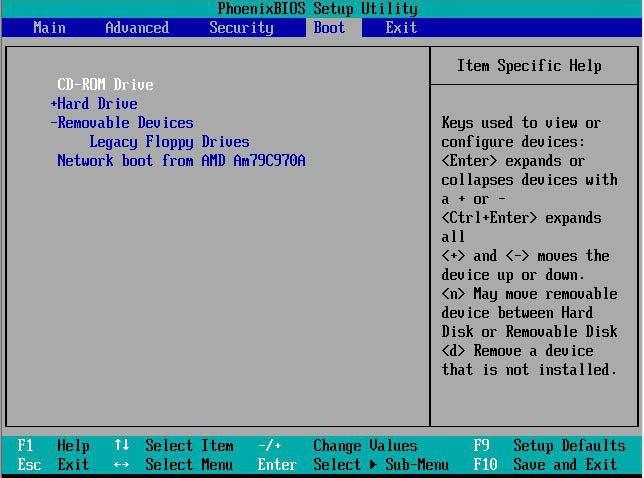
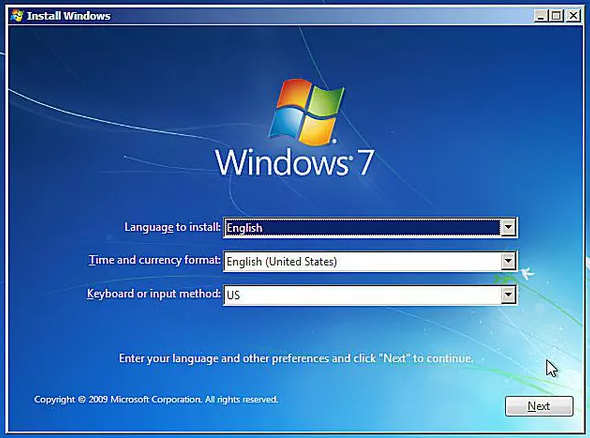
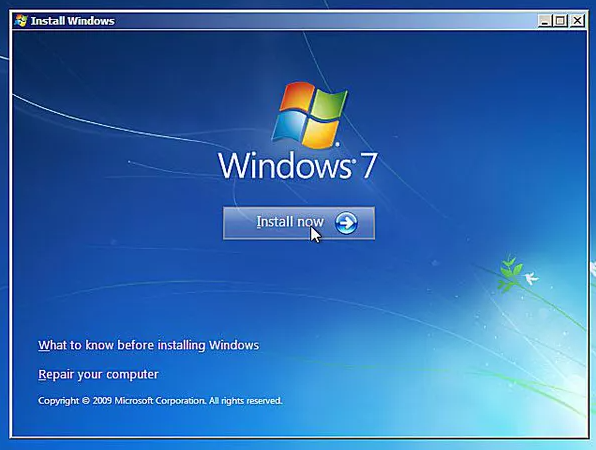
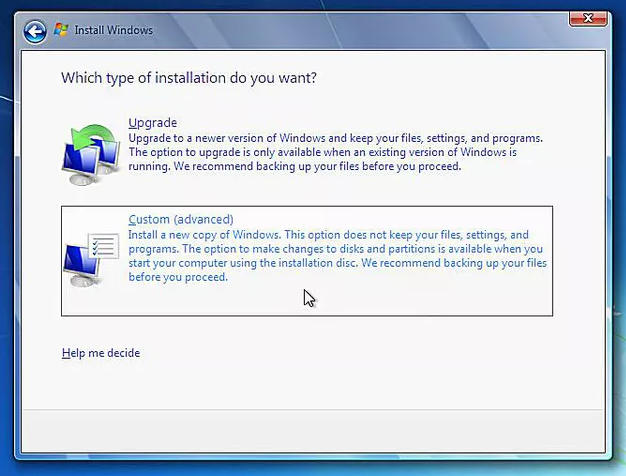
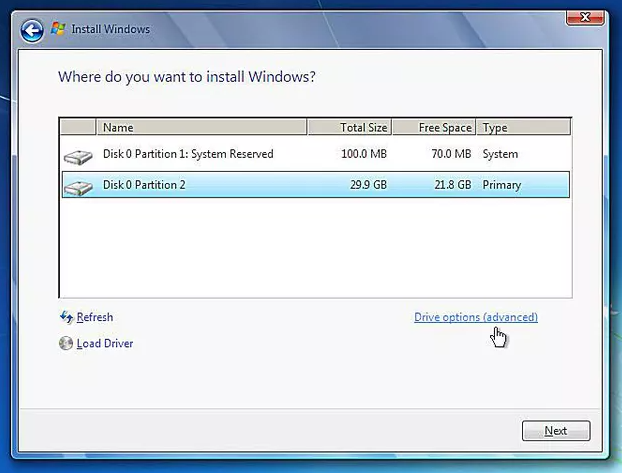
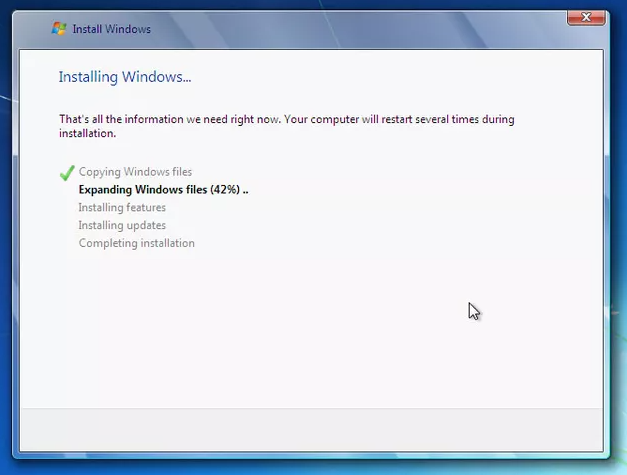
Learn how to install Windows 7 using a USB flash drive. Even though Microsoft has stopped support, this guide is perfect for those who still want it.
Table of contents

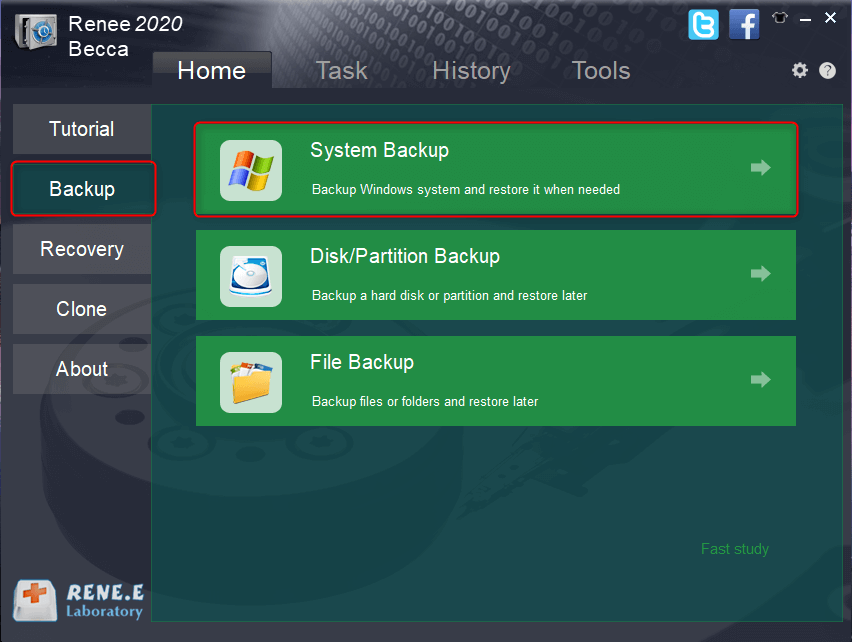
Quick Backup files at up to 3,000MB/min.
Fullfill different backup needs Supports system backup, disk / partition backup, file backup and disk clone.
Intelligent Automatically analyze the differences between source and backup data.
Convenient Support VSS, allowing to freely view webpages when backing up system.
Highly compatible Supports various files and storage devices.
Quick Backup files at up to 3,000MB/min.
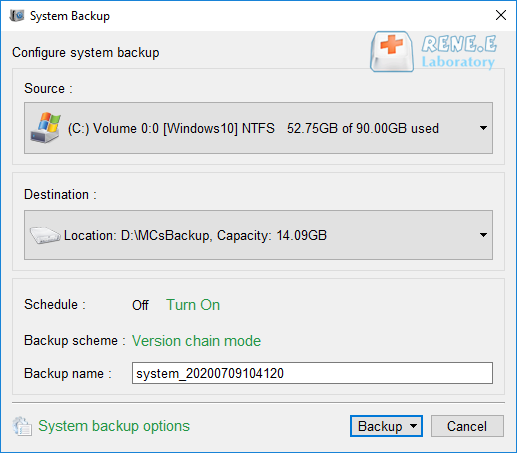
Fullfill different backup needs Backup for disk, partition and system. Save disk space by backing up incremental /differential data.
Highly compatible Supports various files and storage devices.


Relate Links :
Windows 10 System Backup : 5 Different Backup Modes

13-09-2023
Amanda J. Brook : Make the automatic backup plans for Windows 10 system with 5 different backup modes. Save time and disk...
How to Restore System Backup by Renee Becca
27-05-2022
Amanda J. Brook : Detailed steps about how to restore the backup system to original system disk without Windows.
Windows 8 Backup, Windows 8.1Backup and System Restore
20-06-2019
John Weaver : In the daily use of Windows 8 or Windows 8.1, malfunction, poor performance or fail to start of...

