

Upgrade Your PC: How to Move OS to Another Drive

Summary
Upgrade your PC and improve performance by learning how to move your operating system (OS) to a new drive. This comprehensive guide covers the benefits of OS migration, preparing for the process, understanding different types of drives, potential challenges, a step-by-step guide, and common FAQs and troubleshooting.
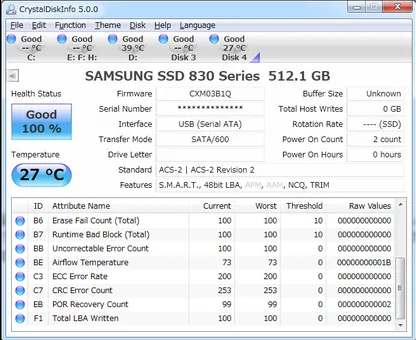
fsutil fsinfo ntfsinfo C:” (replace C: with your drive letter). Look for the “Bytes Per Cluster” value – if it is 4,096, then your drive is 4K aligned.

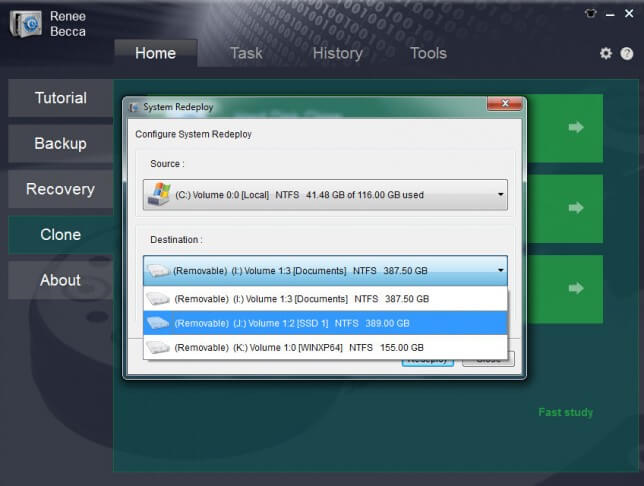
Automatic 4K alignment Improves SSD performance during system migration.
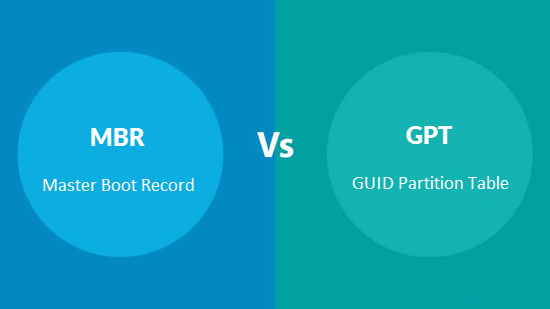
Support GPT and MBR Automatically adapt to the suitable partition format.
Support NTFS and FAT32 Redeploy various files in different file systems.
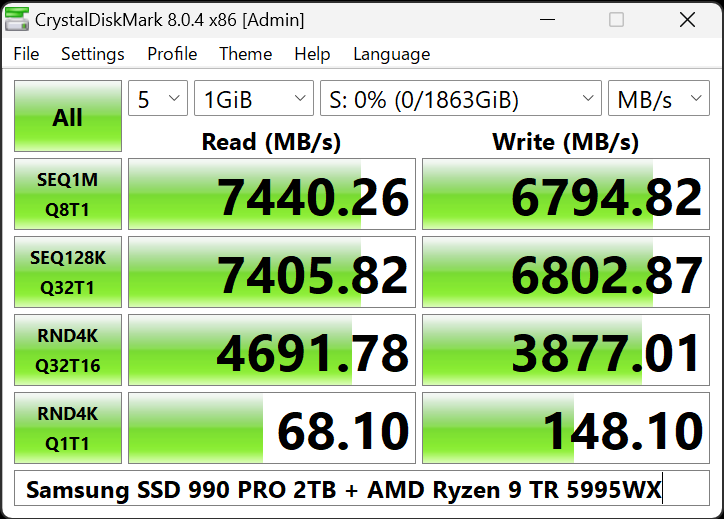
Back up quickly Back up files at up to 3,000MB/min.
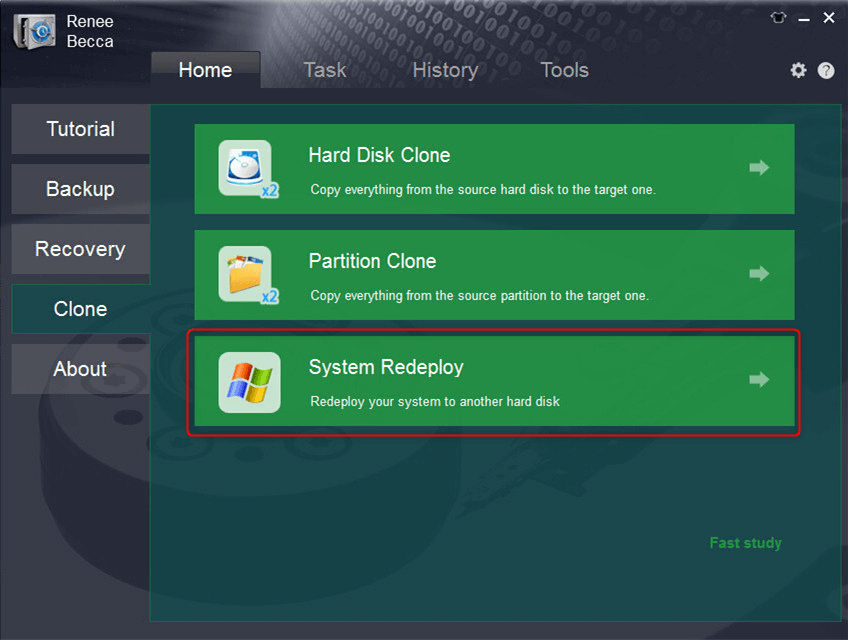
Overall backup schedule Support system redeployment/system backup/partition backup/disk backup/disk clone.
Automatic 4K alignment Improve SSD performance
Support GPT and MBR Intelligently adapt to a partition format
Support NTFS and FAT32 Redeploy files in different file systems
- Allows safe migration of operating system without fresh installation.
- Simple steps for a smooth and hassle-free transfer.
- Improves performance and faster boot times with new SSD.
Cons:
- Doesn't have a Mac version.Paid subscription required for full access to all features.
- Paid subscription required for full access to all features.
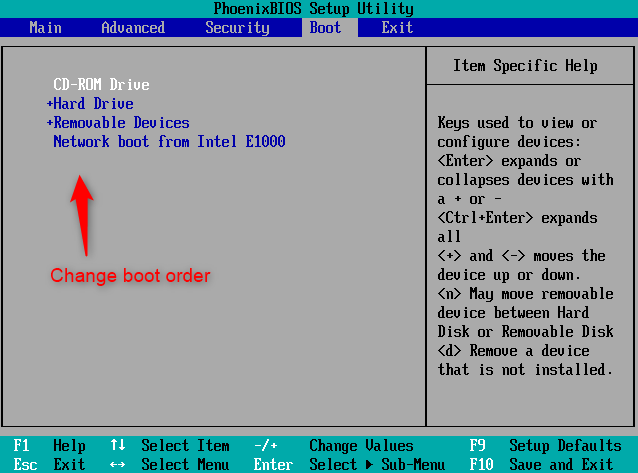
| BIOS Name | Method | The Key or Keys |
|---|---|---|
| Acer | Press Del or F2 immediately after powering on | Del, F2 |
| Compaq | Press F10 while the cursor in the top right corner of the screen is blinking | F10 |
| Dell | Press F2 when the Dell logo appears, or press every few seconds until the message Entering Setup appears | F2 |
| eMachines | Press Tab or Del while the eMachine logo displays on the screen | Tab, Del |
| Fujitsu | Press F2 once the Fujitsu logo appears | F2 |
| Gateway | Press the F1 key repeatedly after restarting the computer | F1 |
| HP | Press the F1, F10, or F11 key after restarting the computer | F1, F10, F11 |
| IBM | Press F1 immediately after powering on the computer | F1 |
| Lenovo | Press F1 or F2 after powering on the computer | F1, F2 |
| Nec | Press F2 to enter the BIOS Setup | F2 |
| Packard Bell | Press F1, F2, or Del to enter BIOS | F1, F2, Del |
| Samsung | Press F2 to start the BIOS setup utility | F2 |
| Sharp | Press F2 after the computer starts | F2 |
| Sony | Press F1, F2, or F3 after turning on the computer | F1, F2, F3 |
| Toshiba | Press F1 or Esc after powering on to access BIOS | F1, Esc |
| ARLT | Press Del or F11 when the respective message is shown | Del, F11 |
Relate Links :
How to Factory Reset Your Toshiba Laptop Without a Windows/BIOS Password
28-11-2023
Jennifer Thatcher : In this article, learn how to factory reset your Toshiba laptop without the need for a password. Discover...
How to transfer Hard Drive to SSD for Windows and MacOS

28-11-2023
John Weaver : Upgrade your computer's performance by transitioning from Mechanical HDD to SSD. This article will guide you through the...
Toshiba Laptop Password Reset: Unlocking Your Device

28-11-2023
Ashley S. Miller : Forgot your Toshiba laptop password and don't have a Windows build-in reset disk? Or Forgot BIOS password? Don't...
Easy Solutions for Being Locked Out of Your Acer Laptop(Both BIOS and Windows Password)
22-11-2023
Jennifer Thatcher : Learn how to unlock your Acer laptop when you're locked out with these simple and effective methods. From...

