

Easy Solutions to Fix The Error of Scanning And Repairing Drive Stuck at 100%

Summary
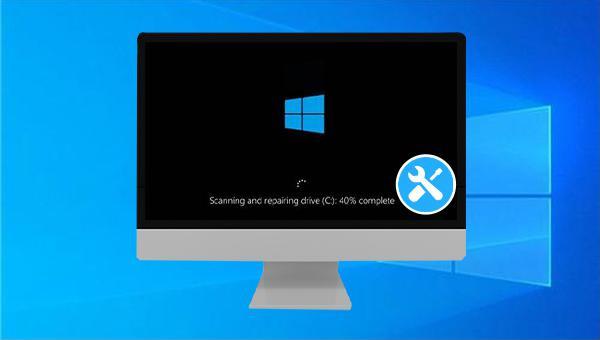
Resolve the 'Scanning and Repairing Drive Stuck at 100%' error in Windows 10 by implementing the solutions outlined in this guide. Prevent this frequent problem from hindering your computer's performance.
Table of contents

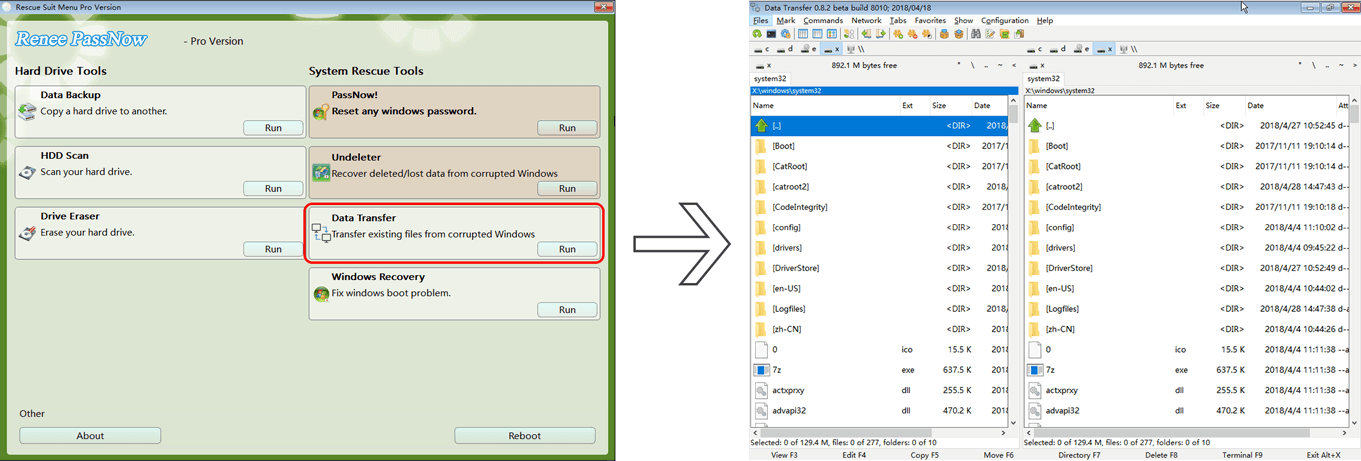
Easy to use 3 steps to transfer the files.
Transfer the files Transfer the important files of the computer without system.
Preview the files Preview the files while transferring the data.
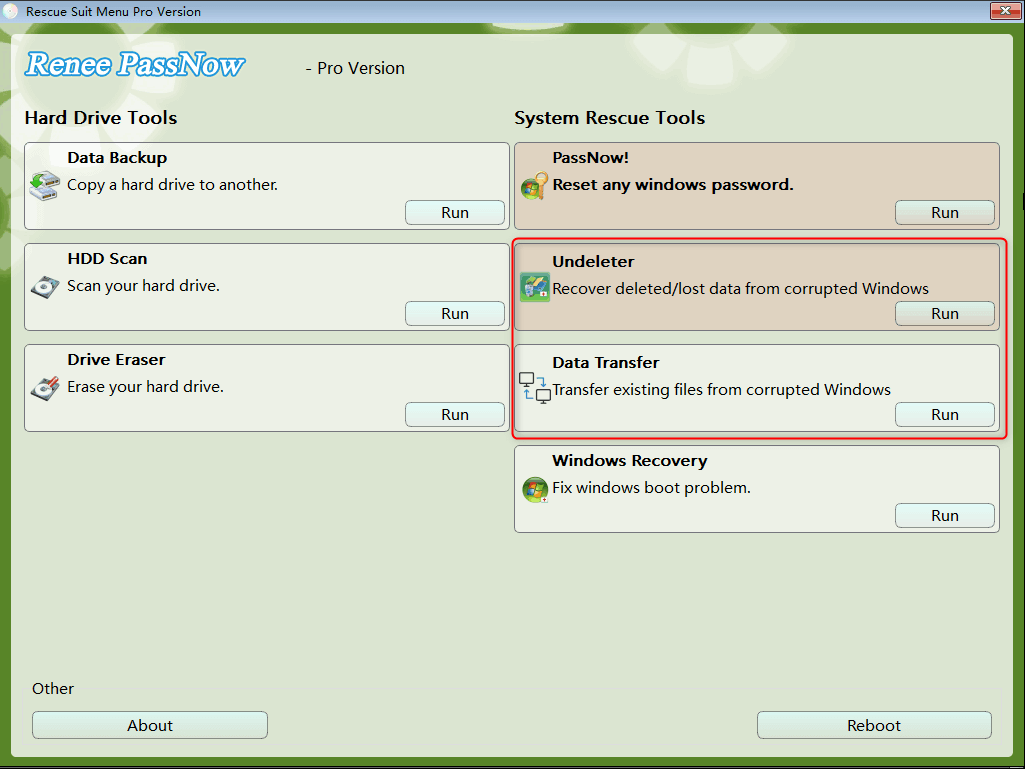
Multifuctional Data recovery, Windows password reset, bootable problem recovery can be run without system.
Highly compatible Windows 10/8.1/8/7/XP/Vista. Also supports UEFI boot mode.
Easy to use 3 steps to transfer the files.
Transfer the files Transfer the important files of the computer without system.
Preview the files Preview the files while transferring the data.
Free TrialFree TrialNow 2000 people have downloaded!
Relate Links :
Quick Tips to Fix Error "Operating System Not Found"

08-04-2024
Jennifer Thatcher : Discover the underlying causes and standard solutions for the "Operating System Not Found" error on Windows PCs. We'll...
How to solve the problem that boot device not found please install an operating system?

01-08-2023
John Weaver : Learn the causes and solutions for the problem "Boot device not found please install an operating system". Before...
Easy Guide to Fix The Error "Stop Code: BAD SYSTEM CONFIG INFO" on Windows 10

13-07-2023
Amanda J. Brook : Resolve the blue screen error "Stop Code: BAD SYSTEM CONFIG INFO" on Windows 10 with easy repair methods...
Expert Guide to Fix 100% CPU Usage on Windows 10
08-04-2024
Ashley S. Miller : Learn how to solve the problem of 100% CPU usage on Windows 10 with this guide, which analyzes...

