

Master the Art of SSD Installation and Optimization

Summary
Learn how to install SSDs and optimize performance on host computers and notebooks with alignment, defragmentation, interface confirmation, BIOS settings, and advanced speed-up techniques.
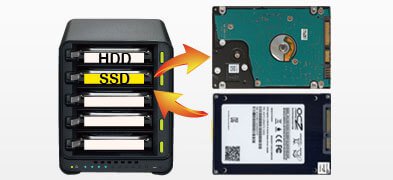
Classification and selection of solid state drives

Automatic 4K alignment Improves SSD performance during system migration.
Support GPT and MBR Automatically adapt to the suitable partition format.
Support NTFS and FAT32 Redeploy various files in different file systems.
Back up quickly Back up files at up to 3,000MB/min.
Overall backup schedule Support system redeployment/system backup/partition backup/disk backup/disk clone.
Automatic 4K alignment Improve SSD performance
Support GPT and MBR Intelligently adapt to a partition format
Support NTFS and FAT32 Redeploy files in different file systems
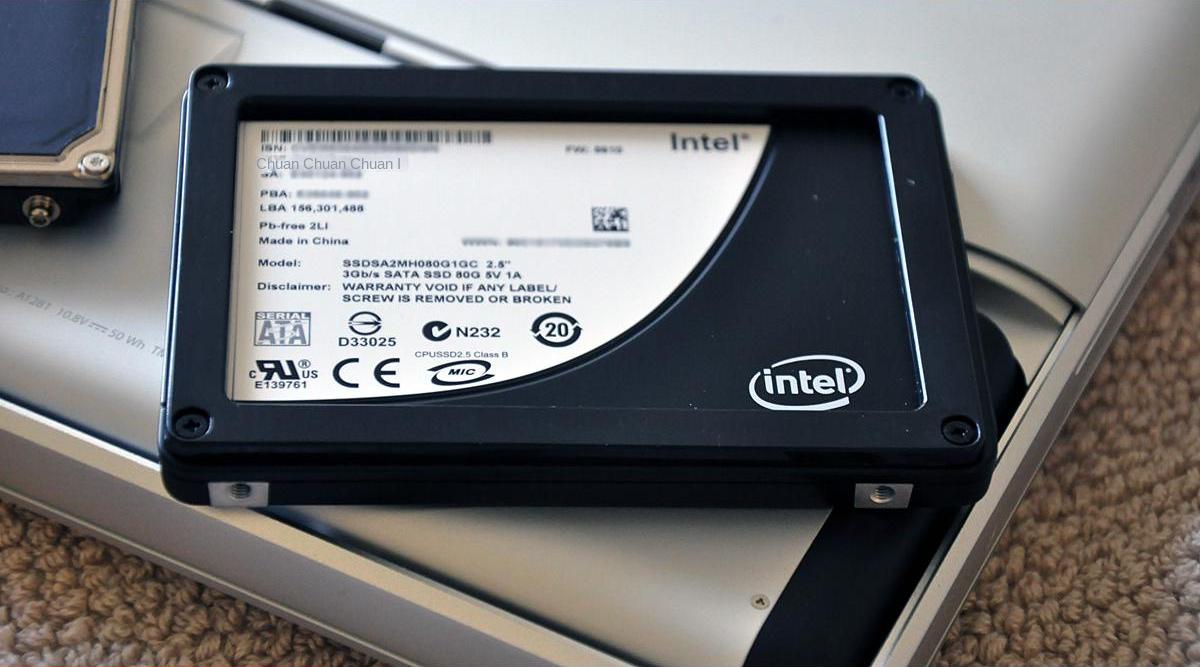
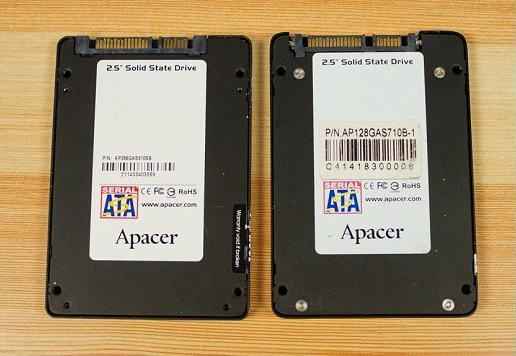
1. SATA SSD
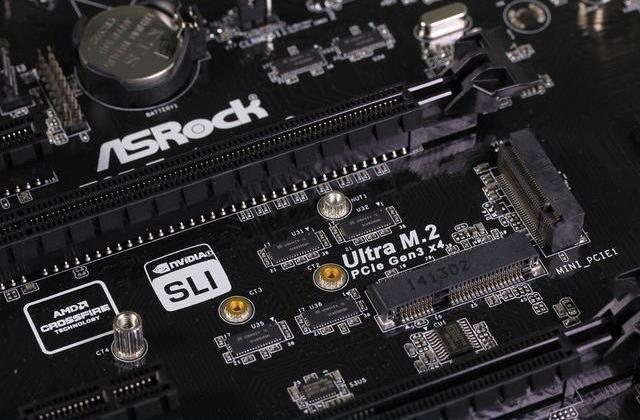
2. M.2 SSD
AHCI and NVMe. NVMe SSDs provide better performance with faster transmission speed and low latency. Look for the NVM Express logo on the outer box or product label to identify NVMe-compatible SSDs.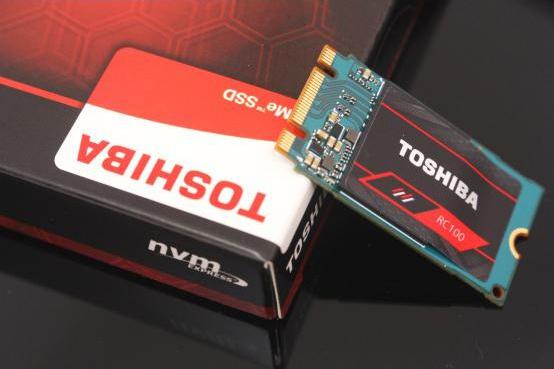
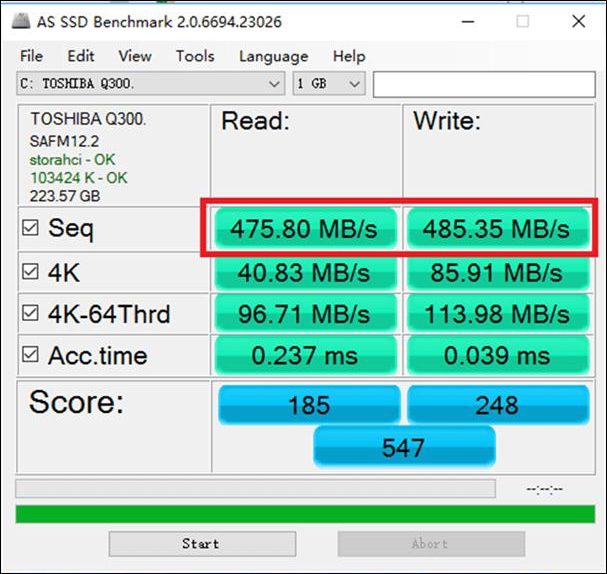
AS SSD Benchmark to determine if the hard drive is NVMe or AHCI protocol. A comparison of two M.2 interface SSDs without protocols is shown in the picture: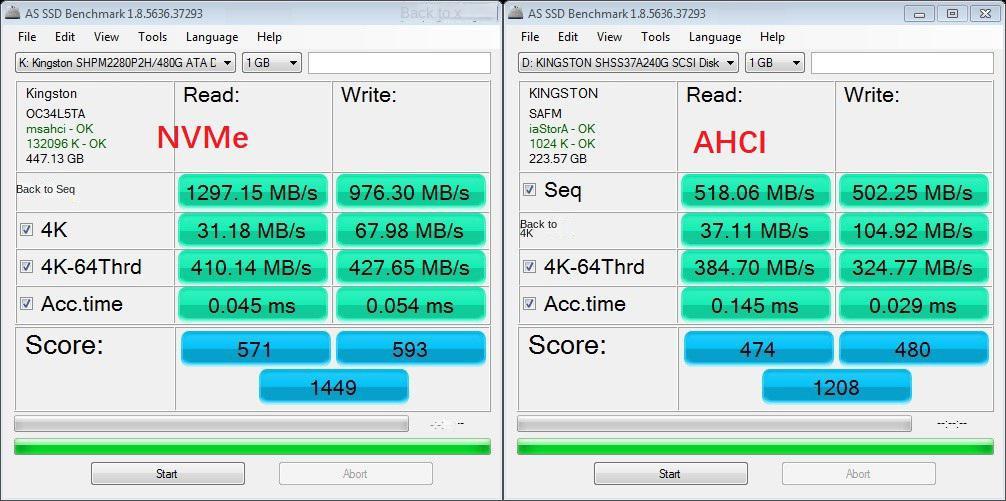
The test results reveal a significant difference in AS SSD running points between the two. The NVMe protocol solid-state hard disk on the left has continuous reading and writing speeds of 1297MB/s and 976MB/s respectively, while the AHCI protocol solid-state hard disks on the right have speeds of 518MB/s and 502MB/s respectively. The NVMe protocol exhibits superior transmission performance compared to the AHCI protocol. For M.2 solid-state drives with SATA channel, the theoretical transmission speed does not exceed 600MB/s, whereas an NVMe protocol supported M.2 solid-state drive can theoretically achieve over 2000MB/s reading speed. Therefore, the fastest way to determine if it supports AHCI or NVMe protocol is by distinguishing the reading speed.
How to correctly install a solid state drive
1. Preparations for installing a solid-state drive (SSD)


2. How to install the solid state drive on the PC host
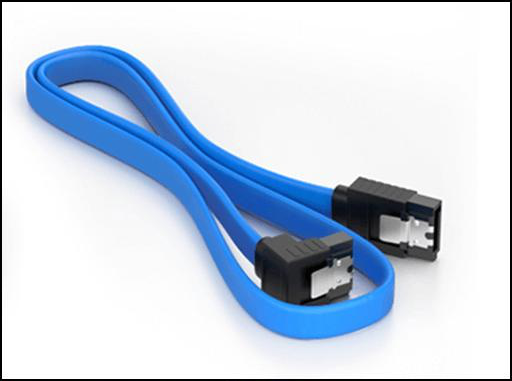
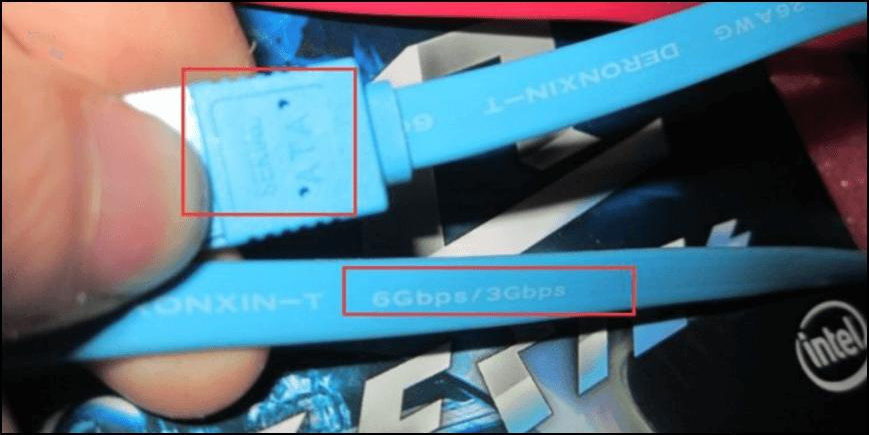
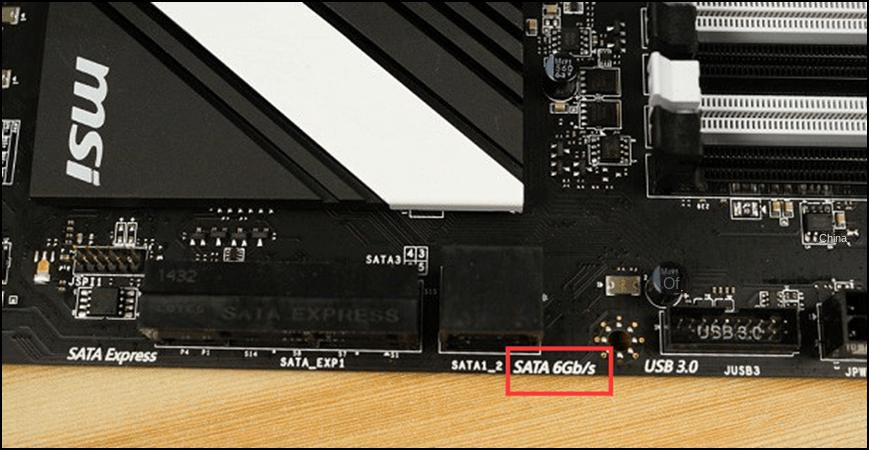
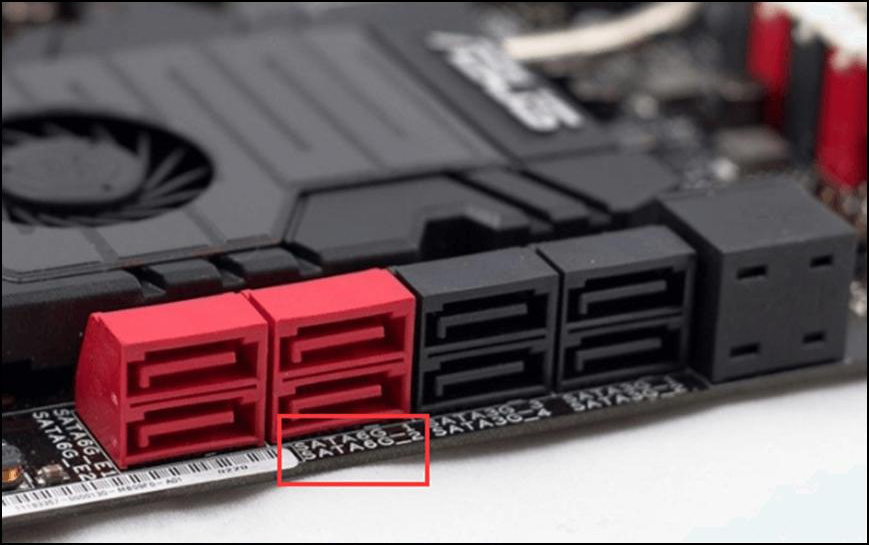
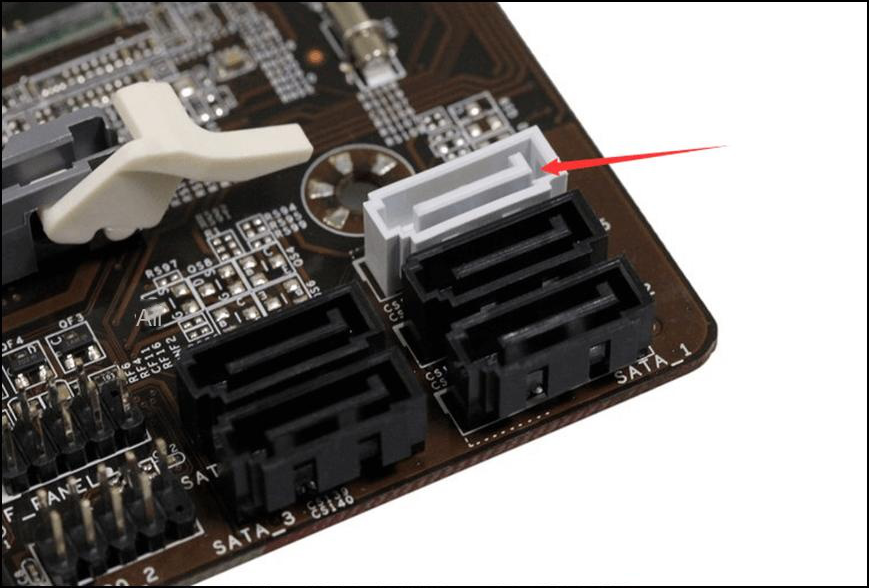
① How to install SATA 3 SSD It should be noted that SATA3 refers to the version of SATA3.0, and the interface speed can reach up to 600MB per second, which is twice the maximum of 300MB per second of SATA2.0 version. In the following, I will teach you the correct installation method, lest you buy a SSD with SATA3.0 interface but still use SATA2.0 by mistake. When installing, the most important point is to connect the SATA3.0 data cable to the SATA3.0 interface of the motherboard to obtain the highest transmission speed. You can confirm which interface is SATA3.0 by checking the motherboard manual. If the motherboard manual is not with you, you can also judge according to the text on the motherboard, such as:
PC host SATA SSD installation/replacement video tutorial: >>>
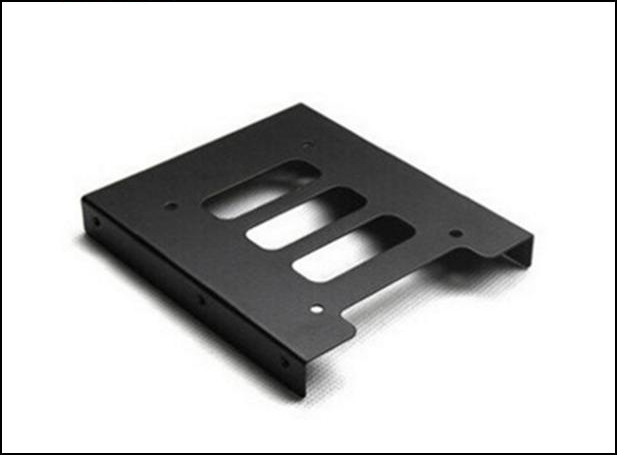
3. How to install a solid state drive on a notebook
Automatic 4K alignment Improves SSD performance during system migration.
Support GPT and MBR Automatically adapt to the suitable partition format.
Support NTFS and FAT32 Redeploy various files in different file systems.
Back up quickly Back up files at up to 3,000MB/min.
Overall backup schedule Support system redeployment/system backup/partition backup/disk backup/disk clone.
Automatic 4K alignment Improve SSD performance
Support GPT and MBR Intelligently adapt to a partition format
Support NTFS and FAT32 Redeploy files in different file systems
4. How to install the system on the new SSD
shortcoming:
- 4K alignment may not be possible for SSD during system installation
- Need to reinstall a lot of commonly used software
- The activation codes of some software are also prepared in advance, otherwise some software may not be able to run
- Documents on Windows need to be saved before transferring to the new system
- The commonly used history records and shortcuts must be reconfigured
advantage:
- Automatic 4K alignment, guaranteed speed
- No need to reinstall the system, bid farewell to the long wait
- No need to reinstall software and backup activation code, skip tedious steps
- No need to reset various desktop layouts and shortcuts
- All kinds of offline chat records can be preserved
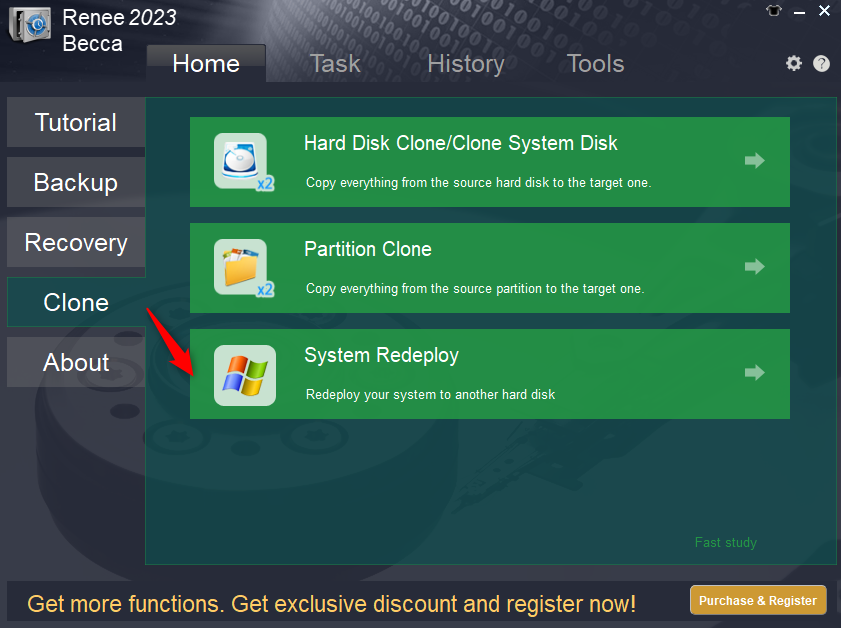
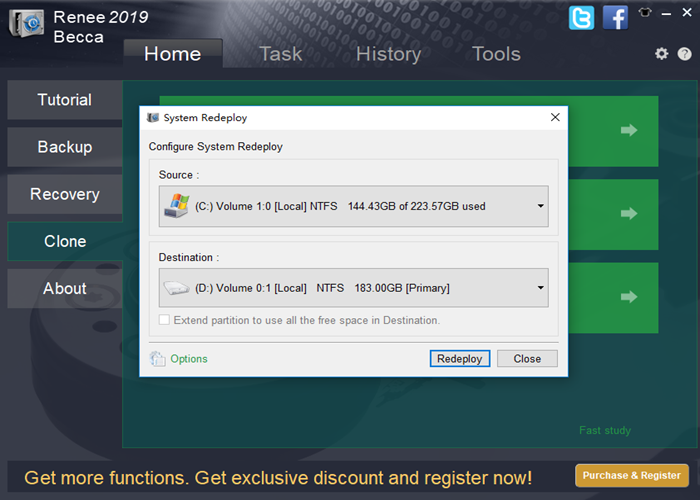
- The system migration function of the migration software Renee Becca can directly complete the migration in three simple steps.
- The software does not need to create an image, and can be migrated directly.
- Automatically perform 4K alignment and support large partitions to small partitions.
- Support GPT and MBR disk formats, one step in place!
- After the migration is complete, the SSD can be turned on immediately without any professional knowledge. Time-saving and efficient!
- Click the link to download and install immediately!
- Support Windows 10/8.1/8/7/Vista/XP/2K

SSD hard disk optimization
Pre-steps: Confirm that the SSD has been inserted into the SATA3.0 interface on the motherboard
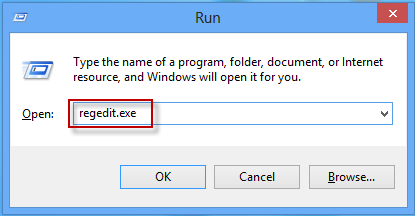
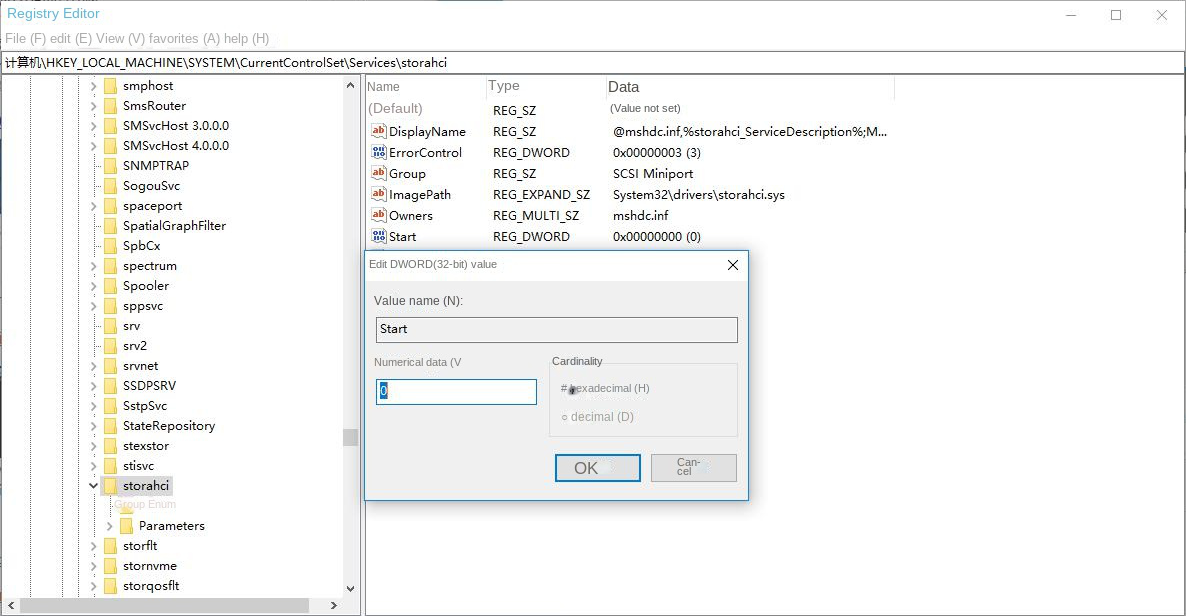
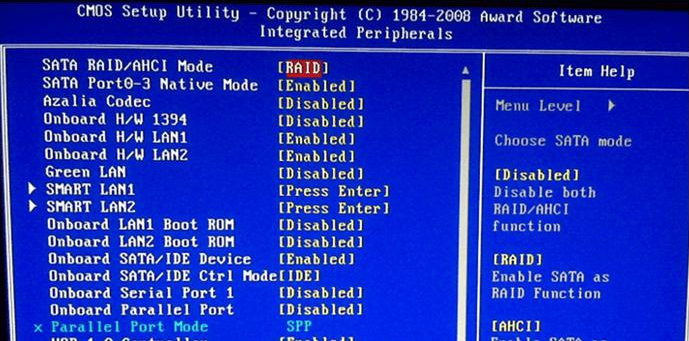
1. Confirm that the BIOS and Windows have been set to support AHCI
AHCI (Serial ATA Advanced Host Controller Interface) is an interface standard developed by multiple companies, including Intel, AMD, Dell, Marvell, Maxtor, Microsoft, Red Hat, Seagate, and StorageGear. It enables storage drivers to utilize advanced serial ATA functions such as local command queuing and hot plugging. By supporting and utilizing AHCI, the motherboard can unlock the potential acceleration function of SATA hard disks, resulting in a roughly 30% increase in read and write speeds.


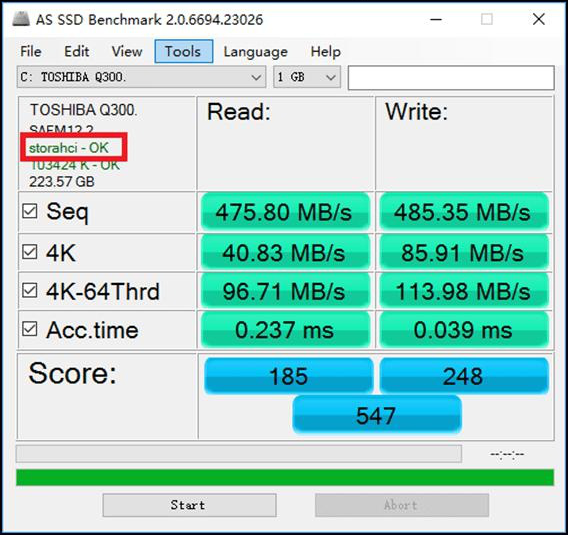
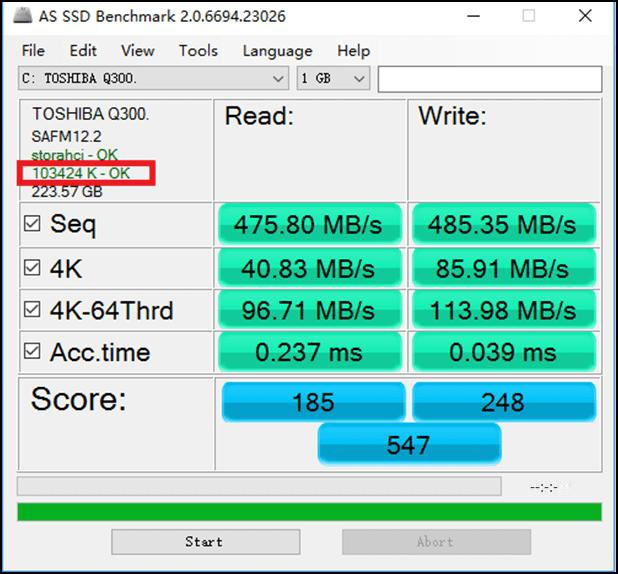
After completing the above 4 steps, we start AS SSD Benchmark again. In the position shown in the figure, as long as you see the logo of storahci or iaStorA, it means that your system has fully supported AHCI.
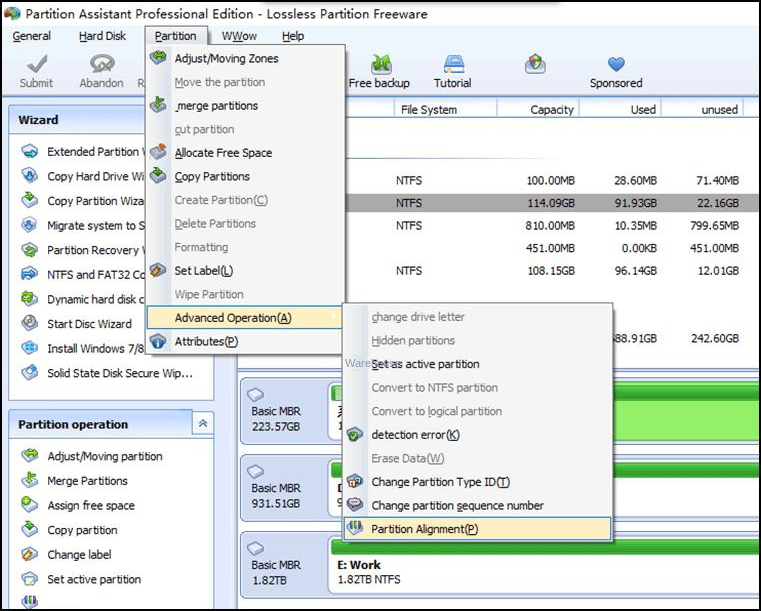
2.4K alignment optimization
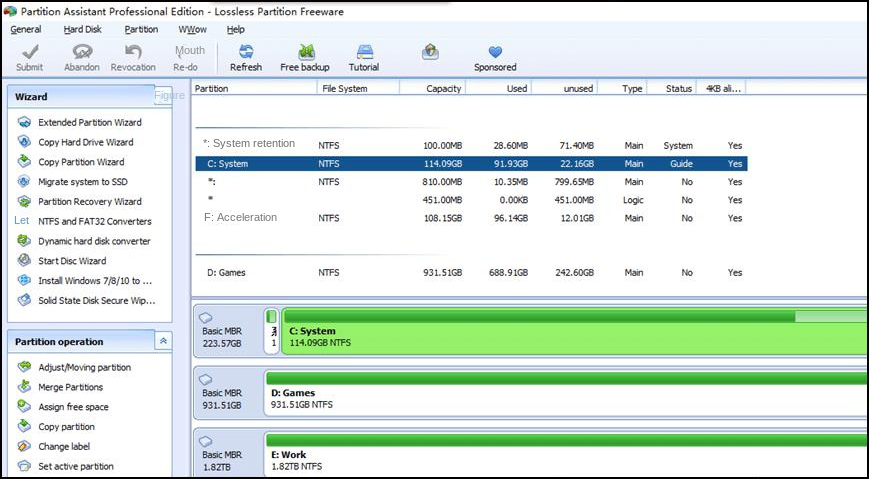
- 1. Download the free software :http://www.drfreeware.org/PA_Green.zip
- Unzip to a local folder, double-click PastAssist.exe in the folder
- After entering the software, select your system disk, as shown in the figure:

3. Don’t fill up your SSD
4. (Optional) Use the RST driver provided by Intel to improve HDD performance
Intel RST: Enhanced Performance and Reliability Intel Rapid Storage Technology (IntelRST), formerly known as Matrix RAID, is a Windows-based application that boosts performance and reliability for desktop, mobile PC, and server platform systems with SATA disks. By utilizing one or multiple disks, users can experience improved performance, reduced power consumption, and enhanced data protection against disk failure.
why install Intel RST ?
The conditions for realizing Intel Rapid Storage Technology (Intel Rapid Storage Technology):
Implementation steps:
Relate Links :
Easily Clone HDD to SSD: No Windows 10 Reinstallation Required

14-03-2024
Amanda J. Brook : Upgrading your computer’s performance has never been easier. Discover the seamless process of cloning your existing HDD onto...
Recommended Clone Software: HDD to SSD
26-07-2021
Amanda J. Brook : It is not easy to select useful clone software. In this essay, we will recommend the clone software...
How to Clone Large HDD to a Smaller SSD in Windows 10?
20-06-2019
Amanda J. Brook : Some users said that it was very time-consuming to install an new operating system after replacing HDD with...
Free Clone Large HDD to Smaller SSD in Windows
15-07-2019
Amanda J. Brook : Want to optimized the computer disk by replacing HDD with SSD? However, system reinstall makes you hesitate? Now...

