

Fix: There Was a Problem Resetting Your PC

Summary
Solutions to fix the "problem resetting your computer" error on Windows 10. Follow the effective methods provided in this article based on your situation.
● The BCD is damaged.
● The recovery partition of the system is damaged.
● The .dll file is damaged.
● There is a problem with the Windows hardware.
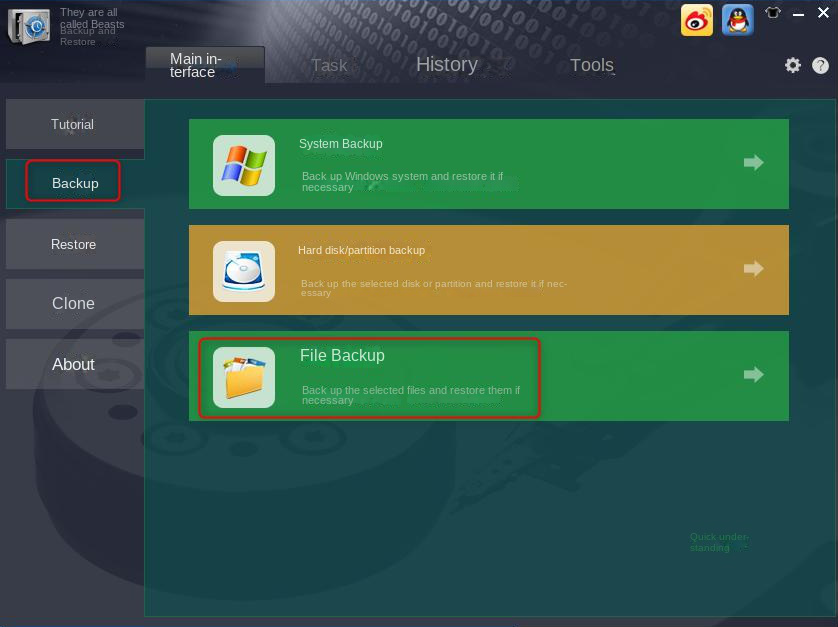
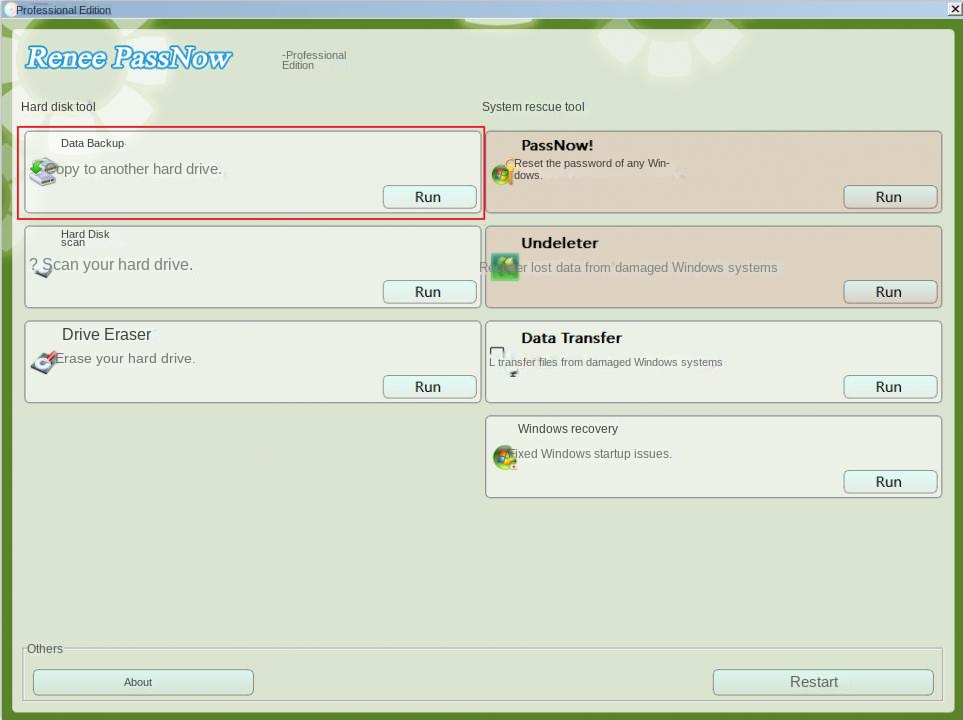
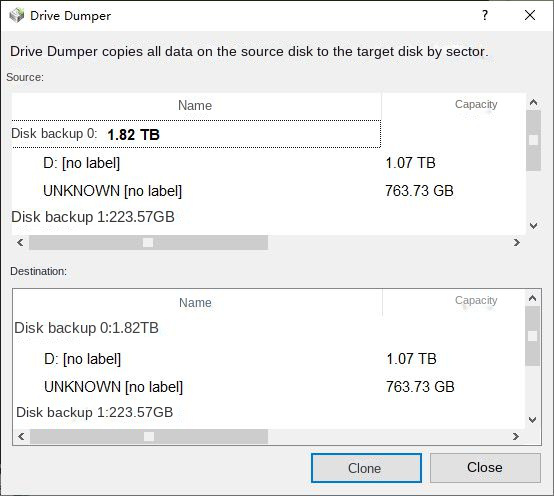
Provides multiple functions like backup, restore, clone, system migration.
Clone all data (including system) in HDD to smaller SSD or larger HDD. Disk could boot PC after clone finished.
Supports to migrate Windows to SSD with a few clicks.
4K alignment will be processed when clone disk, migrate system, restore disk or system.
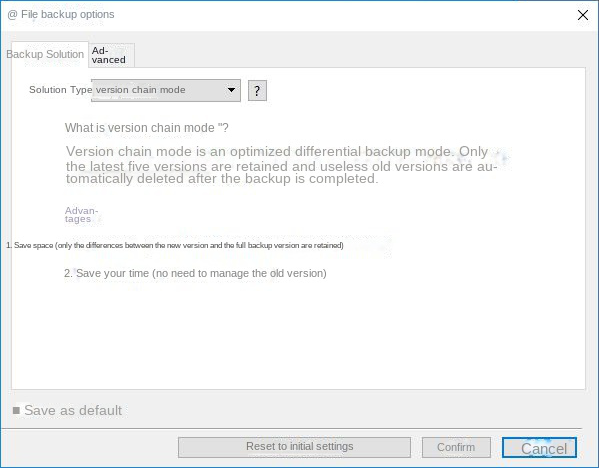
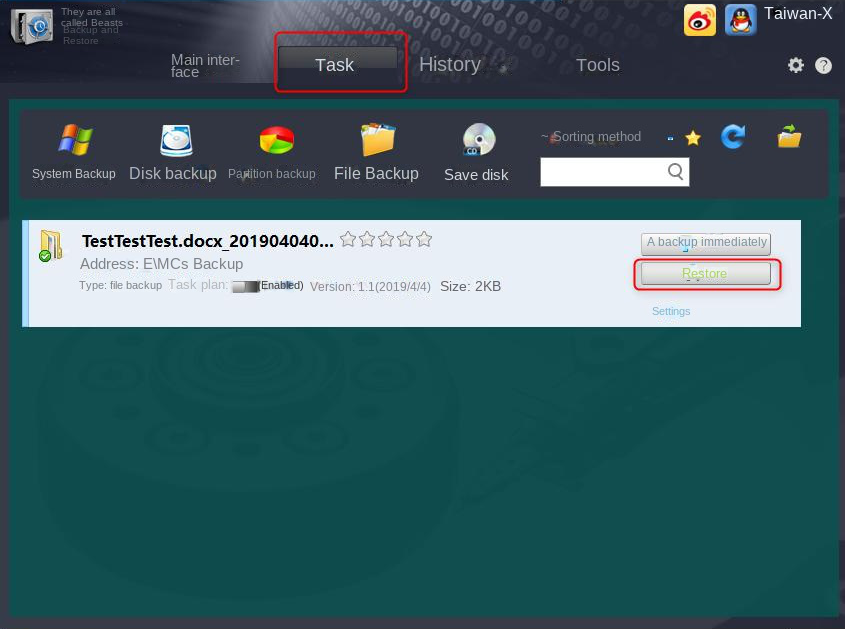
Backup & restore system/disk/folder. Auto backup plans are available.
Provides functions like backup, restore, clone, system migration.
Clone all data (including system) in HDD to smaller SSD or larger HDD.
Backup & restore system/disk/folder. Auto backup plans are available.
Compatible with: Windows 10 / 8.1 / 8 / 7 / Vista / XP / 2008 / 2012(32bit/64bit) / Server 2008
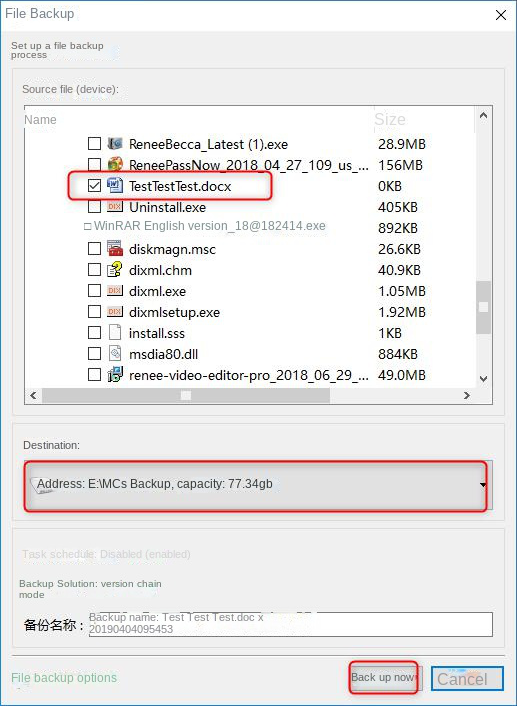


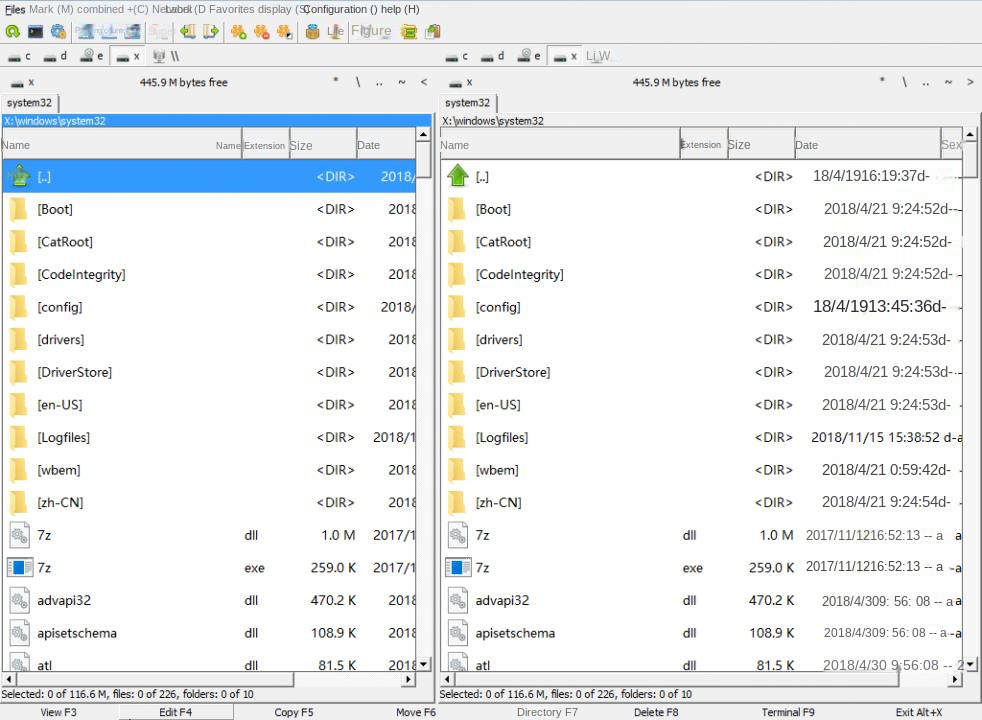
Easy to use 3 steps to transfer the files.
Transfer the files Transfer the important files of the computer without system.
Preview the files Preview the files while transferring the data.
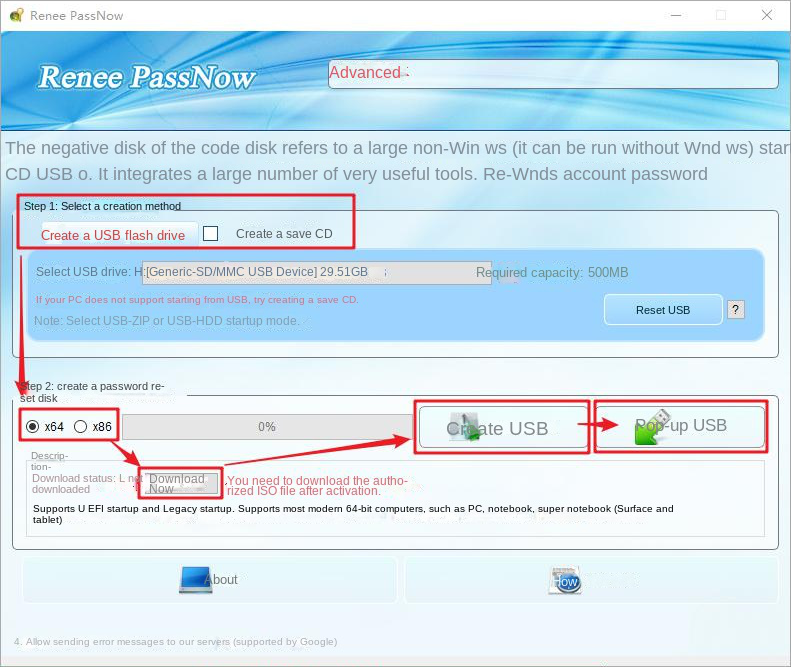
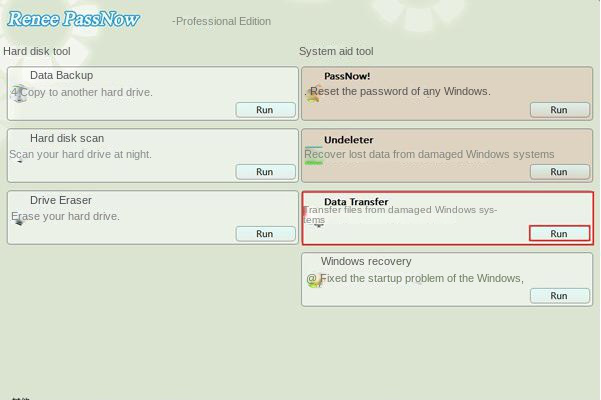
Multifuctional Data recovery, Windows password reset, bootable problem recovery can be run without system.
Highly compatible Windows 10/8.1/8/7/XP/Vista. Also supports UEFI boot mode.
Easy to use 3 steps to transfer the files.
Transfer the files Transfer the important files of the computer without system.
Preview the files Preview the files while transferring the data.
Free TrialFree TrialNow 2000 people have downloaded!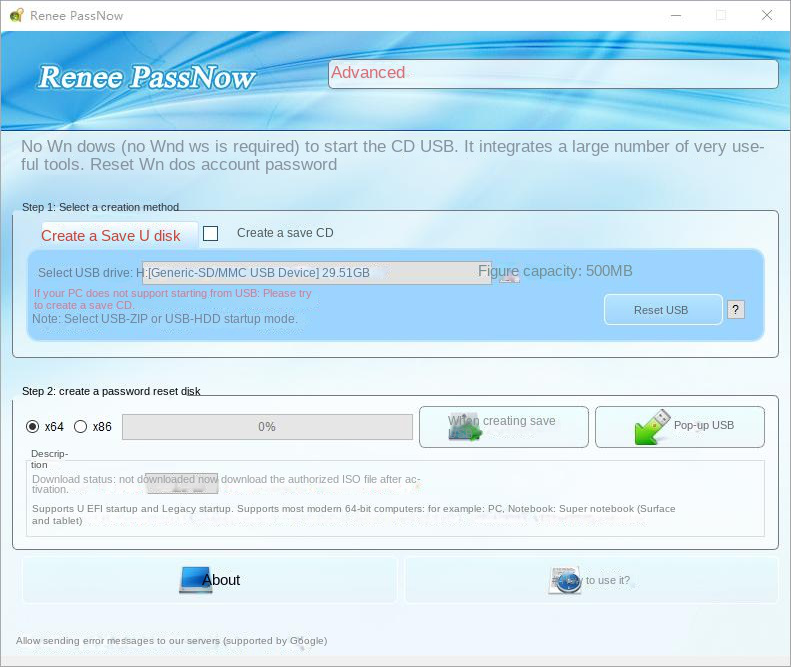
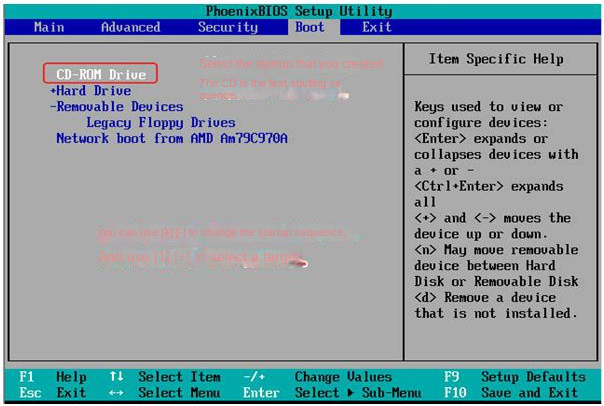
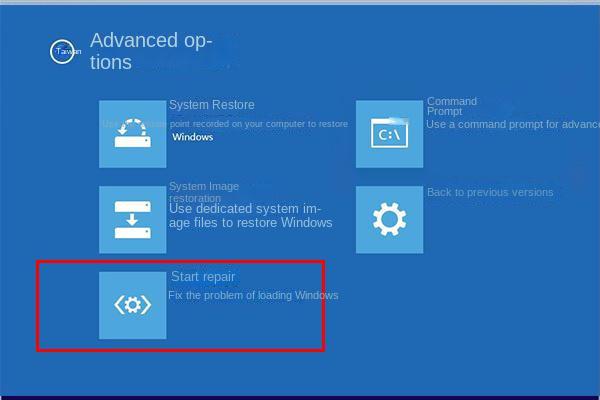
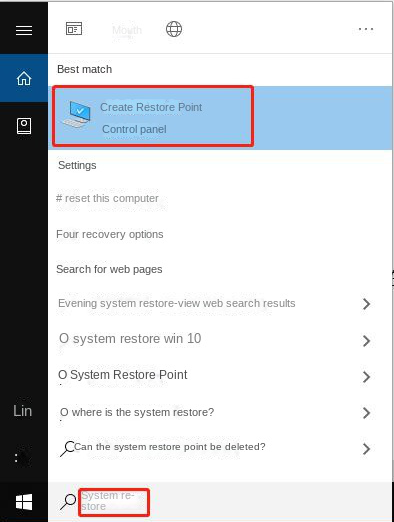
● On the login screen, click the (Close) button, then select (Restart) while holding down the Shift key.
● Go to Settings in Windows 10, click (Update and Security) > (Recovery), click (Restart Now) under Advanced Startup.
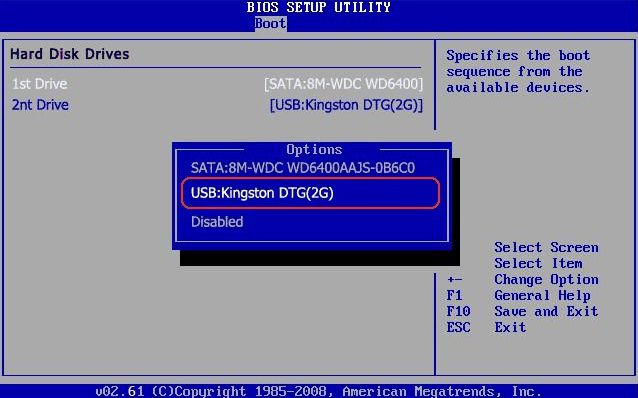
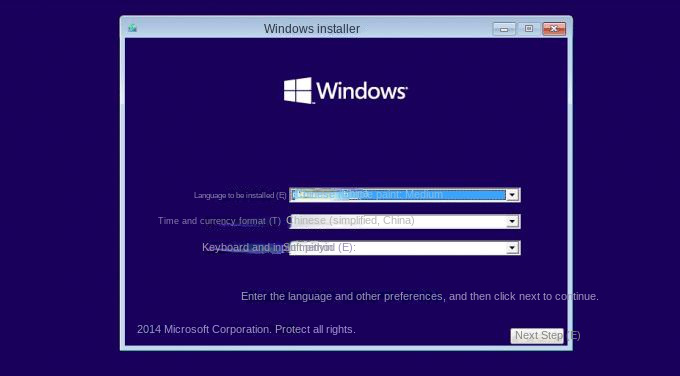
● Boot from recovery media, provided you have created Windows recovery media.
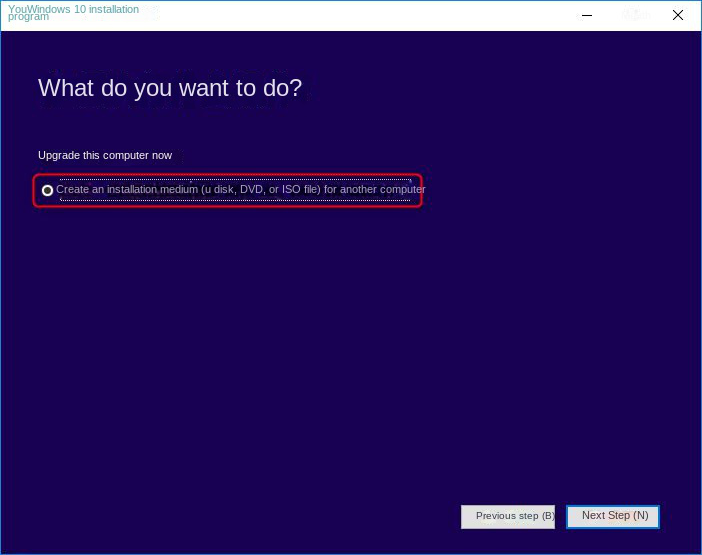
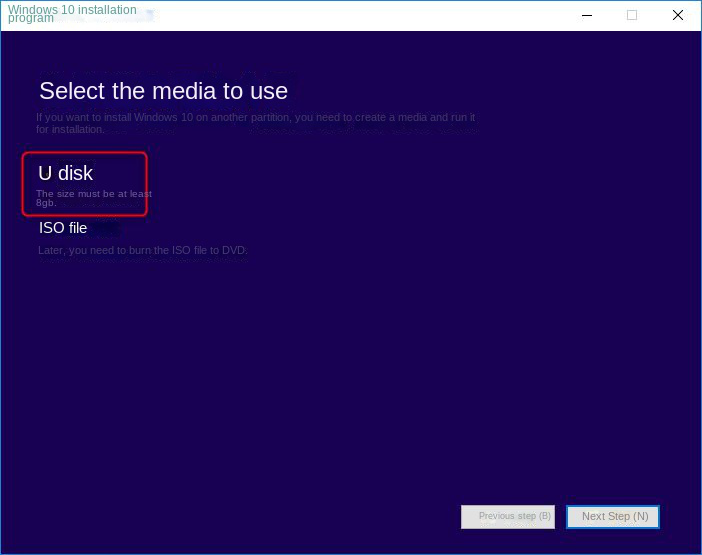
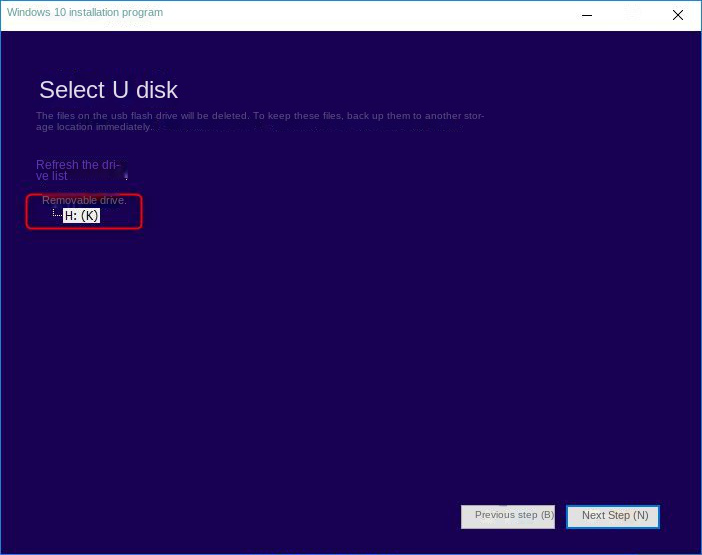
● The storage device used to create the installation media should have at least 8GB of free space, and make sure the drive is empty. Because during the process of making the installation disk, all content stored in the device will be deleted.

Relate Links :
How to Restore System Backup by Renee Becca

27-05-2022
Amanda J. Brook : Detailed steps about how to restore the backup system to original system disk without Windows.
Fix System Restore Error 0x80042302 in a Snap!
15-01-2024
Amanda J. Brook : Solve the 0x80042302 error prompt on Windows with our article. Learn the causes and discover an alternative software...
System Restore: How to Restore Windows 7?
30-07-2021
John Weaver : When a series of unknown problems happen in the computer, we can restore the system. On Windows 7,...
Windows 8 Backup, Windows 8.1Backup and System Restore
20-06-2019
John Weaver : In the daily use of Windows 8 or Windows 8.1, malfunction, poor performance or fail to start of...

