

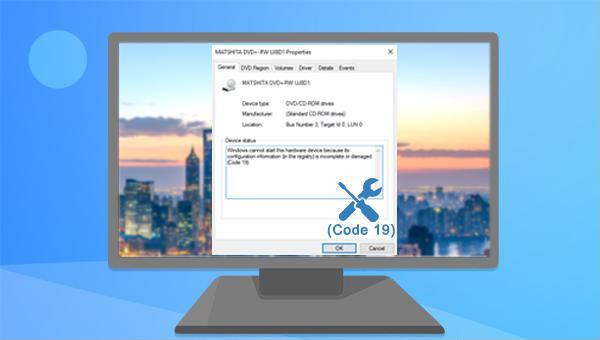
How to fix the error that Windows cannot start hardware device (Code 19)?

Summary
Fix the "Windows cannot start this hardware device (code 19)" error with ease! Our solution will guide you through the steps to resolve this frustrating issue caused by incomplete or damaged registry configuration information. Avoid the headache and get back to smooth sailing with your device. Read on to learn how!

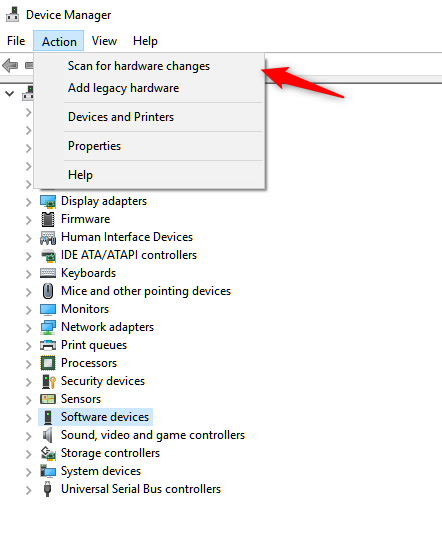
(Update Driver)-(Automatically Search Driver) to update to the latest version. Alternatively, visit the official website of the device manufacturer to download and install the latest driver.
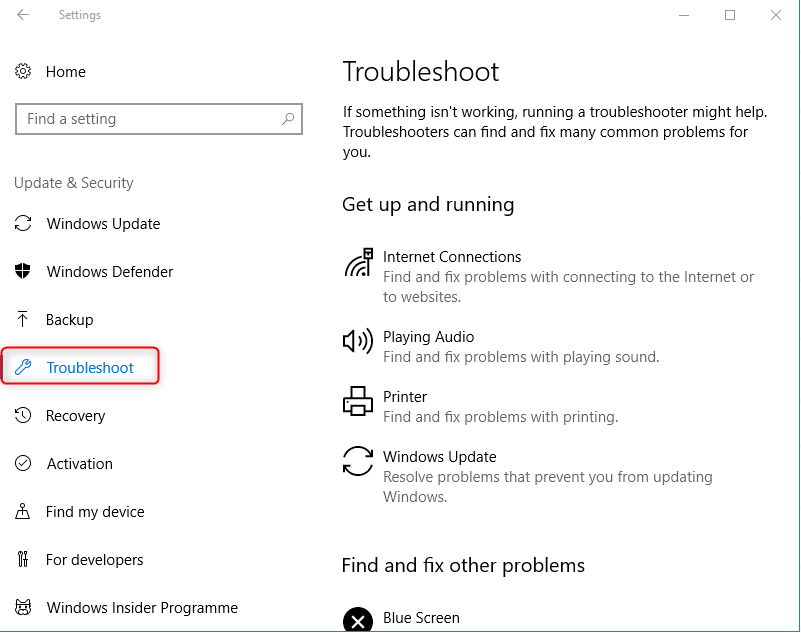

(msdt.exe -id DeviceDiagnostic) to specify the diagnostic package to be run and wait for the command to complete. Refer to Microsoft’s official detailed description of the Msdt command parameters for more information.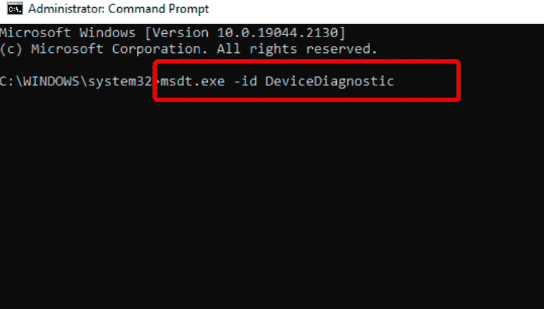

Fast backup Backup speed up to 3 000MB/minute
Support multiple SD cards Backup data of SD card, SDHC card and SDXC card
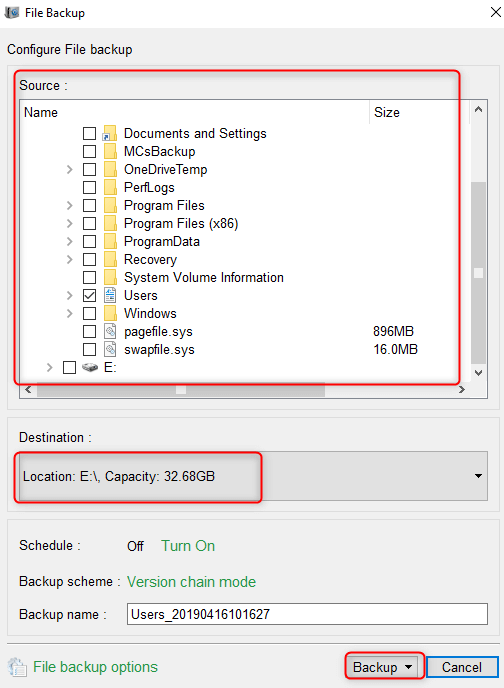
Incremental/differential backup technology Automatically analyze data differences between source files and backup files to save disk space
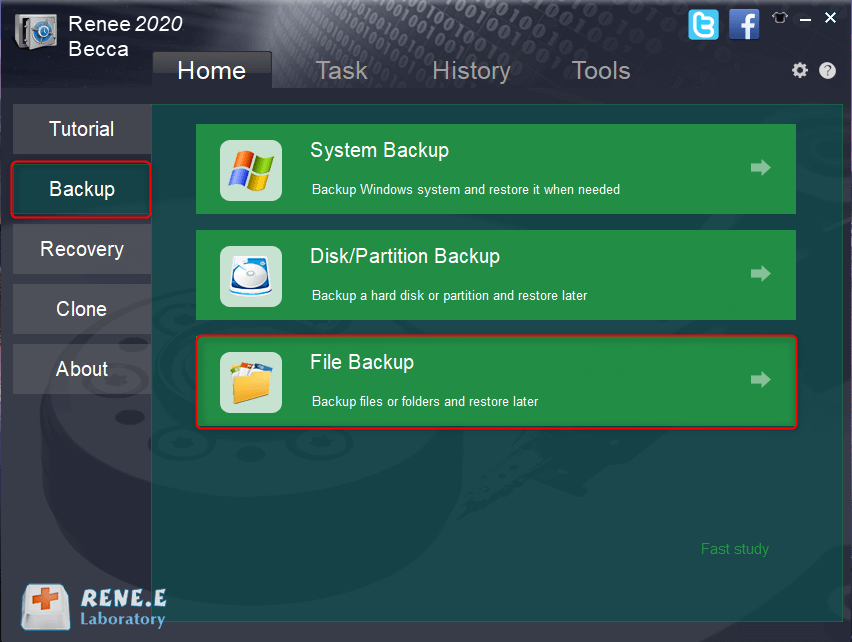
Multiple backup schemes Support system backup/partition backup/hard disk backup/file backup/disk cloning
Easy to use Even newbie can handle it in seconds
Fast backup Backup speed up to 3 000MB/minute
Support multiple SD cards Backup data of SD card, SDHC card and SDXC card
Easy to use Even newbie can handle it in seconds
If you need to back up the entire disk or partition data, choose “Disk/Partition Backup”.
Relate Links :
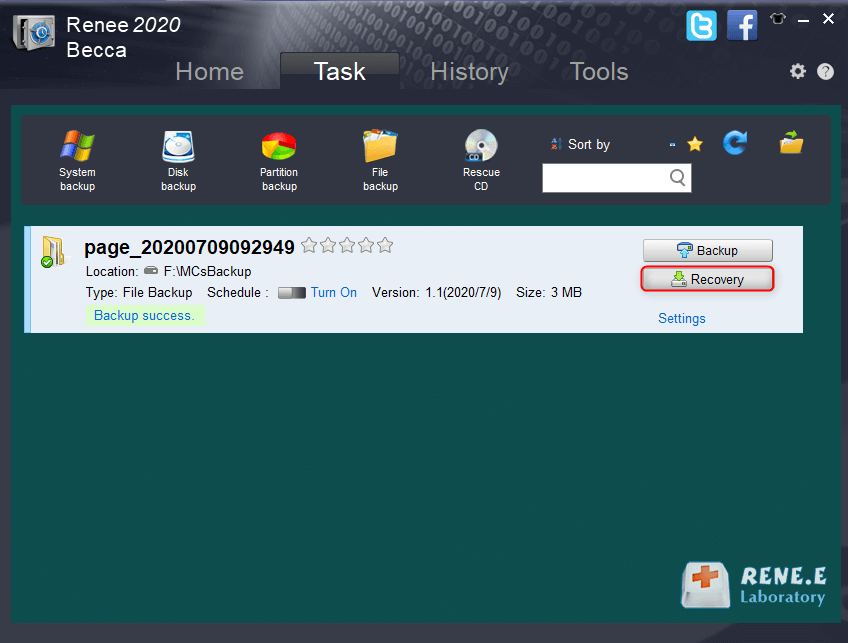
How to Restore System Backup by Renee Becca
27-05-2022
Amanda J. Brook : Detailed steps about how to restore the backup system to original system disk without Windows.
Best Free Backup Software – Renee Becca

14-06-2022
Jennifer Thatcher : Step by step process of how to backup partition/disk with the best free backup software - Renee Becca....
Resolve the error code 0x80071AC3 Error Code on Windows
24-01-2024
Jennifer Thatcher : Discover how to fix the pesky error code 0x80071AC3 when transferring files to external storage devices on Windows....
Get Rid of OneDrive: Disable or Uninstall Onedrive in Just a Few Steps

11-03-2024
John Weaver : Learn how to disable or uninstall OneDrive on your Windows system to free up storage space and customize...

