

Fix DRIVER OVERRAN STACK BUFFER Error with Ease

Summary
Learn how to fix the DRIVER OVERRAN STACK BUFFER blue screen error with our practical repair methods and discover the reasons behind this common issue. Don't let a blue screen failure cost you important data - find the solution you need in our comprehensive article. Don't miss out on these essential knowledge points - read now.
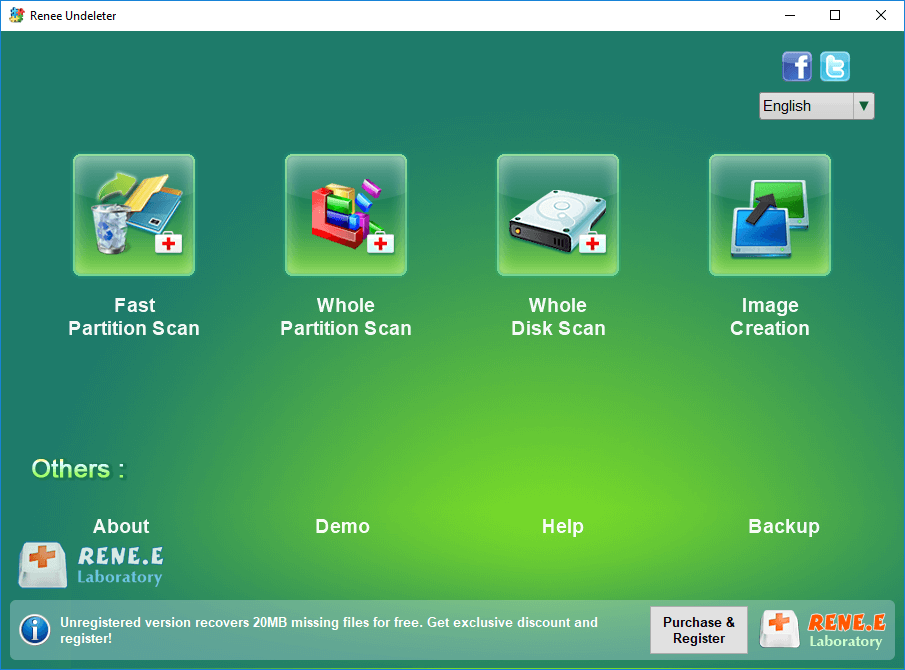
0xc00000e error, and addressing startup failures, black screen, or blue screen errors. Renee PassNow caters to a wide range of system rescue needs.
Easy to use 3 steps to transfer the files.
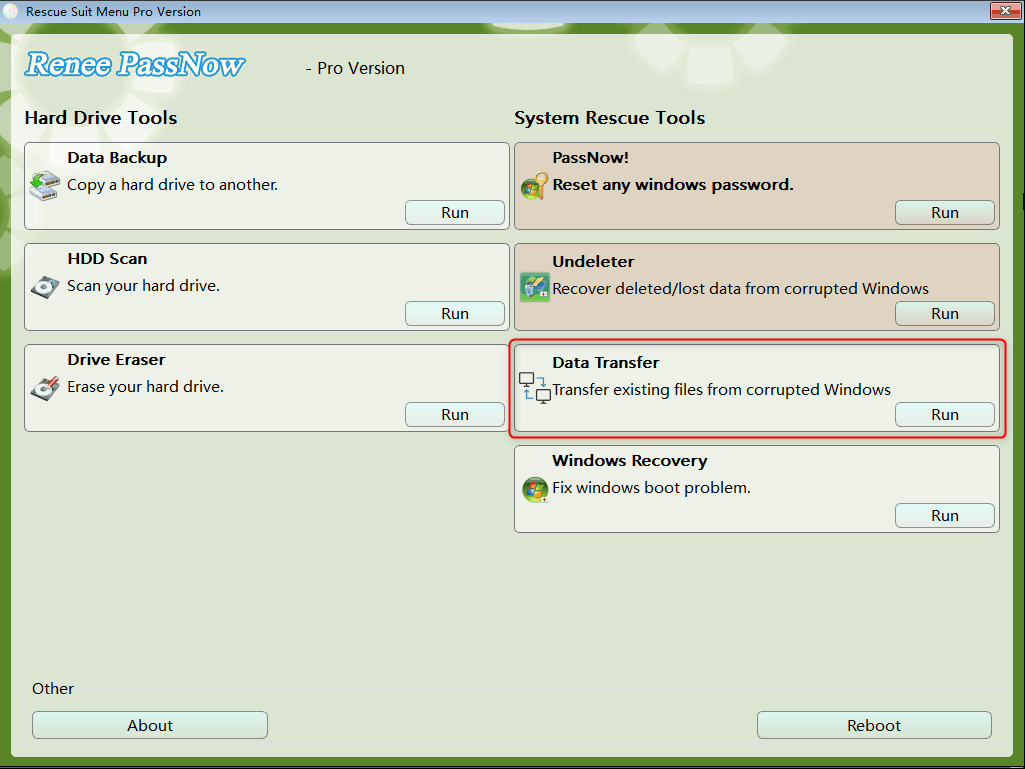
Transfer the files Transfer the important files of the computer without system.
Preview the files Preview the files while transferring the data.
Multifuctional Data recovery, Windows password reset, bootable problem recovery can be run without system.
Highly compatible Windows 10/8.1/8/7/XP/Vista. Also supports UEFI boot mode.
Easy to use 3 steps to transfer the files.
Transfer the files Transfer the important files of the computer without system.
Preview the files Preview the files while transferring the data.
Free TrialFree TrialNow 2000 people have downloaded!Please select the (Create a Live USB) option under “Step 1: Select creation method” in the main interface.
Note: Before performing this operation, please make sure that the important files in the USB disk have been saved in other locations because the operation will delete all the data in the USB disk.

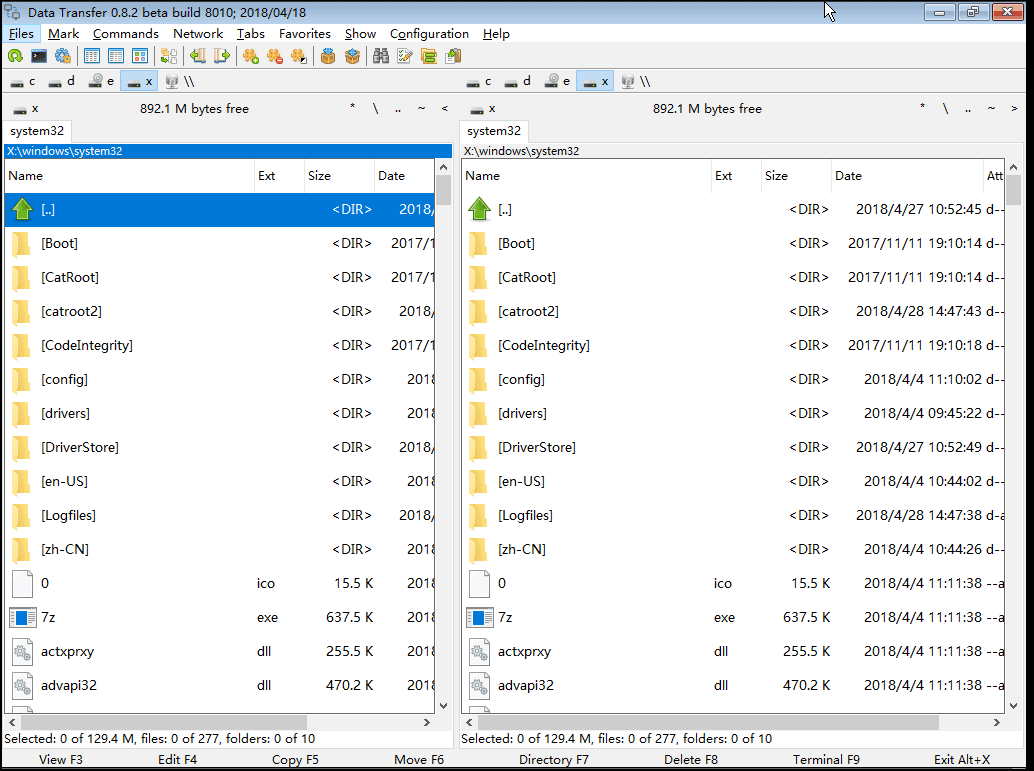
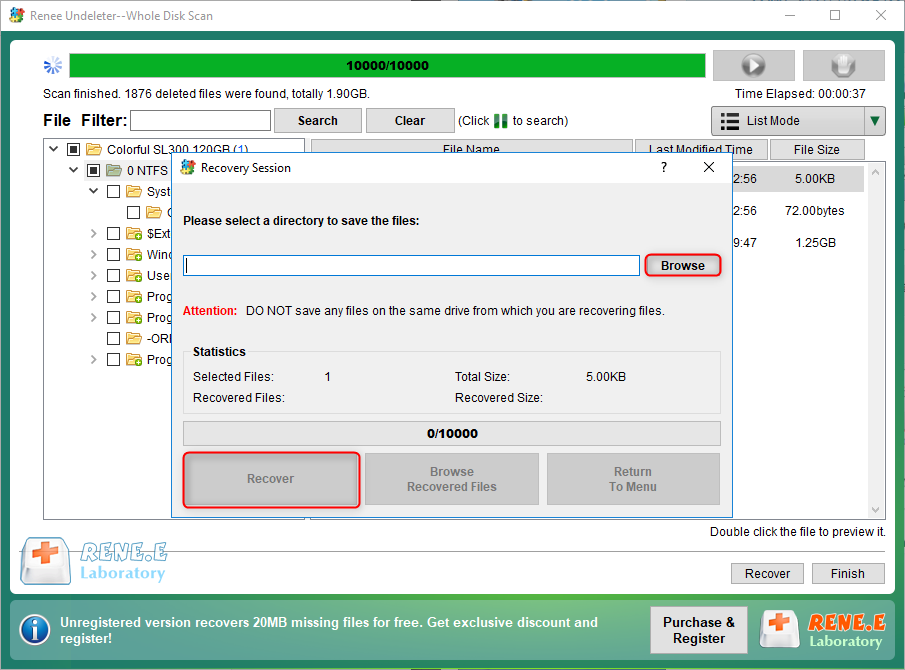
The process of transferring data is quite straightforward. For instance, if you wish to transfer data from the C drive to the G drive, you can first select the C drive on the top left, then select the G drive on the top right, and finally choose the files from the C drive. Once selected, click on the Copy button in the middle to easily transfer the disk data. In case you want to delete a file, you can also select the file and click on the Delete button in the middle. However, please note that this action cannot be undone, so proceed with caution.

It is recommended to save the recovered file on an external disk. Once the recovery is finished, eject the USB disk and proceed with any necessary computer operations, such as maintenance, hard disk replacement, or system reinstallation.
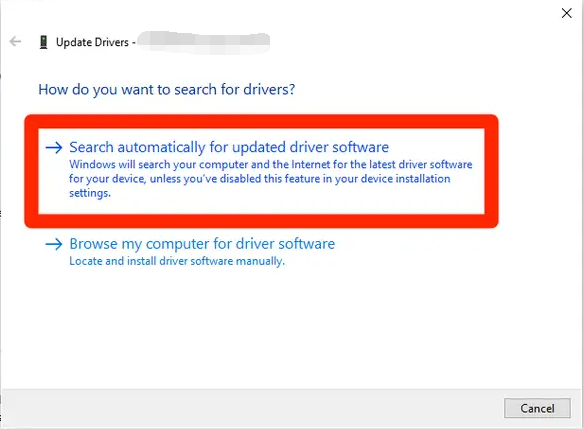
After the update is complete, restart the computer and check whether the current problem is resolved.

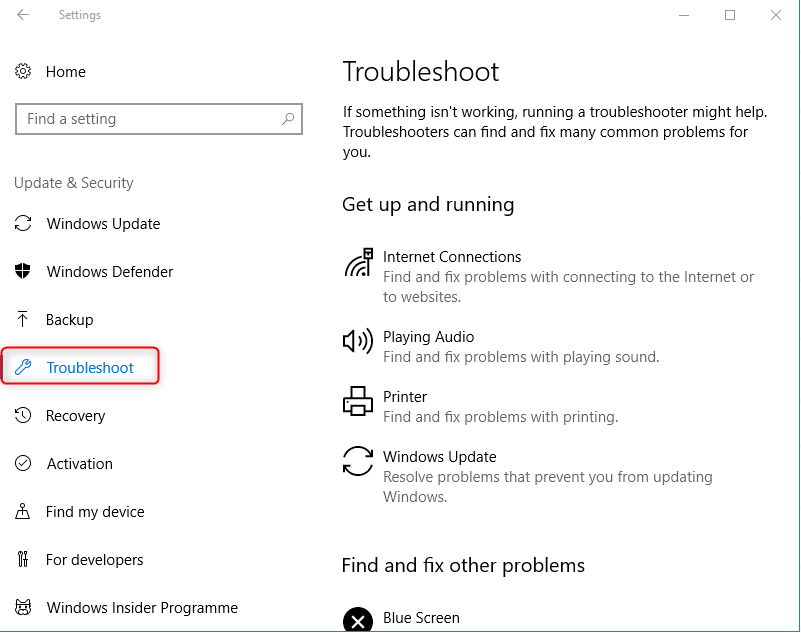
Wait a moment for the troubleshooting to complete, restart your computer, and check if the problem is resolved.

SFC /scannow, and press Enter. System File Checker will scan and repair any corrupted system files. If issues persist, proceed to the next step.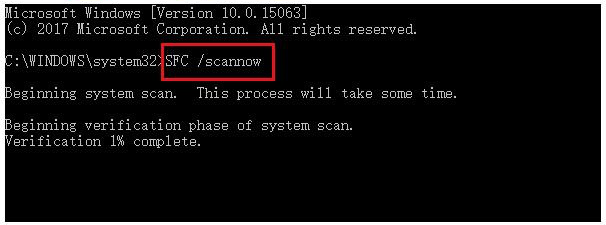
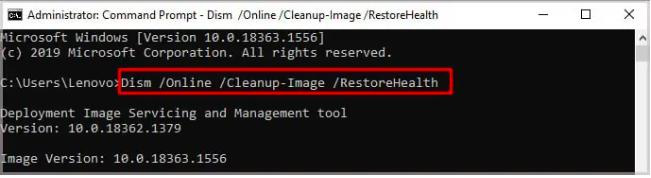
Dism /Online /Cleanup-Image /RestoreHealthNext, press the Enter key to initiate the system repair. After the operation completes, restart your computer and check to see if the issue has been resolved.
Relate Links :
Fix CLOCK_WATCHDOG_TIMEOUT blue screen error: A step-by-step guide

01-03-2024
Ashley S. Miller : Learn how to easily resolve the CLOCK_WATCHDOG_TIMEOUT blue screen error and keep your computer running smoothly with our...
How to fix DPC_WATCHDOG_VIOLATION error on Windows 10?

28-02-2024
Jennifer Thatcher : DPC_WATCHDOG_VIOLATION is one of the blue screen errors in the Windows system. If you also encounter similar problems,...
How to fix Windows 10 Wont Wake from Sleep Mode?

17-01-2024
John Weaver : The sleep mode of the computer, as a new energy-saving mode that changes from the working state to...
How to Fix Windows 10 Orange Screen of Death Issue?
24-10-2023
Amanda J. Brook : In the process of using the Windows system, you may experience various computer failures, such as the orange...

