

Fix the Hard Drive Error Code 2000-0146 Easily

Summary
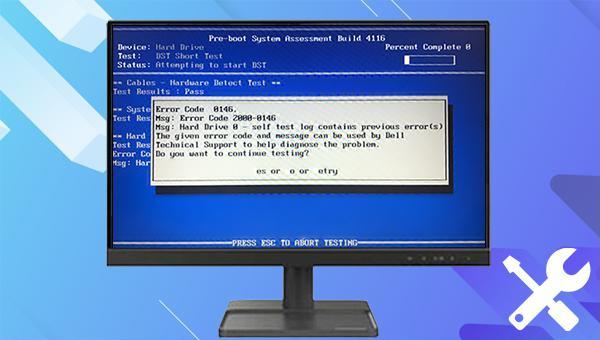
Learn how to fix the error code 2000-0146 and prevent system failure, including the dreaded blue screen of death. Plus, discover an easy method for backing up and transferring data when your computer won't start up properly. Expert tips inside.
Table of contents
msconfig, and press (OK) to open the system configuration interface.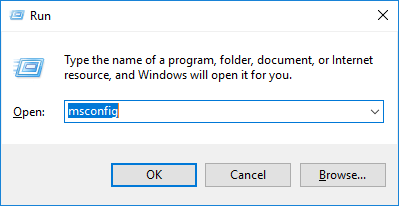
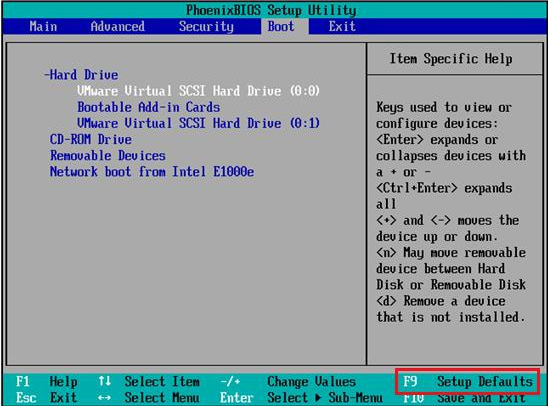
2000-0146, back up your hard drive data and check the hard drive SMART status for signs of drive failure.SFC command. This Windows built-in utility scans and repairs protected system files. Follow these steps:"SFC /scannow". Press the Enter key. System File Checker will scan and fix problematic system files. Restart your computer after the repair is complete to check if the problem is resolved.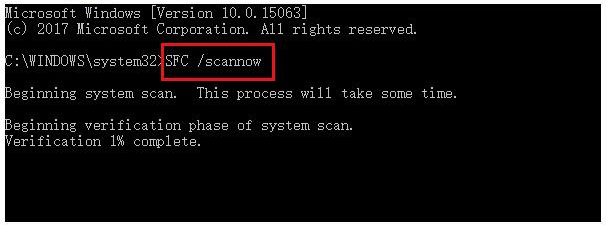

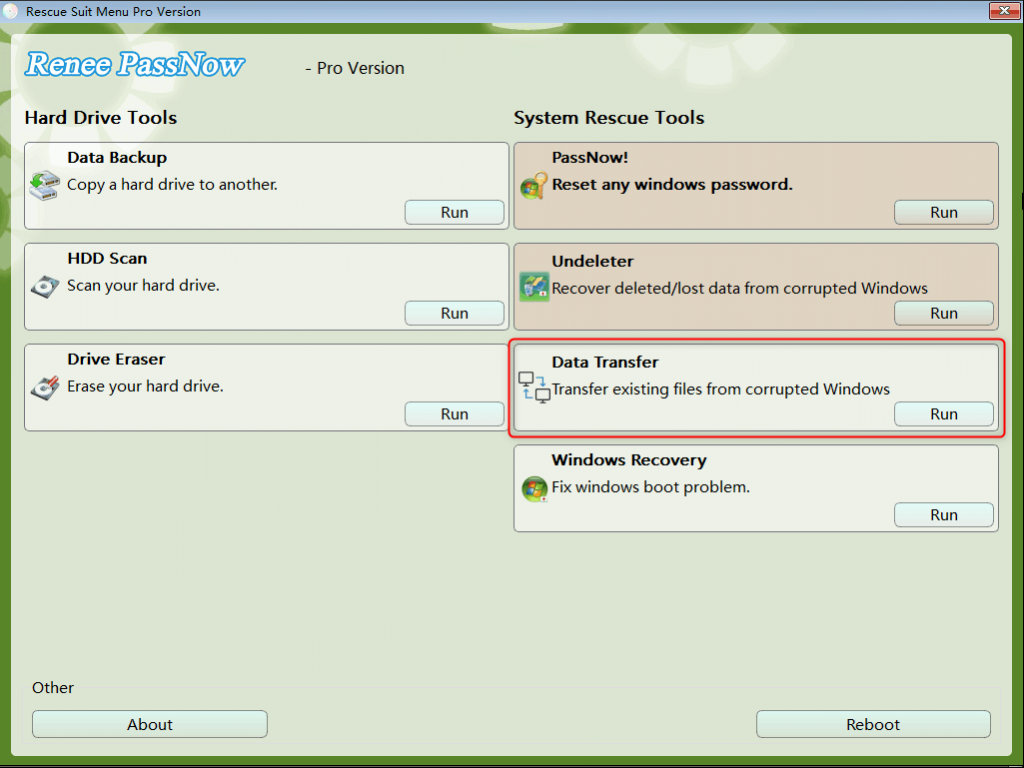
0xc00000e, Windows system startup failure, black screen or blue screen issues), and more. It is a versatile system rescue tool that caters to the needs of different users.
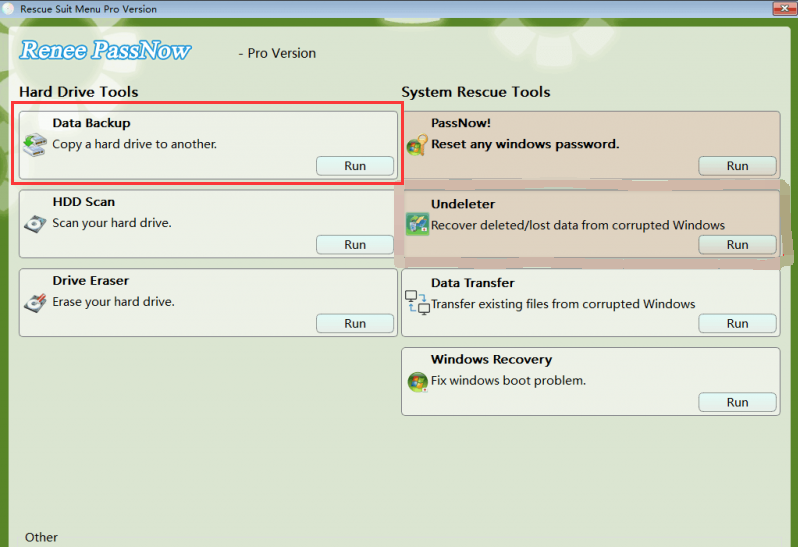
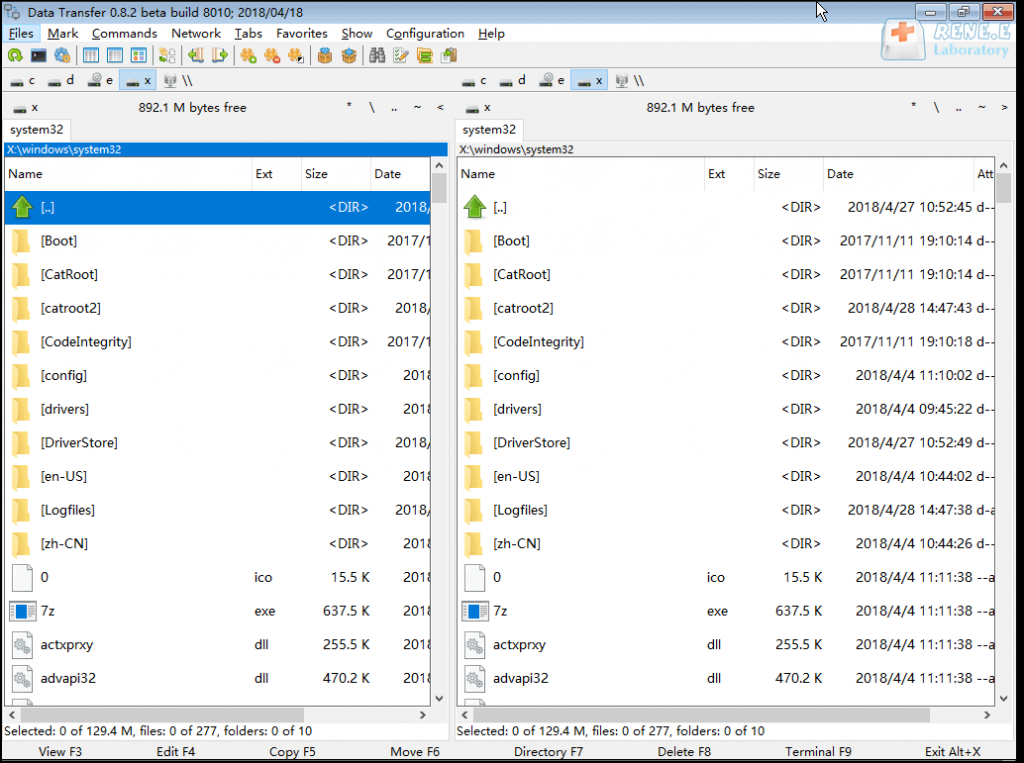
Easy to use 3 steps to transfer the files.
Transfer the files Transfer the important files of the computer without system.
Preview the files Preview the files while transferring the data.
Multifuctional Data recovery, Windows password reset, bootable problem recovery can be run without system.
Highly compatible Windows 10/8.1/8/7/XP/Vista. Also supports UEFI boot mode.
Easy to use 3 steps to transfer the files.
Transfer the files Transfer the important files of the computer without system.
Preview the files Preview the files while transferring the data.
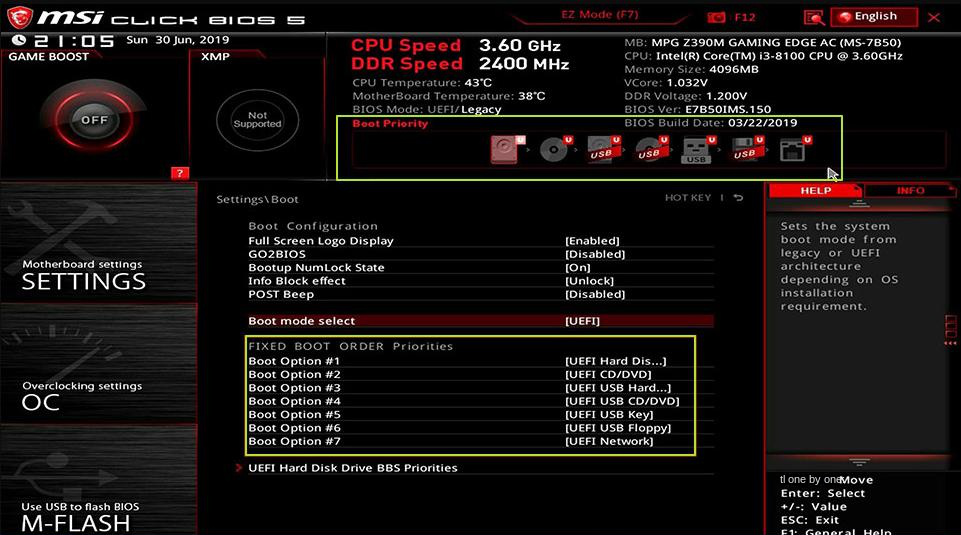
Free TrialFree TrialNow 2000 people have downloaded!Note: Before proceeding, ensure that important files on the USB disk are backed up, as the process will delete all data on the disk.
(Download Now), create a Rescue USB by clicking (Create USB), and finally, eject the USB by clicking (Eject USB).
Relate Links :
Fixing dxgkrnl.sys Blue Screen Error - Quick Solutions

23-10-2023
John Weaver : Learn how to troubleshoot the dxgkrnl.sys blue screen error on Windows and get back to using your system...
How to fix the error MACHINE_CHECK_EXCEPTION on Windows 10?

18-02-2024
Amanda J. Brook : Learn how to solve the MACHINE_CHECK_EXCEPTION error on Windows 10 with these expert-approved repair methods. Say goodbye to...
Solve Windows 10's HAL_INITIALIZATION_FAILED Blue Screen Error Now
29-01-2024
Ashley S. Miller : Learn how to solve the HAL_INITIALIZATION_FAILED blue screen error. Discover the root cause and common solutions in this...
How to fix the error white screen on computer of Windows 10?

13-10-2023
Jennifer Thatcher : Learn how to fix the frustrating white screen on computer with these practical solutions. Safeguard your important files...

