

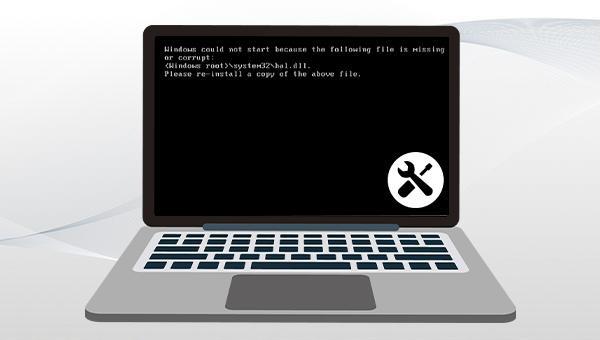
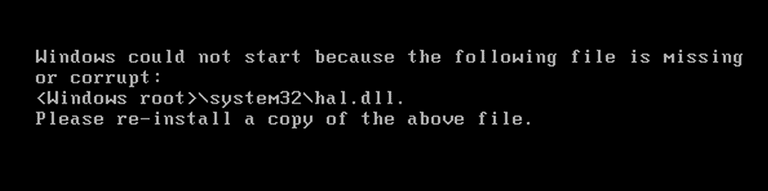
Fix Windows Startup Error: Hal.dll Missing or Corrupted

Summary
If you need to solve the errors of hal.dll missing or corrupted, you can read this article. Besides, you can recover important files with the methods in this article. Don't let missing or damaged hardware abstraction layer files keep you from accessing your computer.
Table of contents

chkdsk tool is a command for Windows to check disk state, memory state, and number of files in a specified path. It can also repair disk errors. Repairing a faulty hard disk using chkdsk is simple. Follow these steps:

chkdsk D: /f in the command prompt window. Replace D with the correct disk number for your system. Press Enter to initiate error repair. Restart the computer after the repair is complete to check if the problem is resolved.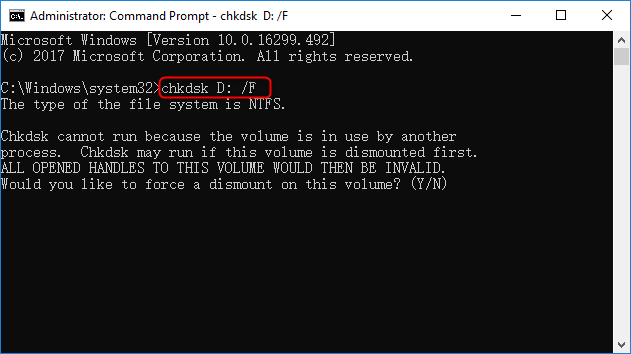

Easy to use 3 steps to transfer the files.
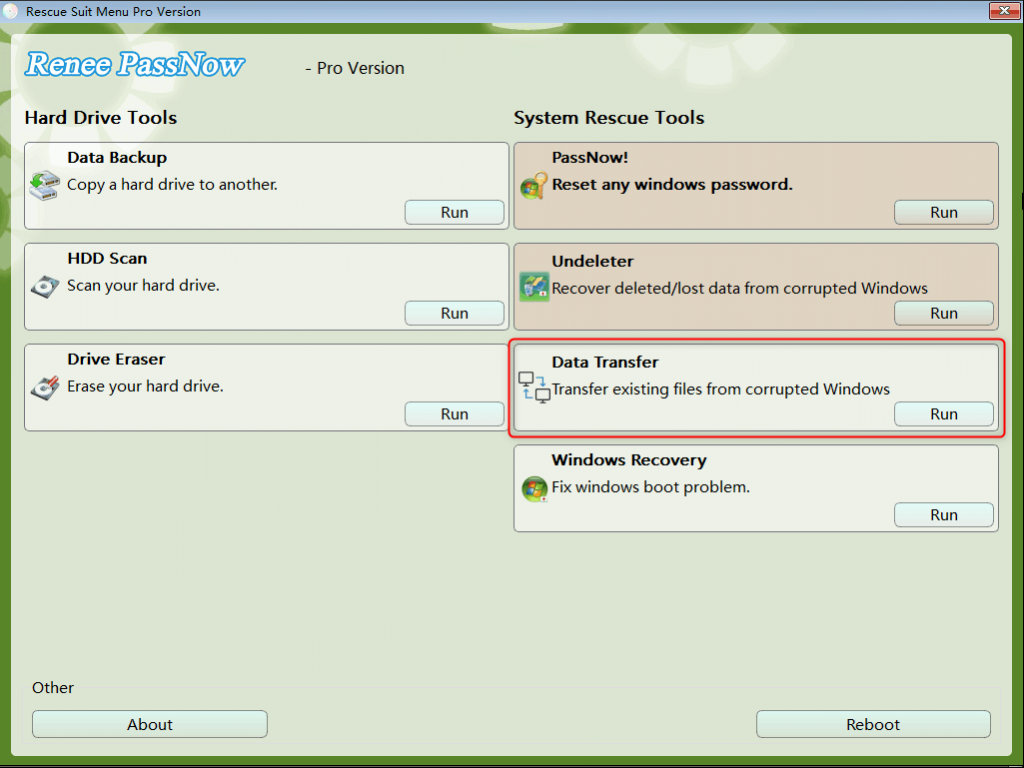
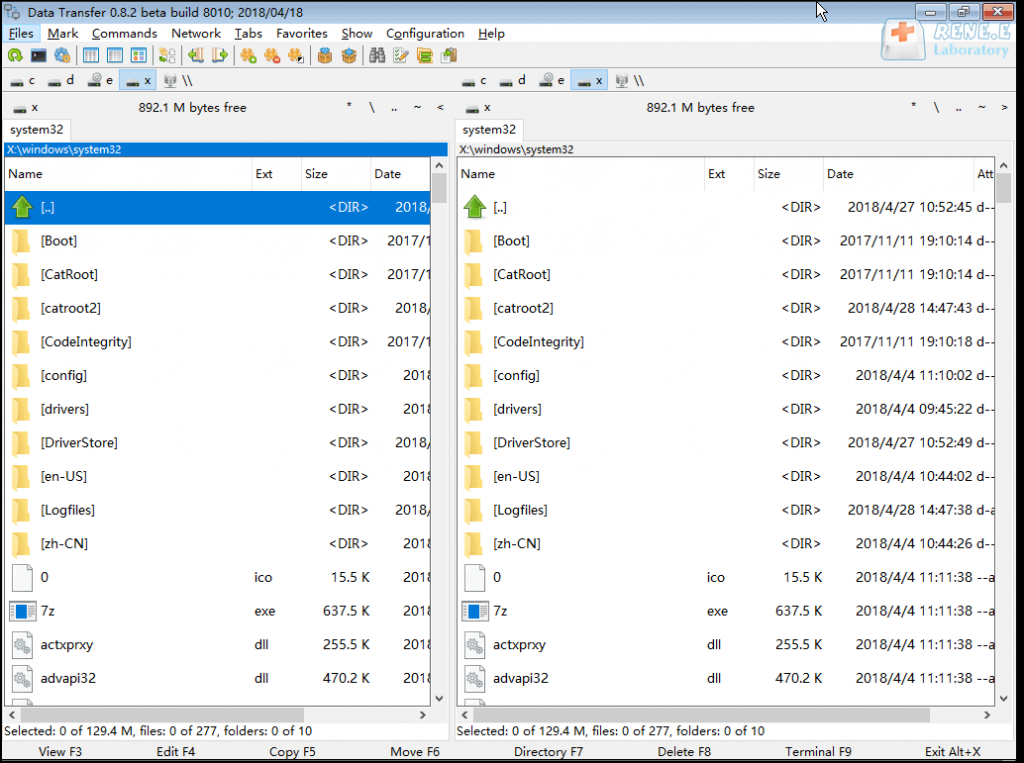
Transfer the files Transfer the important files of the computer without system.
Preview the files Preview the files while transferring the data.
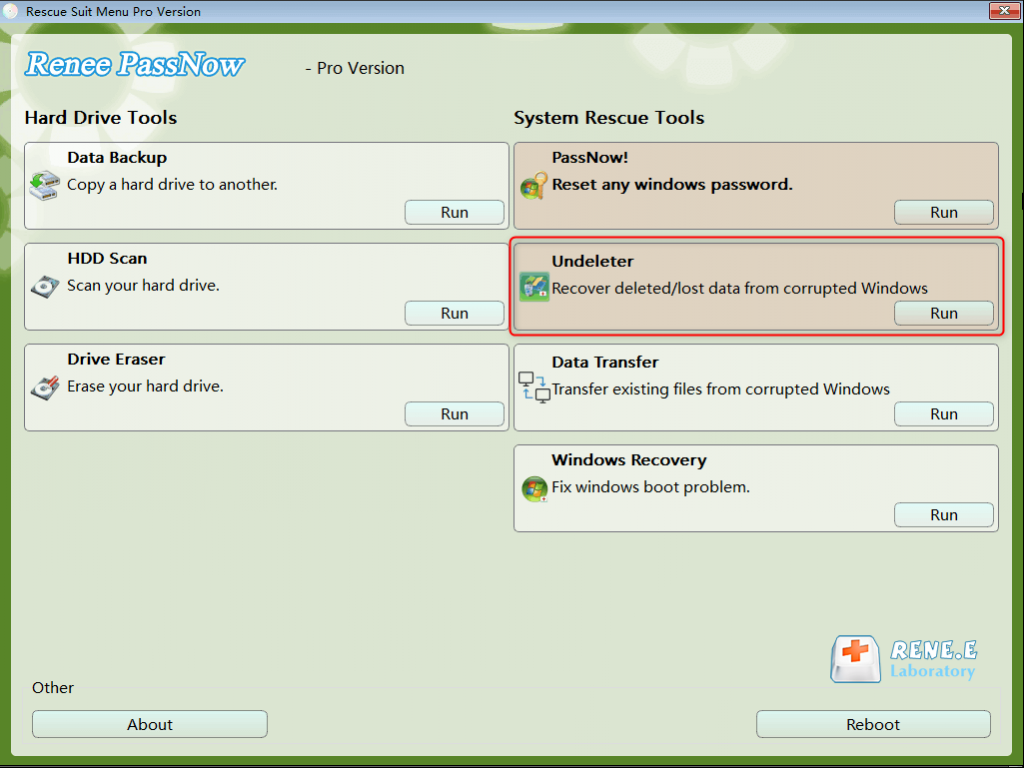
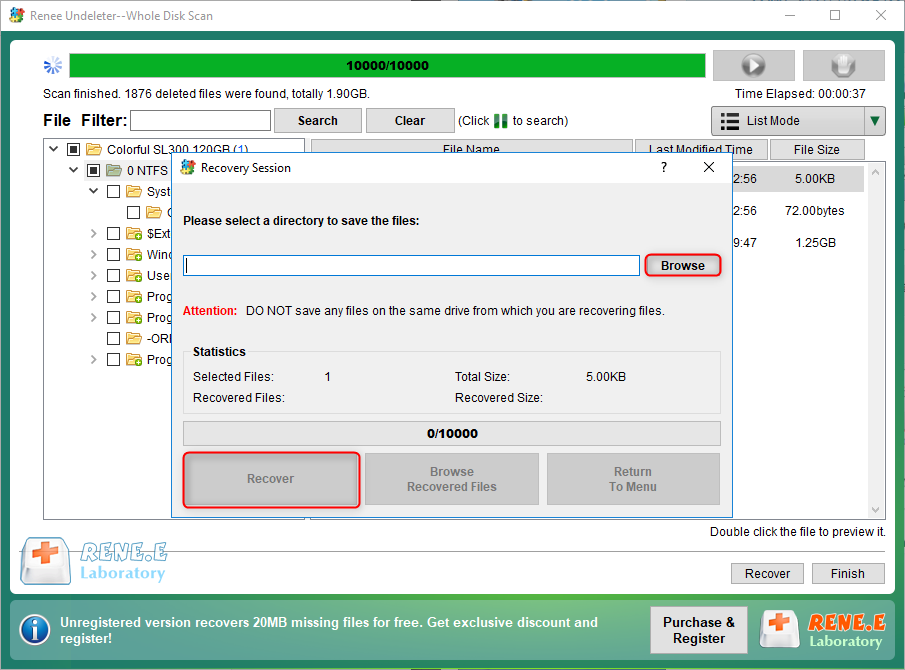
Multifuctional Data recovery, Windows password reset, bootable problem recovery can be run without system.
Highly compatible Windows 10/8.1/8/7/XP/Vista. Also supports UEFI boot mode.
Easy to use 3 steps to transfer the files.
Transfer the files Transfer the important files of the computer without system.
Preview the files Preview the files while transferring the data.
Free TrialFree TrialNow 2000 people have downloaded!Note: Before proceeding, ensure that important files on the USB disk are backed up, as the process will delete all data on the disk.
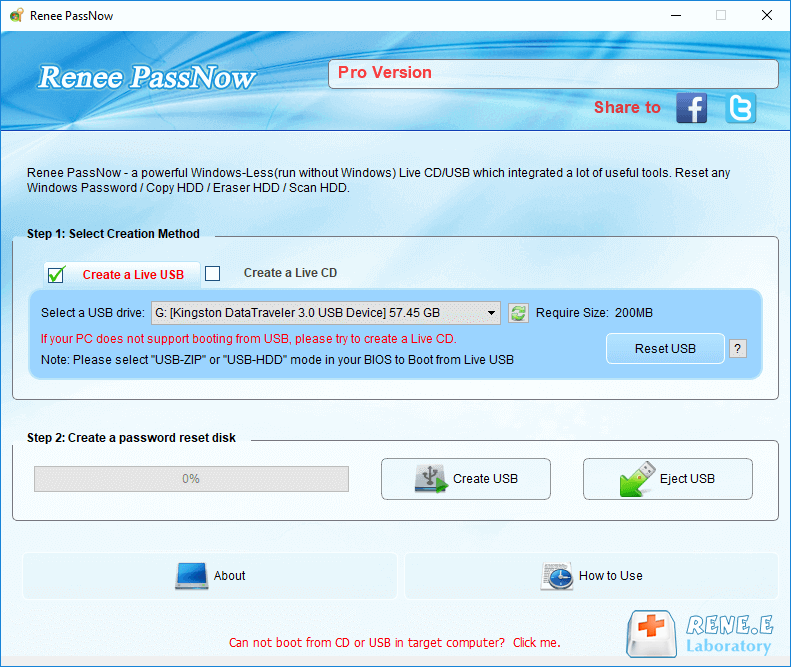
(Download Now), create a Rescue USB by clicking (Create USB), and finally, eject the USB by clicking (Eject USB).

Relate Links :
Quick Guide to Fix winload.efi Error on Windows 10

13-07-2023
John Weaver : This tutorial will tell you how to fix the missing or corrupt winload efi error on Windows 10....
Expert Tips to Fix DISK BOOT FAILURE Error on Windows

01-07-2024
Ashley S. Miller : Discover the effective strategies for resolving the 'DISK BOOT FAILURE' error on your computer with our detailed guide....
Easy Solutions to Solve 0x0000007A Error on Windows

06-04-2024
Amanda J. Brook : Resolve the 0x0000007A KERNEL_DATA_INPAGE_ERROR on Windows with our comprehensive guide. Dive into the common triggers for this Blue...
Windows 10 UEFI Boot Repair: A Step-by-Step Guide to Fix
13-07-2023
Jennifer Thatcher : Learn how to fix normal boot failure on Windows 10 with our comprehensive guide. Keep your machine running...

