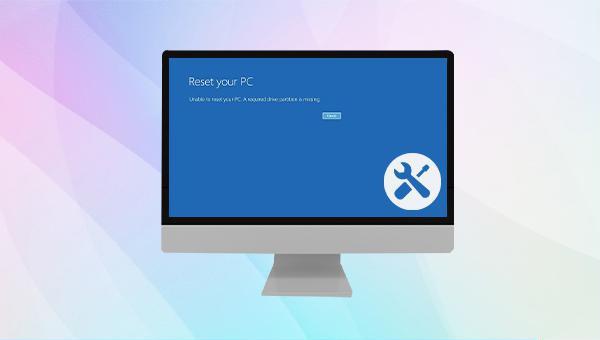
author avatar
    Senior Program Developer
 

Summary
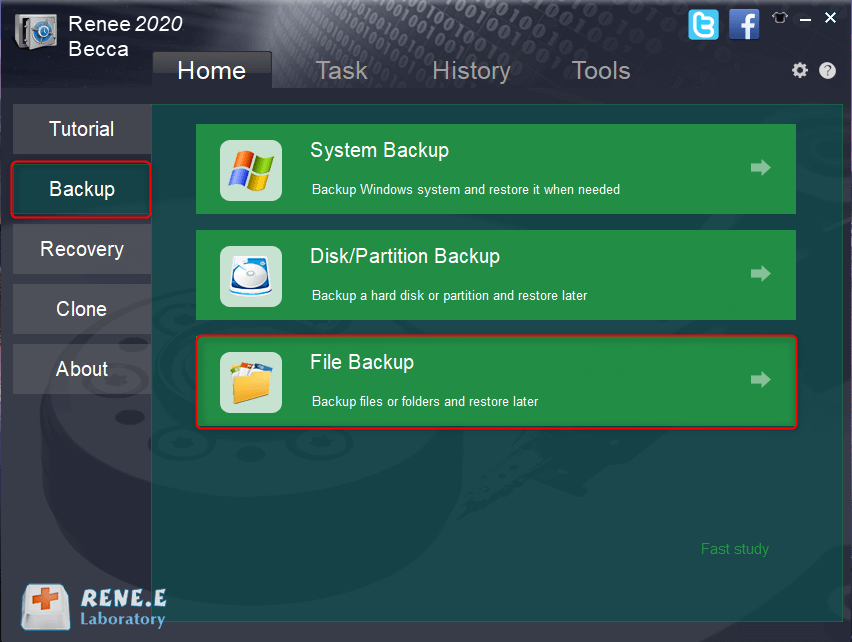
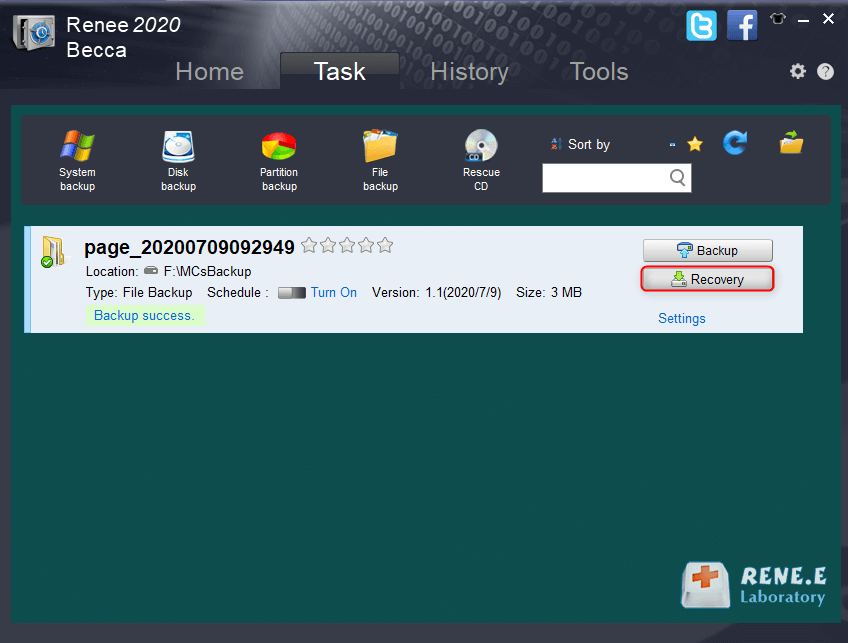
Resolving the error message "Unable to reset your PC. A required drive partition is missing" can be quite challenging, but with careful steps, you can tackle the issue efficiently. It's essential to safeguard your data beforehand to prevent any potential loss. Employ a robust backup solution, such as Renee Becca, to shield your crucial files. This will guarantee that regardless of the outcome of your reset attempt, your valuable documents and personal information remain preserved.


Unable to reset your PC, a required drive partition is missing

I. Why does the problem of Unable to initialize the computer, the required drive partition is missing appear?

To effectively resolve the 
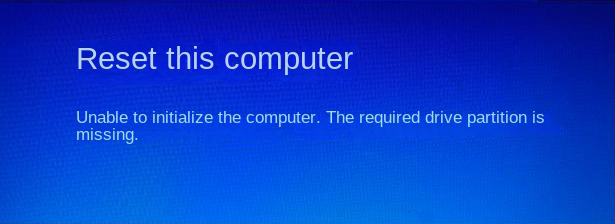
"Unable to initialize the computer, the required drive partition is missing" error commonly encountered in Windows, it’s crucial to identify its root causes, which typically include:
● MBR (Master Boot Record) or BCD (Boot Configuration) is damaged.
● The computer disk has failed.
● System files are missing or damaged.
Unable to initialize the computer, required drive partitions are missing
Unable to initialize PC during reset, required drive partitions are missing
Regardless of the reason for your device’s current failure, you can try to solve it with the help of the following methods. Let’s continue to learn.

II. How to fix the problem of Unable to initialize the computer, the required drive partition is missing ?

Kind tips When “Unable to initialize the computer, the required drive partition is missing”, please try to restart the computer. If you can enter the system normally, you can proceed to the following repair operations. If you cannot enter the system normally, you can enter the recovery environment by repeating the forced shutdown operation several times and then repair it.

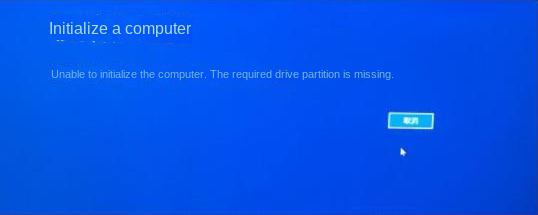
How to enter the recovery environment?

①Press and hold the power button for 10 seconds to turn off your computer device. Press the power button again to turn on the device.

② Immediately after you see Windows start up (for example, some devices display the manufacturer’s logo at startup), press and hold the power button for 10 seconds to shut down your device.

③Press the power button again to turn on the device. When you see Windows start up, press and hold the power button for 10 seconds to shut down the device.

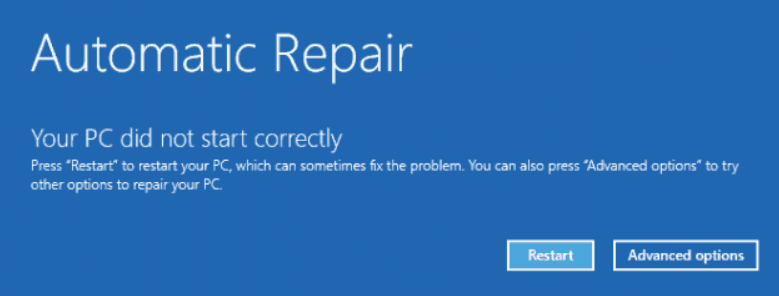
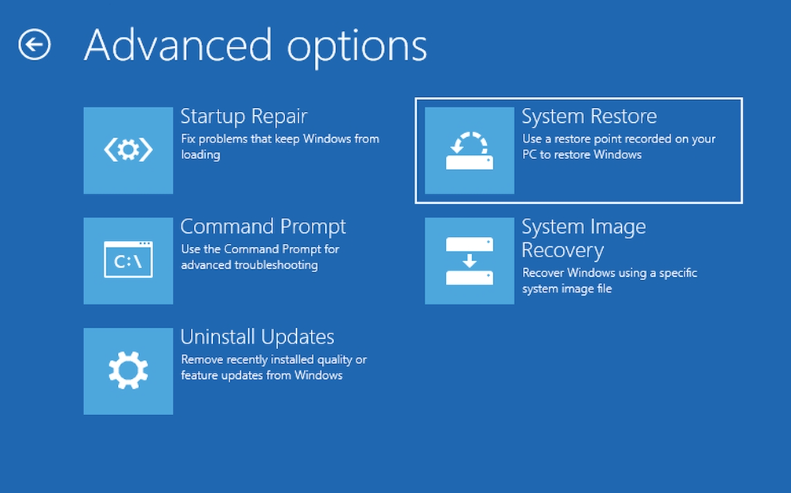
④Press the power button again to turn on the device. This time, allow the computer to fully boot. Select (Advanced Options) in the “Automatic Repair” interface. You will then enter the Windows recovery environment.

your pc did not start correctly

In addition, you can also start the computer through the Windows 10 installation U disk or CD, and select the (repair computer) option in the Windows installation interface to enter the recovery environment.

1. Use the SFC command to check and repair damaged system files

The SFC command scans all protected system files and fixes problems. The specific operation steps are as follows:
Step 1: Restart your computer. If it boots successfully, use the search box in the lower left to look for 'cmd'. Right-click and choose ‘Run as administrator’ to open Command Prompt. Should the system fail to start, access Command Prompt through the Windows recovery environment by navigating to ‘Troubleshooting’ > ‘Advanced Options’.
run as administrator
Step 2: Open the command prompt, type SFC /scannow, and press Enter. The System File Checker will scan and repair corrupted system files. Once complete, reboot your computer to check if the issue is resolved.
Enter the SFC command

2. Run the chkdsk command to repair disk errors

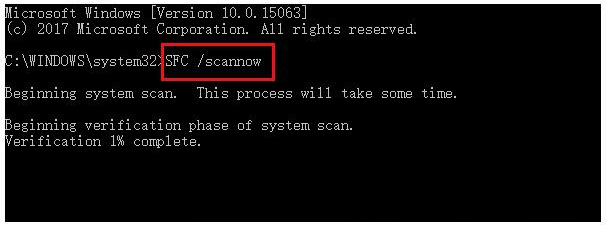
The chkdsk tool is a Windows utility that checks the status of your disk. It reports on disk and memory state, counts discrete files in a given path, and can fix disk errors. Repairing disk errors with chkdsk is straightforward with these steps:

Step 1: Restart your computer by pressing Ctrl + Alt + Delete and selecting the restart option. After rebooting, if the system is responsive, use the search function at the bottom left of the screen to locate “cmd.” Right-click the Command Prompt and select “Run as administrator”. In the event that your system fails to boot, enter the Windows Recovery Environment by rebooting and pressing F8 or Shift + F8, then navigate to Troubleshooting > Advanced Options > Command Prompt.
run as administrator
Step 2: Open the command prompt and type chkdsk X: /r /f (replace X with the drive letter). Press Enter to start the disk check. The /r parameter locates bad sectors and recovers readable information, while /f fixes errors on the disk. After completion, restart your computer to see if the issue is resolved.
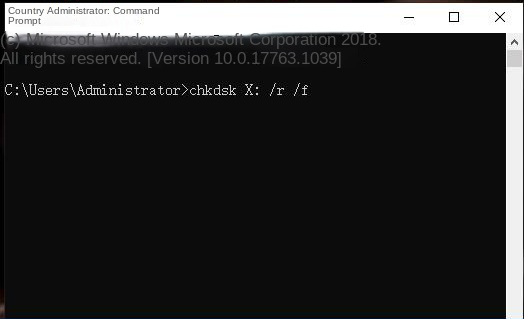
Enter the chkdsk disk repair command

3. Use the BOOTREC command to fix errors

The Bootrec command can repair corrupt master boot records or boot configuration data files. This method needs to enter the recovery environment and then operate. Proceed as follows:
Step 1: Enter the recovery environment by repeating the Force Shutdown or Windows Installer (Repair Computer) option several times.
Step 2: After entering the recovery environment, select (Troubleshooting)>(Advanced Options)>(Command Prompt).
command prompt
Step 3: In Command Prompt, enter the following command. Each time you enter a command, you need to press the (Enter) key. After the repair is complete, restart the computer to see if the problem is resolved.

bootrec.exe /fixmbr

bootrec.exe /fixboot

bootrec.exe /scanos

bootrec.exe /rebuildbcd

4. Reset Windows system or reinstall Windows

If all previous solutions fail, consider resetting or reinstalling Windows to address the issue. Be warned that both processes will result in data loss. It’s crucial to back up your data as described in the third part before proceeding with these steps.
A. The reset method that can enter the system normally after restarting
Step 1: Find and enter the (Settings) interface in the lower left corner of the computer. Then select (Update and Security) and enter.
windows updates and security
Step 2: Locate Recovery in the left function menu bar, select Reset this PC on the right, and click Start to initiate the system reset. Once complete, verify if the issue is resolved.
Reset This PC
B. The reset method that cannot enter the system normally after restarting
If you have previously created a Windows restore point or created a system image, you can reset your computer with the help of (System Restore) or (System Image Recovery) in the recovery environment.
Step 1: Enter the recovery environment by repeating the Force Shutdown or Windows Installer (Repair Computer) option several times.
Step 2: In the recovery environment, select Troubleshooting > Advanced Options > System Restore. Choose a restore point for the recovery process. Your personal files will be preserved, however, applications, drivers, and recent updates that could be causing system issues, will be reverted.
system restore
If a restore point hasn’t been created, you can recover using a system image. In the recovery environment, choose Troubleshooting > Advanced Options > System Image Recovery. For guidance on creating and restoring a system image, click here.
get into system image recovery in winre
If the computer cannot be reset successfully, you can also download the Windows system installation tool from the official website and make an installation boot disk for Windows reinstallation.
Effective solutions for the “Unable to initialize the computer, the required drive partition is missing” issue have been outlined above. It’s advisable to regularly back up crucial data even without a system reset to prevent loss from unforeseen system failures. Learn more about data backup using the professional tool, Renee Becca.

III. Backup data with Renee Becca

1. What is Renee Becca?

Renee Becca is a specialized tool for system and hard disk data backup and restoration, enabling you to safeguard critical computer data such as programs, system settings, emails, photos, videos, documents, and bookmarks. By utilizing advanced incremental/differential backup technology, it saves time and conserves disk space. The software also offers partition backup, hard disk backup, file backup, and disk cloning to cater to a variety of backup needs.
Renee Becca - Reliable Data Backup & Restore Software

Quick Backup files at up to 3,000MB/min.

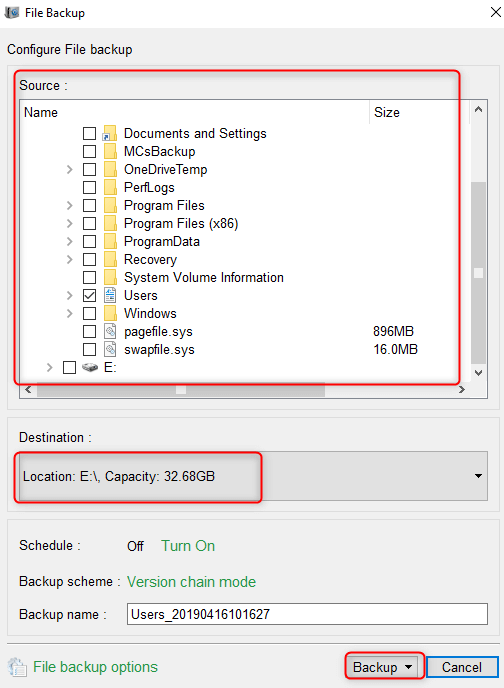
Fullfill different backup needs Supports system backup, disk / partition backup, file backup and disk clone.

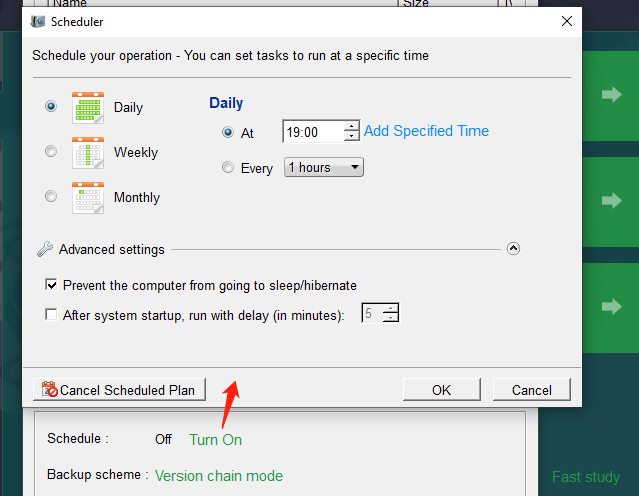
Intelligent Automatically analyze the differences between source and backup data.

Convenient Support VSS, allowing to freely view webpages when backing up system.

Highly compatible Supports various files and storage devices.

Quick Backup files at up to 3,000MB/min.

Fullfill different backup needs Backup for disk, partition and system. Save disk space by backing up incremental /differential data.

Highly compatible Supports various files and storage devices.

Free TrialFree Trial 2000 users have downloaded and enjoy Renee Becca!

2. How to backup data with Renee Becca?

Step 1: Download, install and run Renee Becca on the computer, and select the (File Backup) option in the main interface (Backup) column.
click to back up files in renee becca
Step 2: Next, select all the files that need to be backed up in (source file (device)), and select the hard disk partition to store the backup data in (destination).
how to back up files in renee becca
In addition, in (task plan), you can make a daily/weekly/monthly automatic backup plan and click (confirm) to enable the automatic backup function.
file backup schedule on Renee Becca
In Renee Becca, select from five backup schemes to suit your needs: version chain, single version, full, incremental, and differential modes.
backup mode of file backup on Renee Becca
Renee Becca offers five backup strategies:

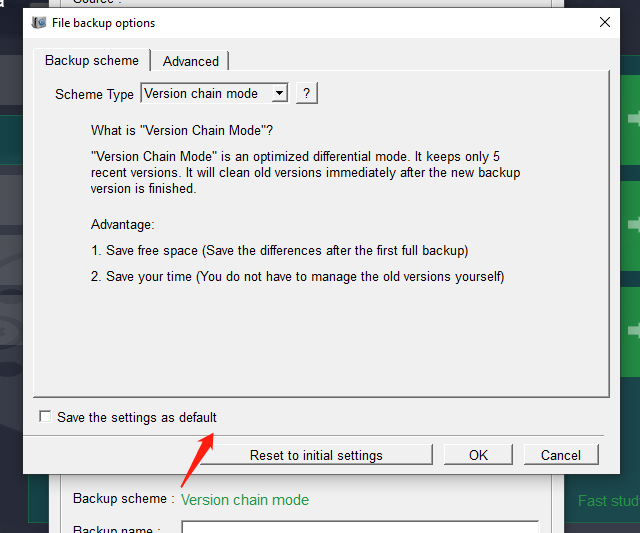
  • Version Chain: Retains the latest five versions, discarding older ones post-backup.
  • Single Version: Preserves only the most recent backup, removing the prior one upon completion.
  • Full Backup: Generates a complete backup each time.
  • Incremental: Post-initial full backup, subsequent backups capture only new or changed data.
  • Differential: Following the initial full backup, each backup contains data changed since the full backup.
Step 3: Finally, click the (Backup Now) button to start executing the backup file command according to your settings, and you can see the progress of all backup tasks on the taskbar. After the backup is complete, you can click the (Restore) button to restore the files to the specified hard disk when necessary.
recover backup files from renee becca
Step 4: After that, select the location where the files are to be restored, and click the (Restore) button.
recover the data from the backup file