

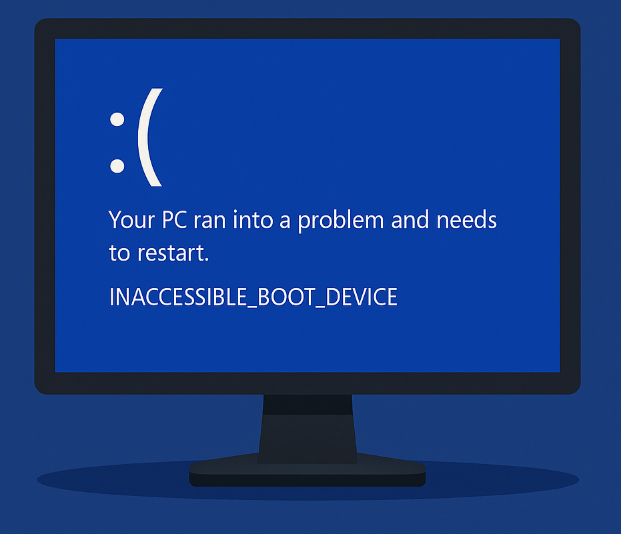
[2026 Updated] How to Fix 0x0000007B INACCESSIBLE BOOT DEVICE BSOD in Windows 11/10

Summary
Learn how to fix 0x0000007B INACCESSIBLE BOOT DEVICE BSOD in Windows 11 or 10. This guide explains top causes, including BIOS settings and driver issues, and provides step-by-step solutions to regain access to your PC quickly and safely.

Table of contents
0x0000007B – INACCESSIBLEBOOTDEVICE: Causes and Solutions
| Cause | Is It a Hardware Issue? | Explanation | Possible Solutions |
|---|---|---|---|
| Storage controller mode changed (IDE / AHCI / RAID) | No (configuration-related) | Windows was installed under one disk controller mode, but the BIOS/UEFI mode was later changed, preventing Windows from accessing the boot drive. In Windows 11, this is common after BIOS updates. | Restore the original controller mode in BIOS/UEFI, or enable the correct storage driver before switching modes. Use DISM to inject drivers if needed. |
| Missing or corrupted storage drivers | No | Critical disk drivers required during early boot are missing, outdated, or corrupted. | Boot into WinRE and repair drivers, use Startup Repair, inject correct storage controller drivers (e.g., DISM /Add-Driver), or restore using a system restore point. |
| Corrupted Boot Configuration Data (BCD) | No | The BCD store is damaged or incomplete, so Windows cannot locate the boot device. | Rebuild the BCD using recovery tools or automated repair utilities. |
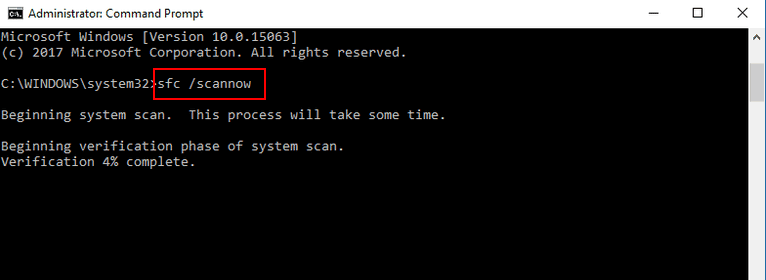
| Corrupted system files | No | Essential Windows system files required during early boot are damaged. | Run system file repair tools (SFC, DISM) from recovery or use a system repair environment. |
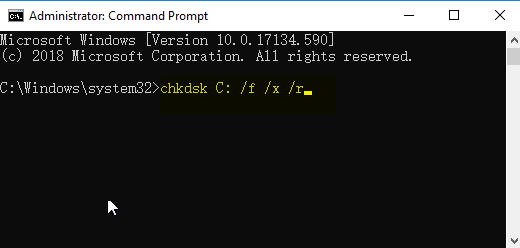
| Disk file system corruption | Possibly | Logical corruption prevents Windows from reading boot sectors or system files. Usually software-related, but frequent corruption may indicate early disk failure. | Run disk repair tools (e.g., CHKDSK) from recovery or use a bootable rescue environment. |
| Failing or degraded hard drive / SSD | Yes | Physical media errors, bad sectors, or firmware issues prevent reliable access to the boot device. | Check SMART status, update SSD firmware, clone the disk, or replace the drive if necessary. |
| Loose or faulty SATA / NVMe connection | Yes | The boot drive becomes intermittently or completely inaccessible due to a bad cable or slot. | Reseat cables, try a different port, or test the drive in another system. |
| Incorrect boot order or boot device selection | No | BIOS/UEFI attempts to boot from the wrong device. | Set the correct system disk as the primary boot device. |
| Windows update or upgrade failure | No | An interrupted or failed update leaves the system in an unbootable state. | Roll back the update, restore from backup, or repair Windows using recovery tools. |
| Disk encryption or security software conflict | No | Encryption or low-level security software blocks access to the boot device during startup. | Disable or repair the encryption software from recovery mode. |
| Malware affecting boot components | No | Malicious software damages boot records, drivers, or system files. | Scan and repair the system using offline antivirus tools (e.g., Windows Defender Offline or third‑party rescue disks). |
| Fast Boot / Secure Boot configuration issues | No | BIOS updates may reset Fast Boot or Secure Boot settings, preventing Windows from accessing the boot device. | Reconfigure Secure Boot, Fast Boot, CSM, or related firmware settings. |
1.Trigger Automatic Repair
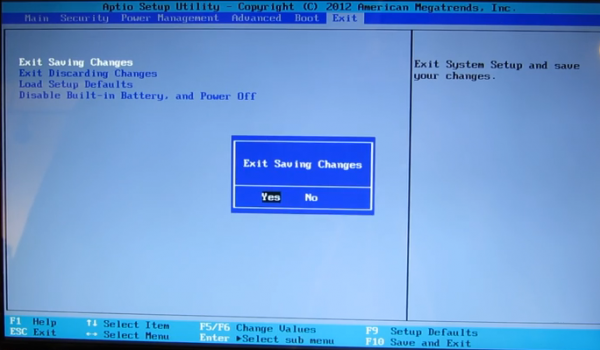
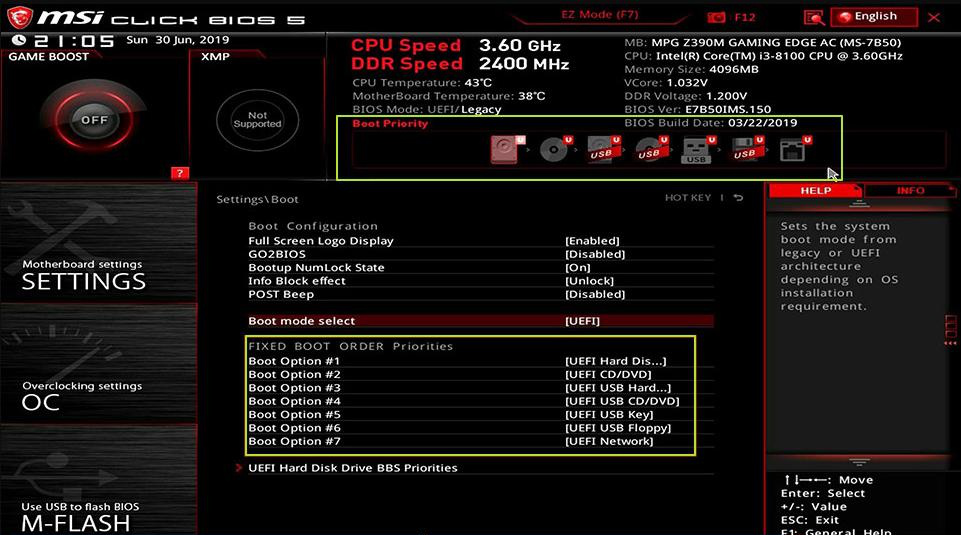
2.Check and Adjust BIOS/UEFI Settings

3. Remove External Devices

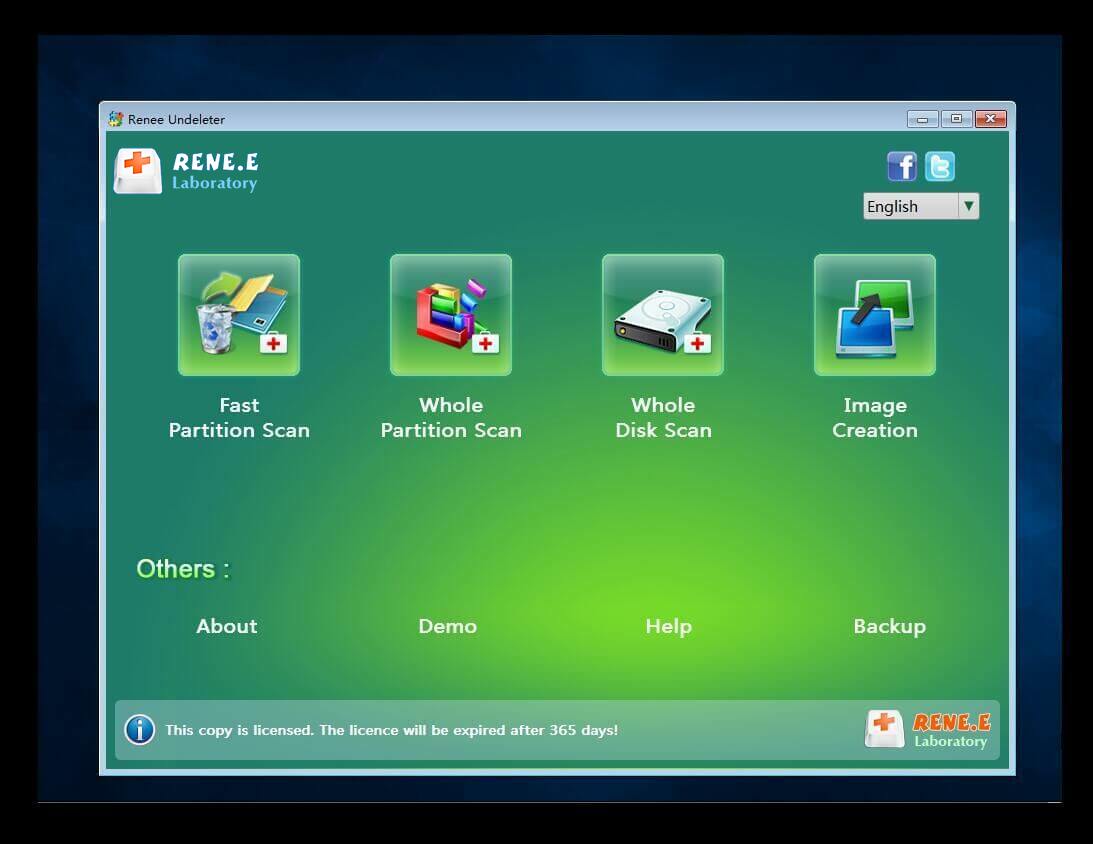
Remove Windows Login Password 3 steps for whole password remove process.
Recover the files Recover the deleted files without Windows system.
Transfer the data Transfer the important files of the computer with system.
Multifuctional Data transfer, data recovery, bootable problem recovery can be run without system.
Highly compatible Windows 11/10/8.1/8/7/XP/Vista. UEFI boot.
Remove Login Password Support Windows 11/10/8.1/8/7/XP/Vista. UEFI boot.
Recover the files Recover the deleted files without Windows system.
Transfer the data Transfer the important files of the computer with system.
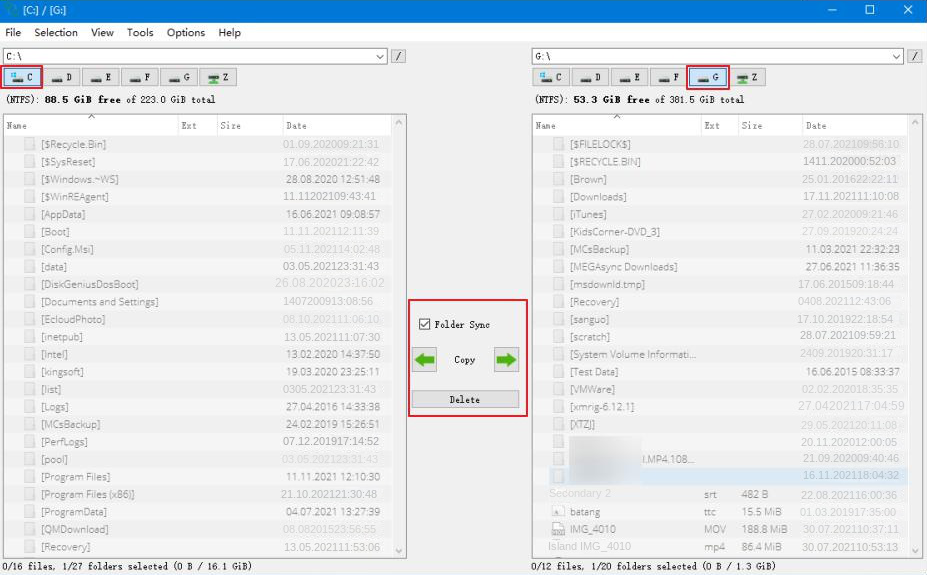
Steps to rescue important data


| Server Type | Enter boot menu method |
|---|---|
| DELL | Press F12 repeatedly before the Dell logo |
| HP | Press F9 multiple times when the HP logo shows |
| BIOS Name | Enter boot menu method |
|---|---|
| ASRock | DEL or F2 |
| ASUS | DEL or F2 |
| Acer | DEL or F2 |
| Dell | F12 or F2 |
| Gigabyte / Aorus | DEL or F2 |
| Lenovo (Laptops) | F2 or Fn + F2 |
| Lenovo (Desktops) | F1 |
| MSI | DEL |
| HP | Esc / F9 for Boot Menu |


| Tool | Cost | Ease of Use | Data Backup Support | Boot Repair Capabilities | Best For |
|---|---|---|---|---|---|
| Renee PassNow | Paid | Very High | Excellent (GUI file transfer & recovery) | Indirect (backup first, then repair) | Users wanting simple, guided data rescue |
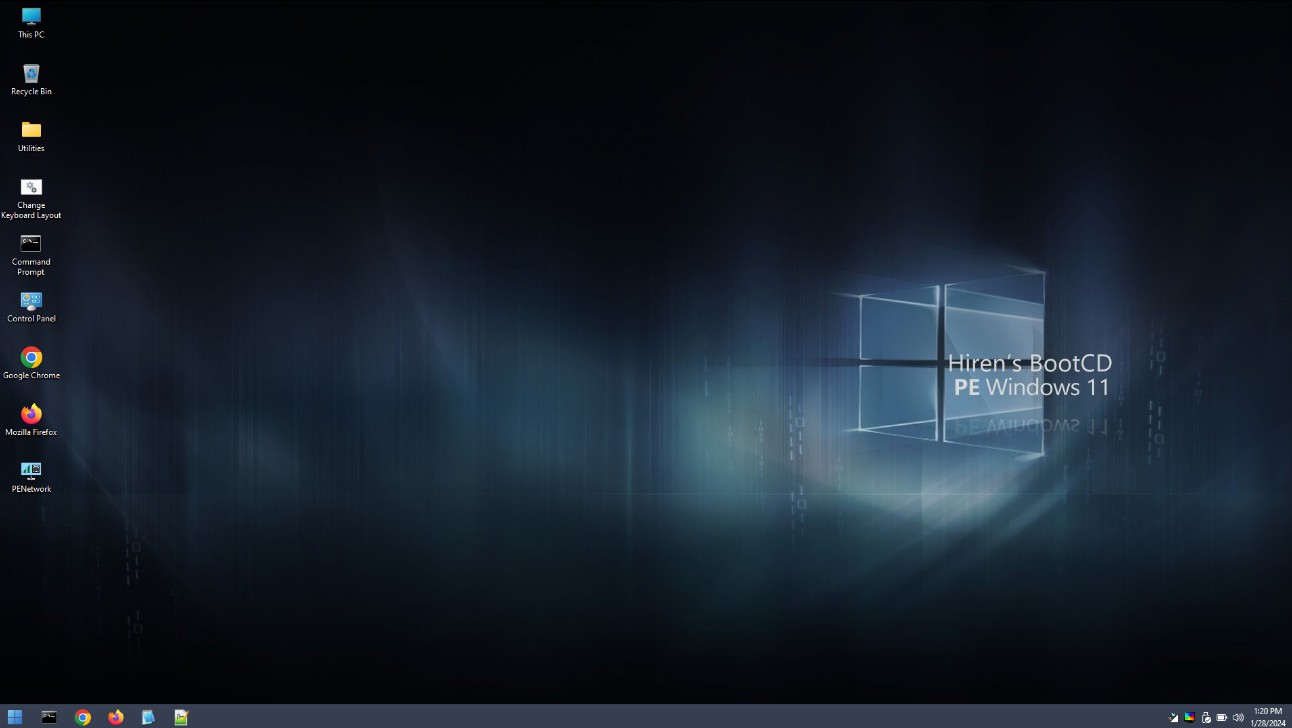
| Hiren’s BootCD PE | Free | Medium | Good (multiple tools) | Extensive (Mini Windows + utilities) | Tech-savvy users needing many options |
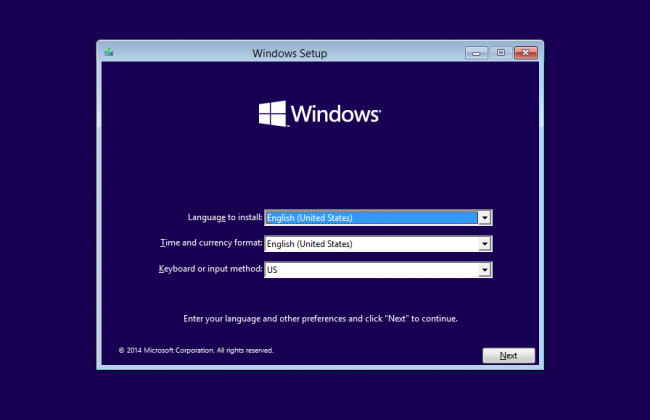
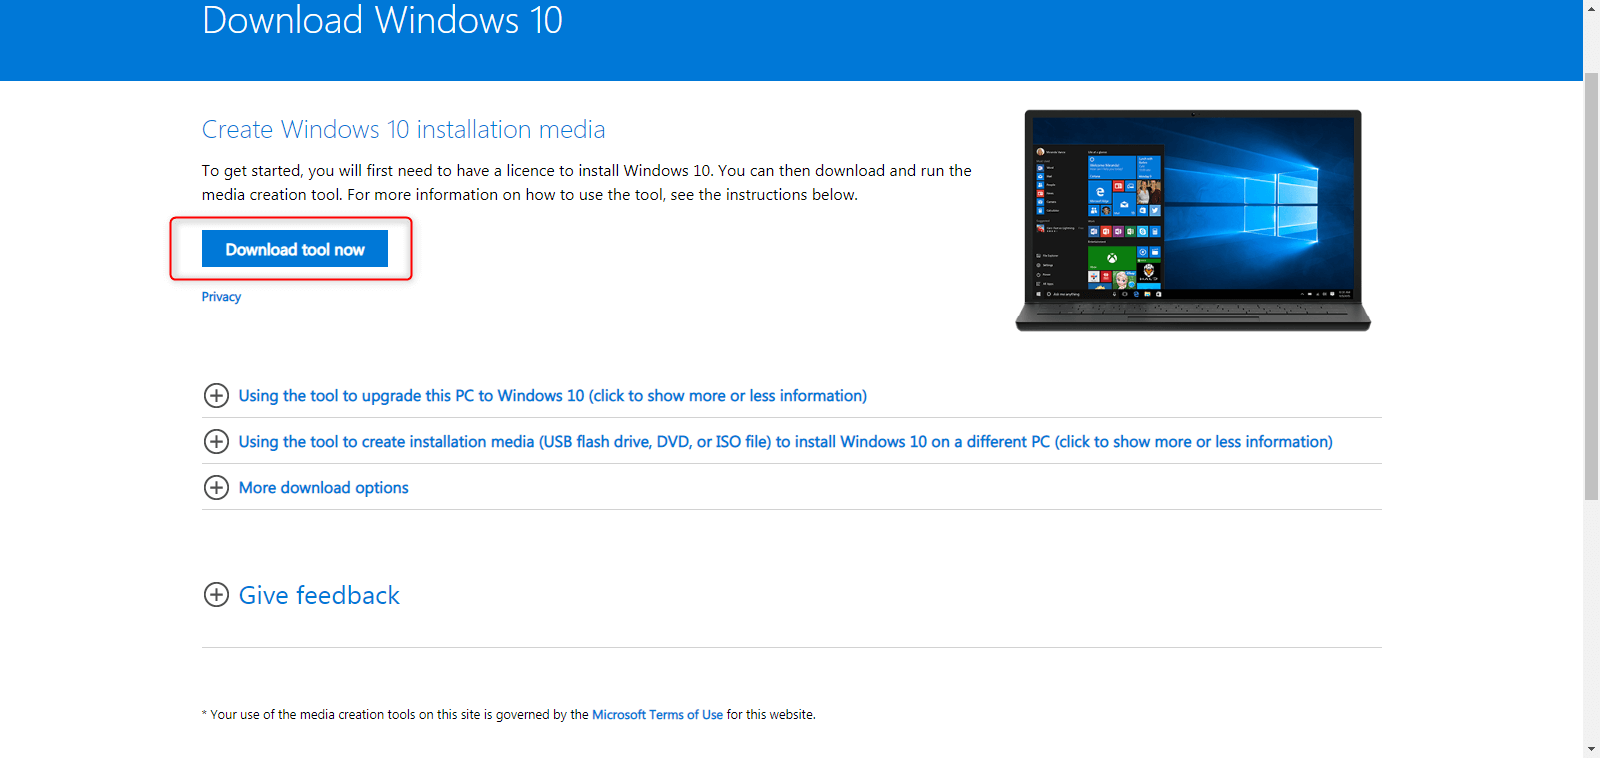
| Windows Installation Media | Free | Medium | Limited (manual copy) | Strong (built-in repair commands) | Official Microsoft-supported fixes |
- Uses official Windows tools with no third-party software
- Can directly repair boot records and system files
- Effective for serious boot configuration issues
Disadvantages:
- Requires basic command-line knowledge
- Higher risk if commands are entered incorrectly
- Less beginner-friendly than graphical tools
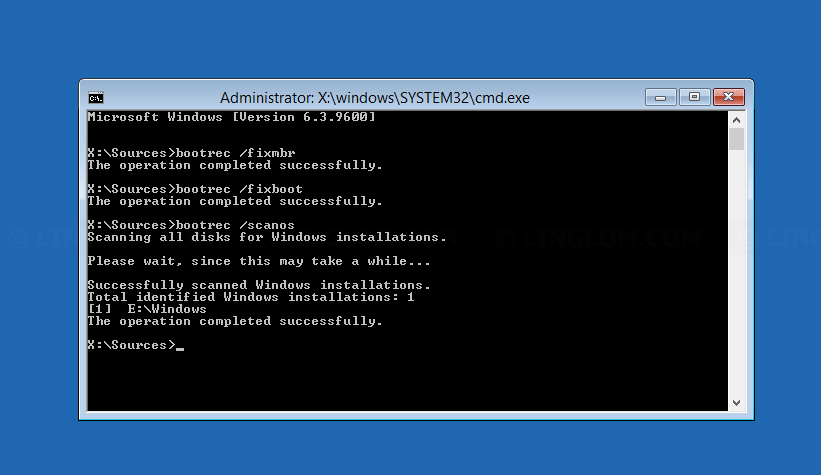
Step-by-Step: Running Repairs from Command Prompt

When to Move On
What usually causes the 0x0000007B INACCESSIBLEBOOTDEVICE error?
Will fixing this error delete my files?
Can I fix this without any external tools?
Which tool is best for backing up data when Windows won’t boot?
How can I avoid this error in the future?
Remove Windows Login Password 3 steps for whole password remove process.
Enable/Create Administrator One click for creating new administrator and enable the disabled account.
Widely Use New version supports UEFI boot model, which can be used on more computers, laptops and even surfaces.
Multifuctional Data transfer, data recovery, bootable problem recovery can be run without system.
Highly compatible Windows 11/10/8.1/8/7/XP/Vista.
Remove Login Password Support Windows 11/10/8.1/8/7/XP/Vista.
Enable/Create Administrator One click for creating new administrator and enable the disabled account.
Easy to use No need of any professional knowledge or password reset disk.
Relate Links :
How to Repair Undetected Micro SD Card if it's Inaccessible
23-08-2019
Ashley S. Miller : Some people found that the SD cards cannot be detected when they have connected it to the computers....
Samsung SSD Bad Sector Repair Tools and Methods: A Complete Guide 2026
18-12-2025
Ashley S. Miller : This guide walks you through the best Samsung SSD repair tools and proven techniques for fixing common issues,...
How to Recover Deleted Media Files on Windows 11/10 – Get Your Photos & Videos Back Fast

02-12-2025
Amanda J. Brook : Learn how to recover media files on Windows 10 and 11—even after emptying the Recycle Bin or using...
[2025] How to Factory Reset Fujitsu Laptop & PC Without Password
03-11-2025
Ashley S. Miller : Learn how to factory reset Fujitsu laptop & PC without password using built-in tools or recommended software, perfect...


User Comments
Leave a Comment