
Fatal Hard Drive Recovery Mistakes to Avoid When Your Drive Crashes

Summary
This article outlines critical hard drive recovery mistakes that can lead to permanent data loss during a drive failure. It provides a structured approach to safe diagnostic triage, sector-by-sector cloning procedures, and professional escalation criteria.
Table of contents

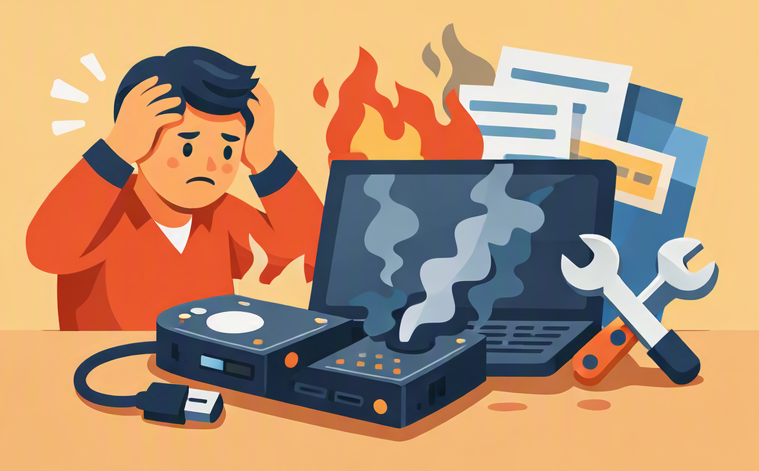
| Situation | Common Reaction | Why It’s Dangerous | Better Approach |
|---|---|---|---|
Drive starts clicking or disappears from File Explorer |
Panicking and trying to “fix it now” |
⚠️ Worsens mechanical damage |
🧘 Power off and call a recovery lab |
Running CHKDSK or fsck on a failing drive |
Using repair tools immediately |
💣 Corrupts file system data |
🧩 Clone first, then analyze safely |
Opening the drive enclosure |
Inspecting platters manually |
🌪️ Dust destroys magnetic surface |
🧼 Only open in a certified cleanroom |
Freezing the drive |
Following online “freeze it” myths |
❄️ Condensation causes head stiction |
🔧 Keep dry, seek professional help |
Installing recovery software on the same drive |
Saving recovered files to damaged disk |
🔥 Overwrites recoverable sectors |
💾 Use a separate healthy drive |
Repeatedly power‑cycling a noisy drive |
Hoping it will “start working again” |
💥 Grinds heads into platters |
🛑 Stop powering on, get expert support |
| Symptom | Probable failure type | Safe DIY recovery? |
|---|---|---|
💥 Clicking, grinding, chirping, beeping, or whining noises |
Physical / mechanical |
❌No — power off now and consult a cleanroom lab. Any spin-up deepens platter damage. |
🚫 Drive not detected at all (no spin, no sound) |
Electronic / mechanical |
Rarely — swapping the circuit board alone is risky unless the ROM chip is also transplanted; best left to a professional. |
Slow response, freezing, long delays, disappearing/re-appearing in Device Manager |
mechanical |
Very limited — a one-shot sector-by-sector clone may be attempted if you accept that every extra second of power-on can kill it permanently. |
Drive appears as “RAW” in Disk Management or prompts to format |
Logical |
✅Yes, with caution — work from a cloned image, never from the live drive. |
Drive spins normally and shows correct capacity but appears empty or has missing folders |
Logical |
✅Yes — again, only after creating a full sector-by-sector duplicate. |
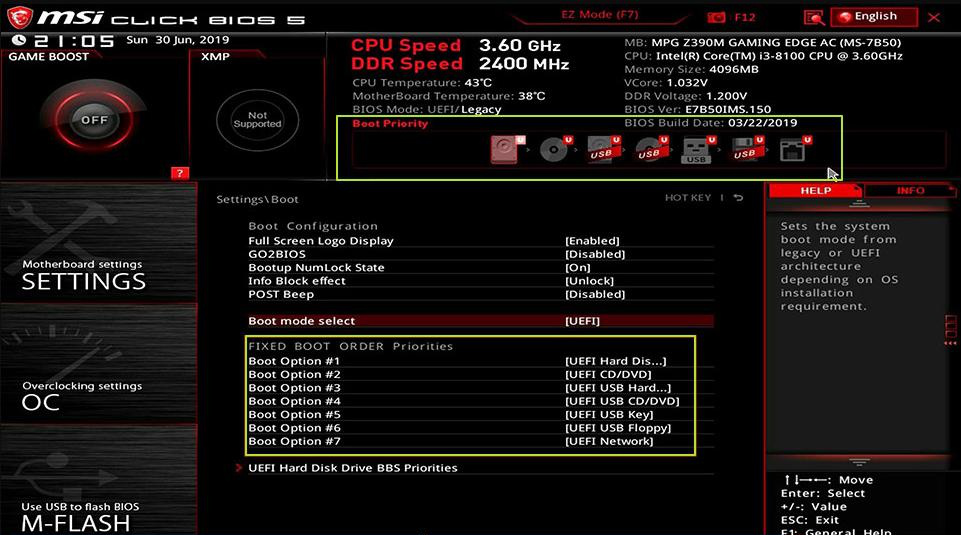
For Linux Users
ddrescue -f /dev/sdc /mnt/recovery/image.dd /mnt/recovery/mapfile.log
For Windows Users
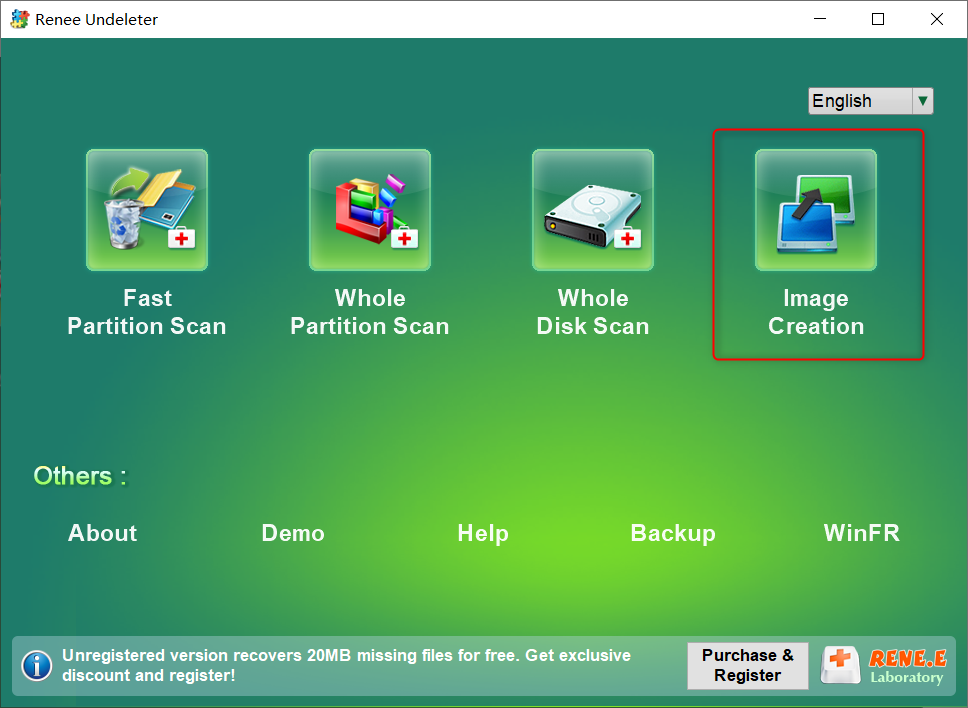

Disk Cloning & Imaging Safely clone failing or unstable drives to a healthy disk image before attempting data recovery.
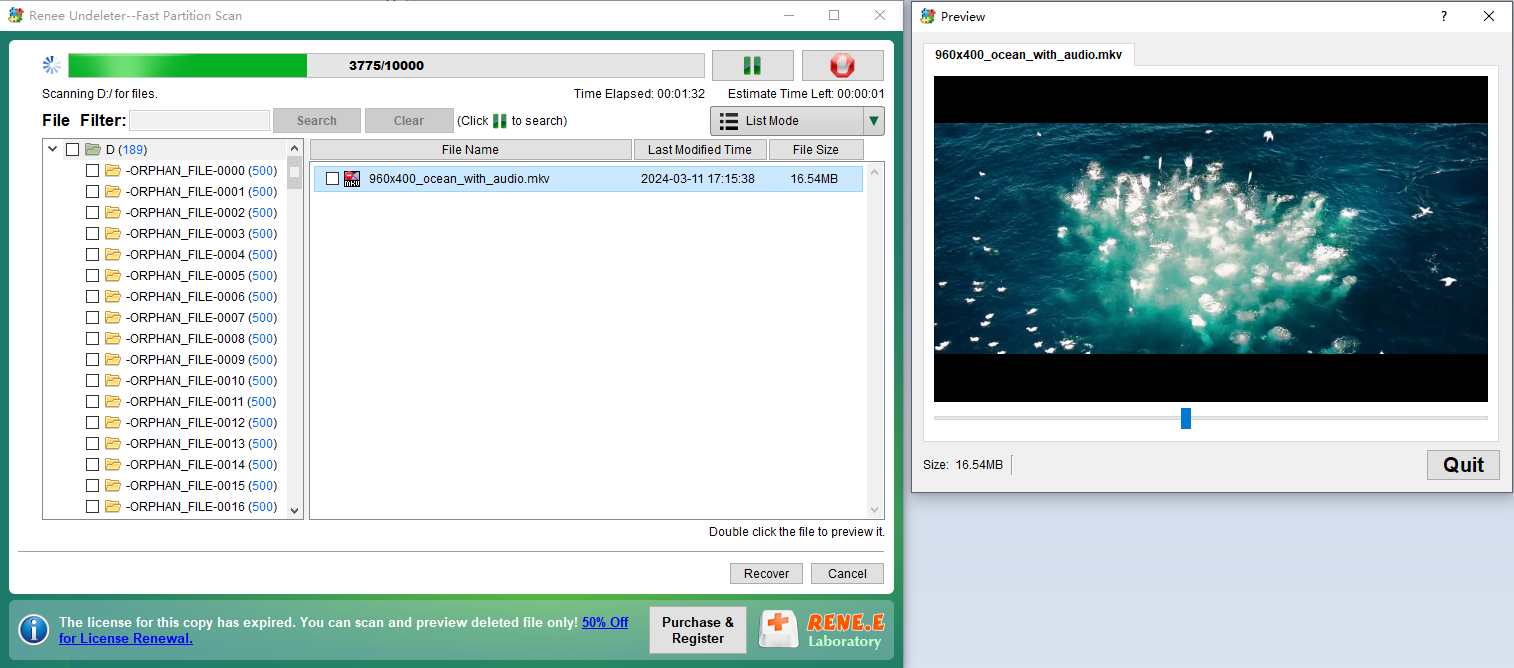
Multiple scan modes Fast partition scan, whole partition scan and whole disk scan for different recovery needs.
File types Support to recover pictures, videos, audios, documents, mails, etc.
Supported storage devices Recover data from recycle bin, SD card, external disk, etc.
Supported systems Windows 11,10, 8.1, 8, 7, Vista, XP, 2000 and Mac OS X10.6, 10.7, 10.8+.
Easy to use Only simple steps to recover data from storage devices.
Multiple scan modes - 3 scan modes for different recovery needs.
Supported storage devices Recover data from recycle bin, SD card, external disk, etc.
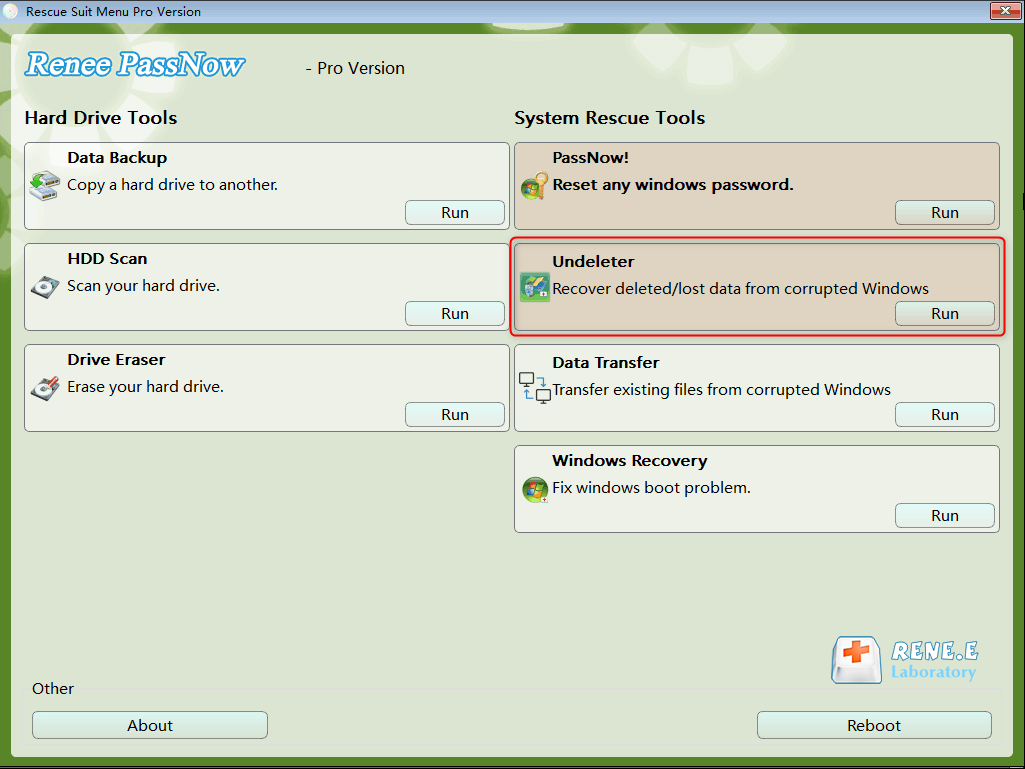
Remove Windows Login Password 3 steps for whole password remove process.
Recover the files Recover the deleted files without Windows system.
Transfer the data Transfer the important files of the computer with system.
Multifuctional Data transfer, data recovery, bootable problem recovery can be run without system.
Highly compatible Windows 11/10/8.1/8/7/XP/Vista. UEFI boot.
Remove Login Password Support Windows 11/10/8.1/8/7/XP/Vista. UEFI boot.
Recover the files Recover the deleted files without Windows system.
Transfer the data Transfer the important files of the computer with system.
| Indicator Type | What You See | Meaning |
|---|---|---|
🟢 |
Folders and files open correctly when scanning the cloned volume |
Data is likely still recoverable |
🟢 |
Clone progress bar moves steadily, even slowly, without long pauses |
Cloning is progressing safely |
🟢 |
Source drive stays detected across reboots; Disk Management shows consistent capacity |
Drive remains electronically stable |
🟢 |
S.M.A.R.T. values stay stable or rise only slightly during cloning |
No major surface deterioration |
🔴 |
Clicking or scraping becomes louder, or starts after cloning begins |
Mechanical failure is worsening |
🔴 |
BIOS/Disk Management detection time increases with each attempt |
Drive is struggling to initialize |
🔴 |
Clone speed drops to zero and stays stuck at the same LBA; resets or USB reconnects don’t help |
Severe surface or head damage |
🔴 |
Raw Read Error Rate spikes after cloning starts |
Surface damage is accelerating |
🔴 |
Windows suddenly asks to format a previously readable drive |
File system is collapsing |
Can I run CHKDSK on a clicking or undetected drive?
Does putting a dead hard drive in the freezer ever work?
What should I do immediately after I drop an external hard drive?
Remove Windows Login Password 3 steps for whole password remove process.
Enable/Create Administrator One click for creating new administrator and enable the disabled account.
Widely Use New version supports UEFI boot model, which can be used on more computers, laptops and even surfaces.
Multifuctional Data transfer, data recovery, bootable problem recovery can be run without system.
Highly compatible Windows 11/10/8.1/8/7/XP/Vista.
Remove Login Password Support Windows 11/10/8.1/8/7/XP/Vista.
Enable/Create Administrator One click for creating new administrator and enable the disabled account.
Easy to use No need of any professional knowledge or password reset disk.
Relate Links :
Online Data Recovery from SD Card – Your Guide to Safe File Restoration

12-07-2026
Jennifer Thatcher : The provided article categorizes the technical constraints of online data recovery from sd card, specifically addressing why browser-based...
Migrate OS to Another Drive: Complete Guide to Move Windows Safely
28-05-2026
Jennifer Thatcher : This guide outlines practical methods to migrate os to another drive, covering professional migration software, manufacturer utilities, and...
Maxtor Hard Drive Recovery: How to Recover Data from a Maxtor Hard Drive on a Windows PC
23-05-2026
Jennifer Thatcher : This article outlines maxtor hard drive recovery methods covering data loss, corruption, and drive accessibility issues. It reviews...
Clone USB Drive to SSD for Bootable Media: MBR vs Superfloppy Considerations

19-02-2026
Amanda J. Brook : Scope covers how to clone usb drive to ssd using Renee Becca, Windows utilities, and Linux tools such...



User Comments
Leave a Comment